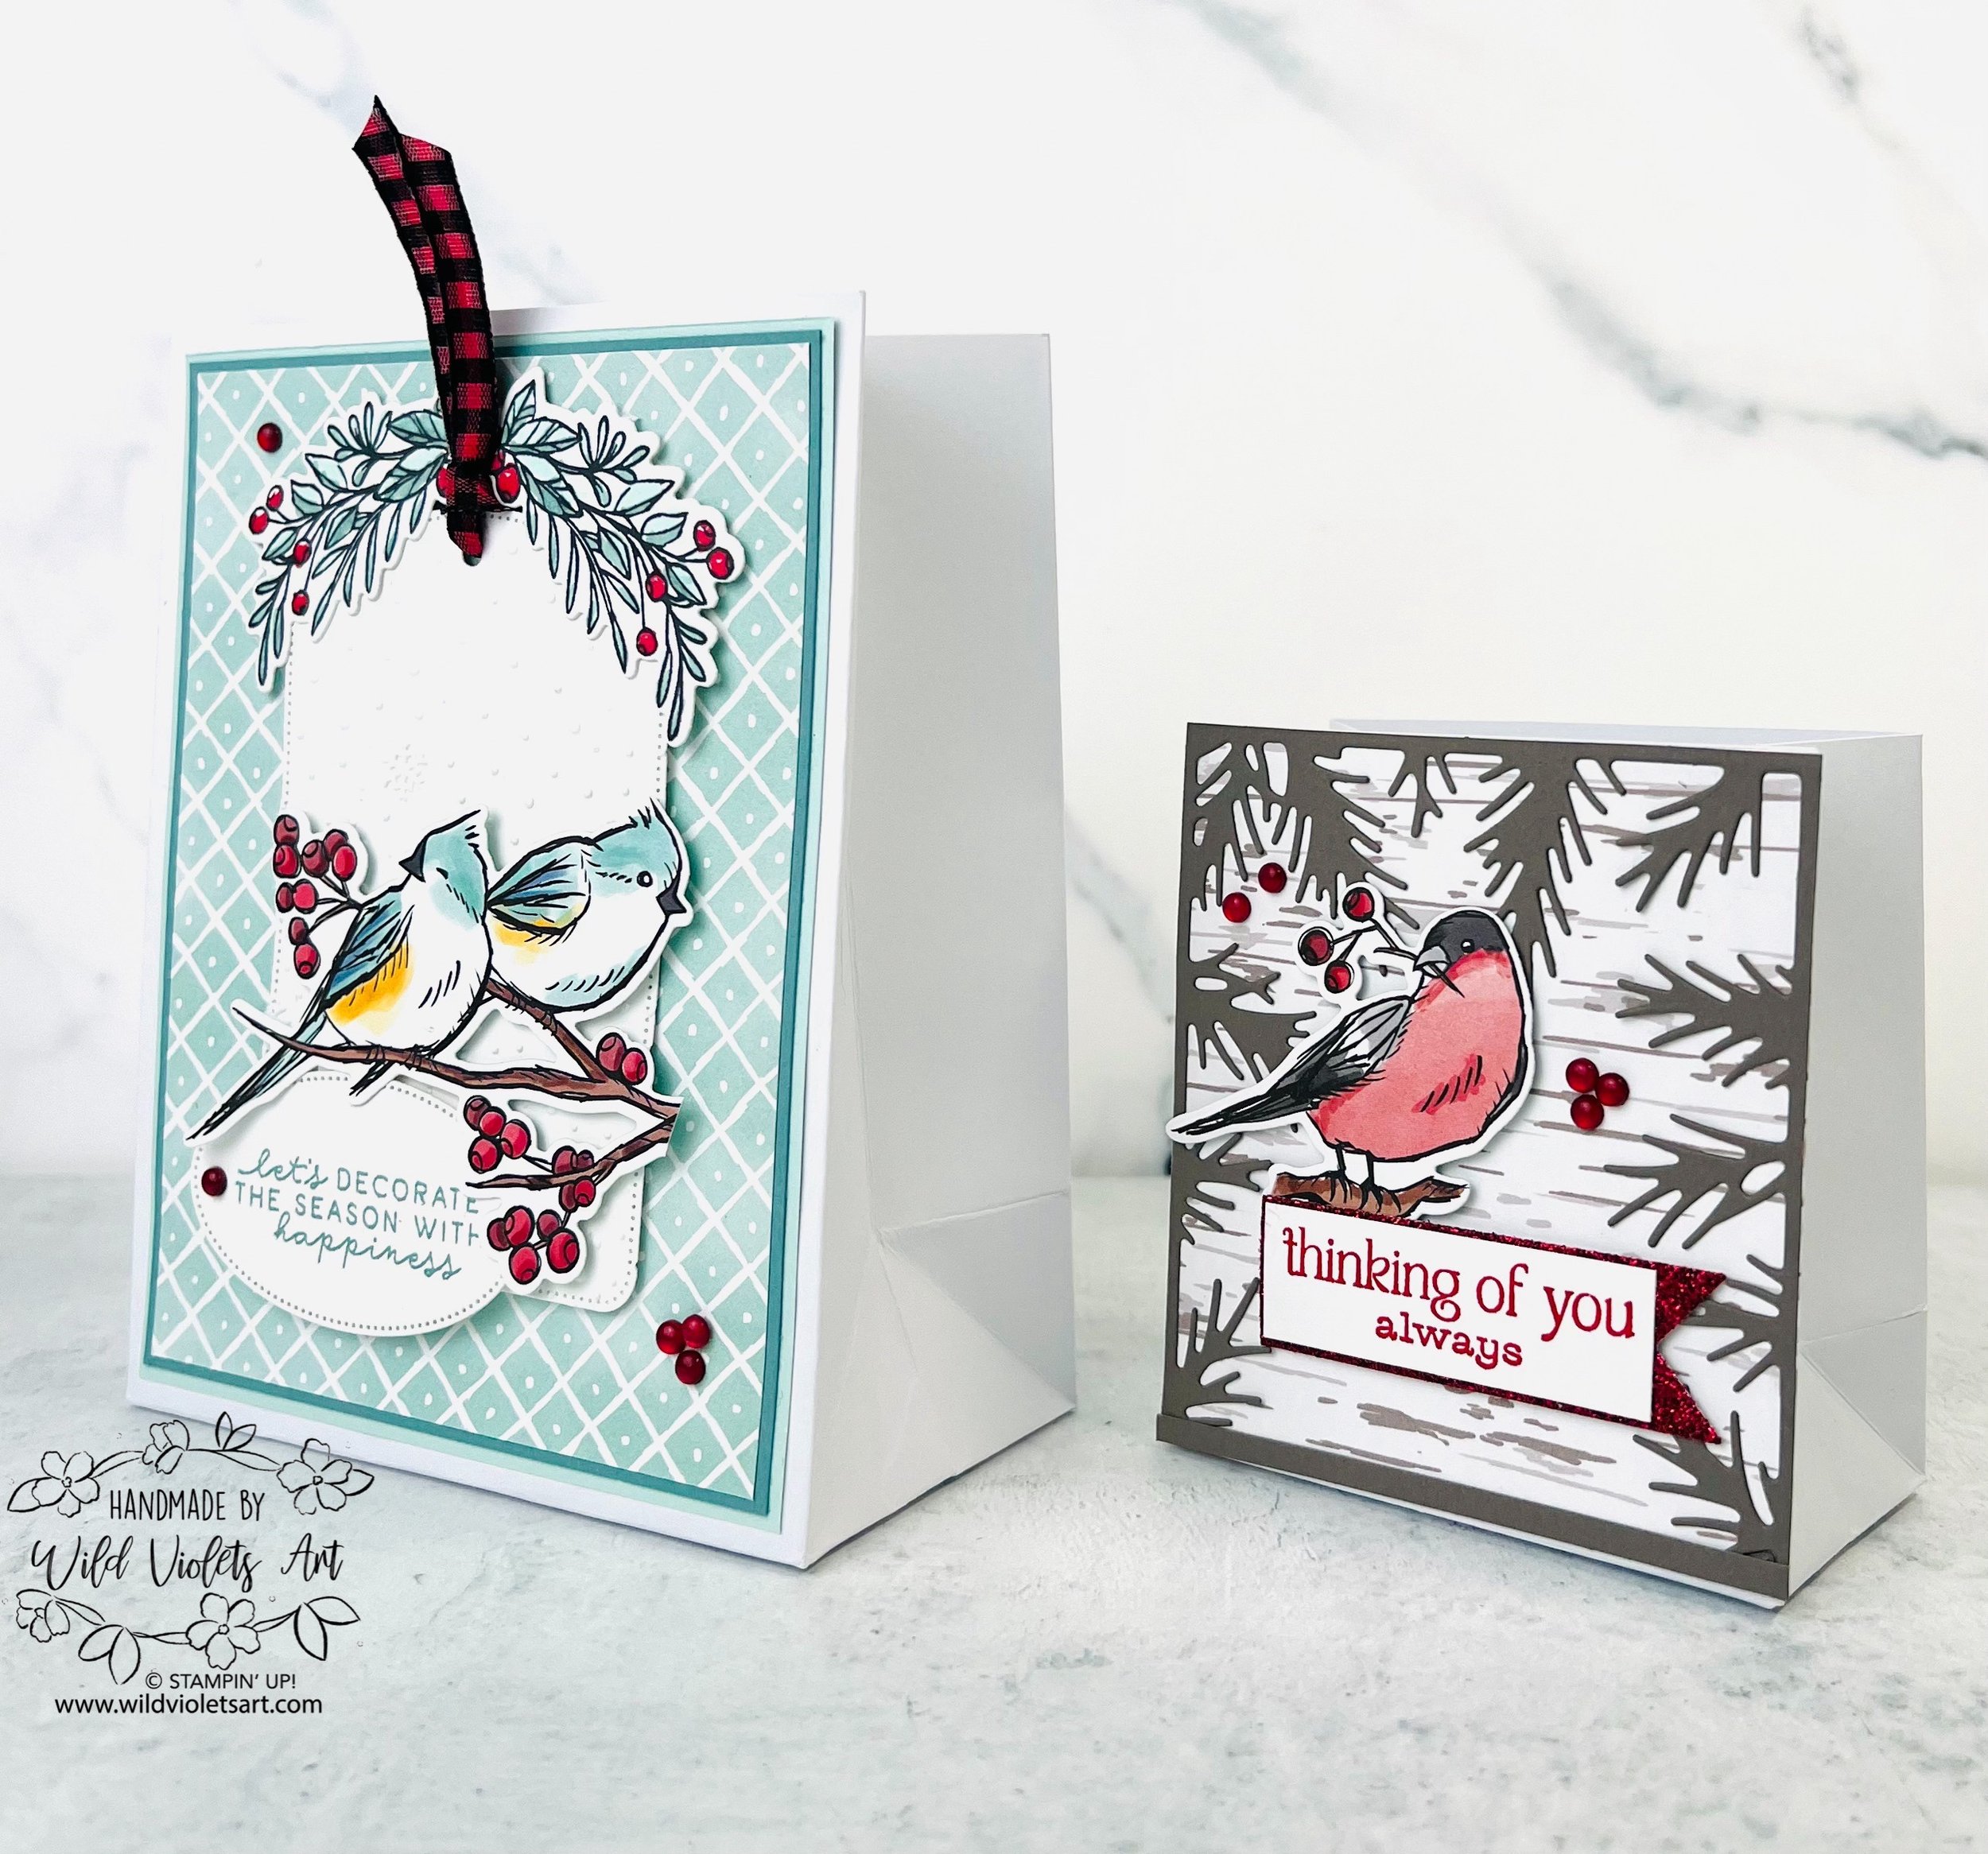
Crafting EASY gifts with the Nests of Winter Suite Collection & Gift Bags Combo Pack
Today, for my Marvelous Monday Facebook Live, I showed you how to create a gorgeous gift bag set, perfect for the holiday season or any special occasion using the Nests of Winter Suite Collection DSP and the Gift Bags Combo Pack. Whether you’re decorating for the season or gifting heartfelt thoughts to loved ones, these projects will inspire you to add a personal touch to every gift.
I love the Nests of Winter Suite Collection for the nature-inspired elegance. The suite beautifully brings the outdoors inside with it’s delicate illustrations of winter birds, pine branches and berry sprigs. These elements are timeless, making your crafts feel cozy and sophisticated! Pairing them with the Gift Bag Combo Pack and you will have wonderful gifts for Christmas or any time of year!
Thinking of You gift bag
This adorable mini bag is so easy to put together by using the Pebbled Path Cardstock, the Nests of Winter DSP and dies. The bag size is 3-3/8”Wx3-5/8”Hx1-7/8”D. I cut a piece of cardstock & DSP 3-3/8”Wx3-5/8”H. Watch my step-by-step video for details on how I was able to use the fir foliage die for such a small piece of cardstock. Once glued to the bag front, add the die cut bird from the DSP and your sentiment of choice, popping both up using Stampin Dimensionals. I used the Cherry Cobbler & Pearl Adhesive-Backed Berries for my embellishment.
More step-by-step instructions in my video below…
Let’s Decorate… gift bag
The large bag fits perfectly for your favorite A2 card front! The bag measures 4-1/2”Wx5-3/4”Hx2”D. I cut a 4-1/4”x5-1/2” layer of Pool Party Cardstock, but if you watch the below video, you will find I used Cherry Cobbler for the base and loved how it turned out as all the red just popped. I then layered with 4-1/8”x5-3/8” Lost Lagoon Cardstock and then a 4”x5-1/4” layer of Nests of Winter DSP and glued them all down to the bag front.
I used Basic White Cardstock to cut out the largest tag from the Greetings of the Season Dies and cut out the sentiment from Sophisticated Sled stamp set using the oval die from the same set. I then embossed the large tag with the Snowflake Sky 3D Embossing Folder.
I stamped the garland in Memento Black Ink in order to color it with the Pool Party, Real Red (or Cherry Cobbler), and Lost Lagoon Stampin’ Blend Markers. After die cutting it out, I added my ribbon (colored with the blend) and popped it up using Stampin’ Dimensionals. I then popped up my pair of birds (die cut from the DSP) and my sentiment to the tag front. My final touch was the Cherry Cobbler & Pearl Adhesive-Backed Berries. So EASY!! To take your bag to the next level, watch my video to the end for a fun add to the gift bag!
More photos & video below…
Now you have a beautifully coordinated gift bag set for gifting during the holiday season or as a thoughtful “thinking of you” moment. What is your favorite way to use the gift bags? Share in the comments below.


