Botanical Textures Suite Collection Cards & Layout

Botanical Beauty
Over the last week, I have presented two engaging Facebook Lives, and I have had so much fun diving into the stunning Botanical Textures Suite Collection from Stampin’ Up!’s Online Exclusive offering. This gorgeous suite has quickly become one of my absolute favorites - its elegant and intricate patterns, soft earthy tones, and layered foliage make it incredibly versatile for both beautiful cardmaking and heartfelt memory keeping. I have featured both below (cards on top and scrapbooking below that).
There is so much to love about the Botanical Textures Suite Collection. The suite includes the Textured Notes Bundle with lovely scripts and images and amazing dies! I love, love, love the dies and their lovely patterned edges. They make every card so elegant! There are two DSP’s, including the Woven Textures 12x12 DSP and the Botanical Textures 12x12 DSP. The Mini Corrugated 3D Embossing Folder is so fun to use for that pop-up element to any crafting effort, along with the Neutral Matte Dots and White 1/4” Ribbon. A wonderful suite!


a little note
This sweet little note card was a fun way to use the Textured Notes bundle and Botanical Textures DSP. I glued a 3-1/2”x5” layer of Basic Black cardstock over the 3-1/2”x5” Note Card, and die cut a layer of Basic Beige cardstock and adhered it to the card. I cut a 3”x4-1/4” piece of Botanical Textures DSP and using my Blending Brushes, colored the leaves using Mossy Meadow ink and Pool Party ink in between. I then glued the piece to the card front.
I also showed an alternate of how I used Stampin’ Blend markers instead.
I took a 3/4”x4” strip of Mossy Meadow cardstock and embossed it with the Mini Corrugated 3D Embossing Folder, and layered it under a popped up and stamped in Mossy Meadow ink piece of die cut Basic Beige cardstock. I tied an 8” piece of White 1/4” Ribbon around with a knot. I used a portion of the lovely scripted sentiment with Black ink on a scrap of 1/2” Basic Beige cardstock, layered with a 5/8” scrap of Basic Black cardstock. The Neutral Matte Dots in beige and stamping on the Note Card envelope with Mossy Meadow ink were my last touches. Lovely!
Watch my YouTube Video for step-by-step instructions…

Thank you
This simple yet lovely textured card was made with the Woven Textures DSP. I used an A2 card base in Basic White Thick cardstock for this card, with a 4-1/8”x5-3/8” layer of Basic White cardstock embossed with the Mini Corrugated 3D Embossing Folder. I noticed that it came up short, so depending on which way you emboss, you may want to practice adding a little more cardstock to counter the shrinkage that happens with the corrugated embossing.
more photos below…
I then added 3”x4” piece (that I crumpled) and 3”x4-1/2” piece of the woven DSP for the layers, adhering them to the card front. Using the lightest of the Woven Textures DSP, I stamped the foliage in Mossy Meadow ink, and the woven round in Basic Beige ink, then die cut it out and layered it with a 2-7/8”x4-3/8” piece of Mossy Meadow cardstock. I popped that up, then added a sentiment in Basic White cardstock, die cut and stamped the sentiment with both Basic Beige and Mossy Meadow ink. I used a mix of the brown and white Neutral Matte Dots for the final touch and added matching DSP to my envelope flap.

You are seriously…
This striking card is my favorite. I loved adding Pretty Peacock ink and Pool Party ink using my Blending Brushes to the foliage on this 4”x5-1/4” Botanical Textures DSP. I adhered the inked layer to a 4-1/8”x5-3/8” layer of Pretty Peacock cardstock, glued to a 4-1/4”x5-1/2” layer of Basic Black cardstock on a Basic White Thick A2 card base. I popped up a die cut piece of Basic Black cardstock with a 1-7/8”x3-3/8” layer of Basic White cardstock stamped with Pool Party ink. My sentiment is in Pretty Peacock ink on Basic White cardstock, die cut and popped up with a scrap of Pretty Peacock cardstock embossed.
I tied a 10” piece of White 1/4” Ribbon around the middle and used black & white Neutral Matte Dots. I fussy cut out foliage stamped in black ink on a scrap of Basic White cardstock and tucked it under my sentiment using Stampin’ Dimensionals. The envelope was stamped in Pretty Peacock ink, stamping it again and again until all the ink was gone.
more photos below…


A layout full of love
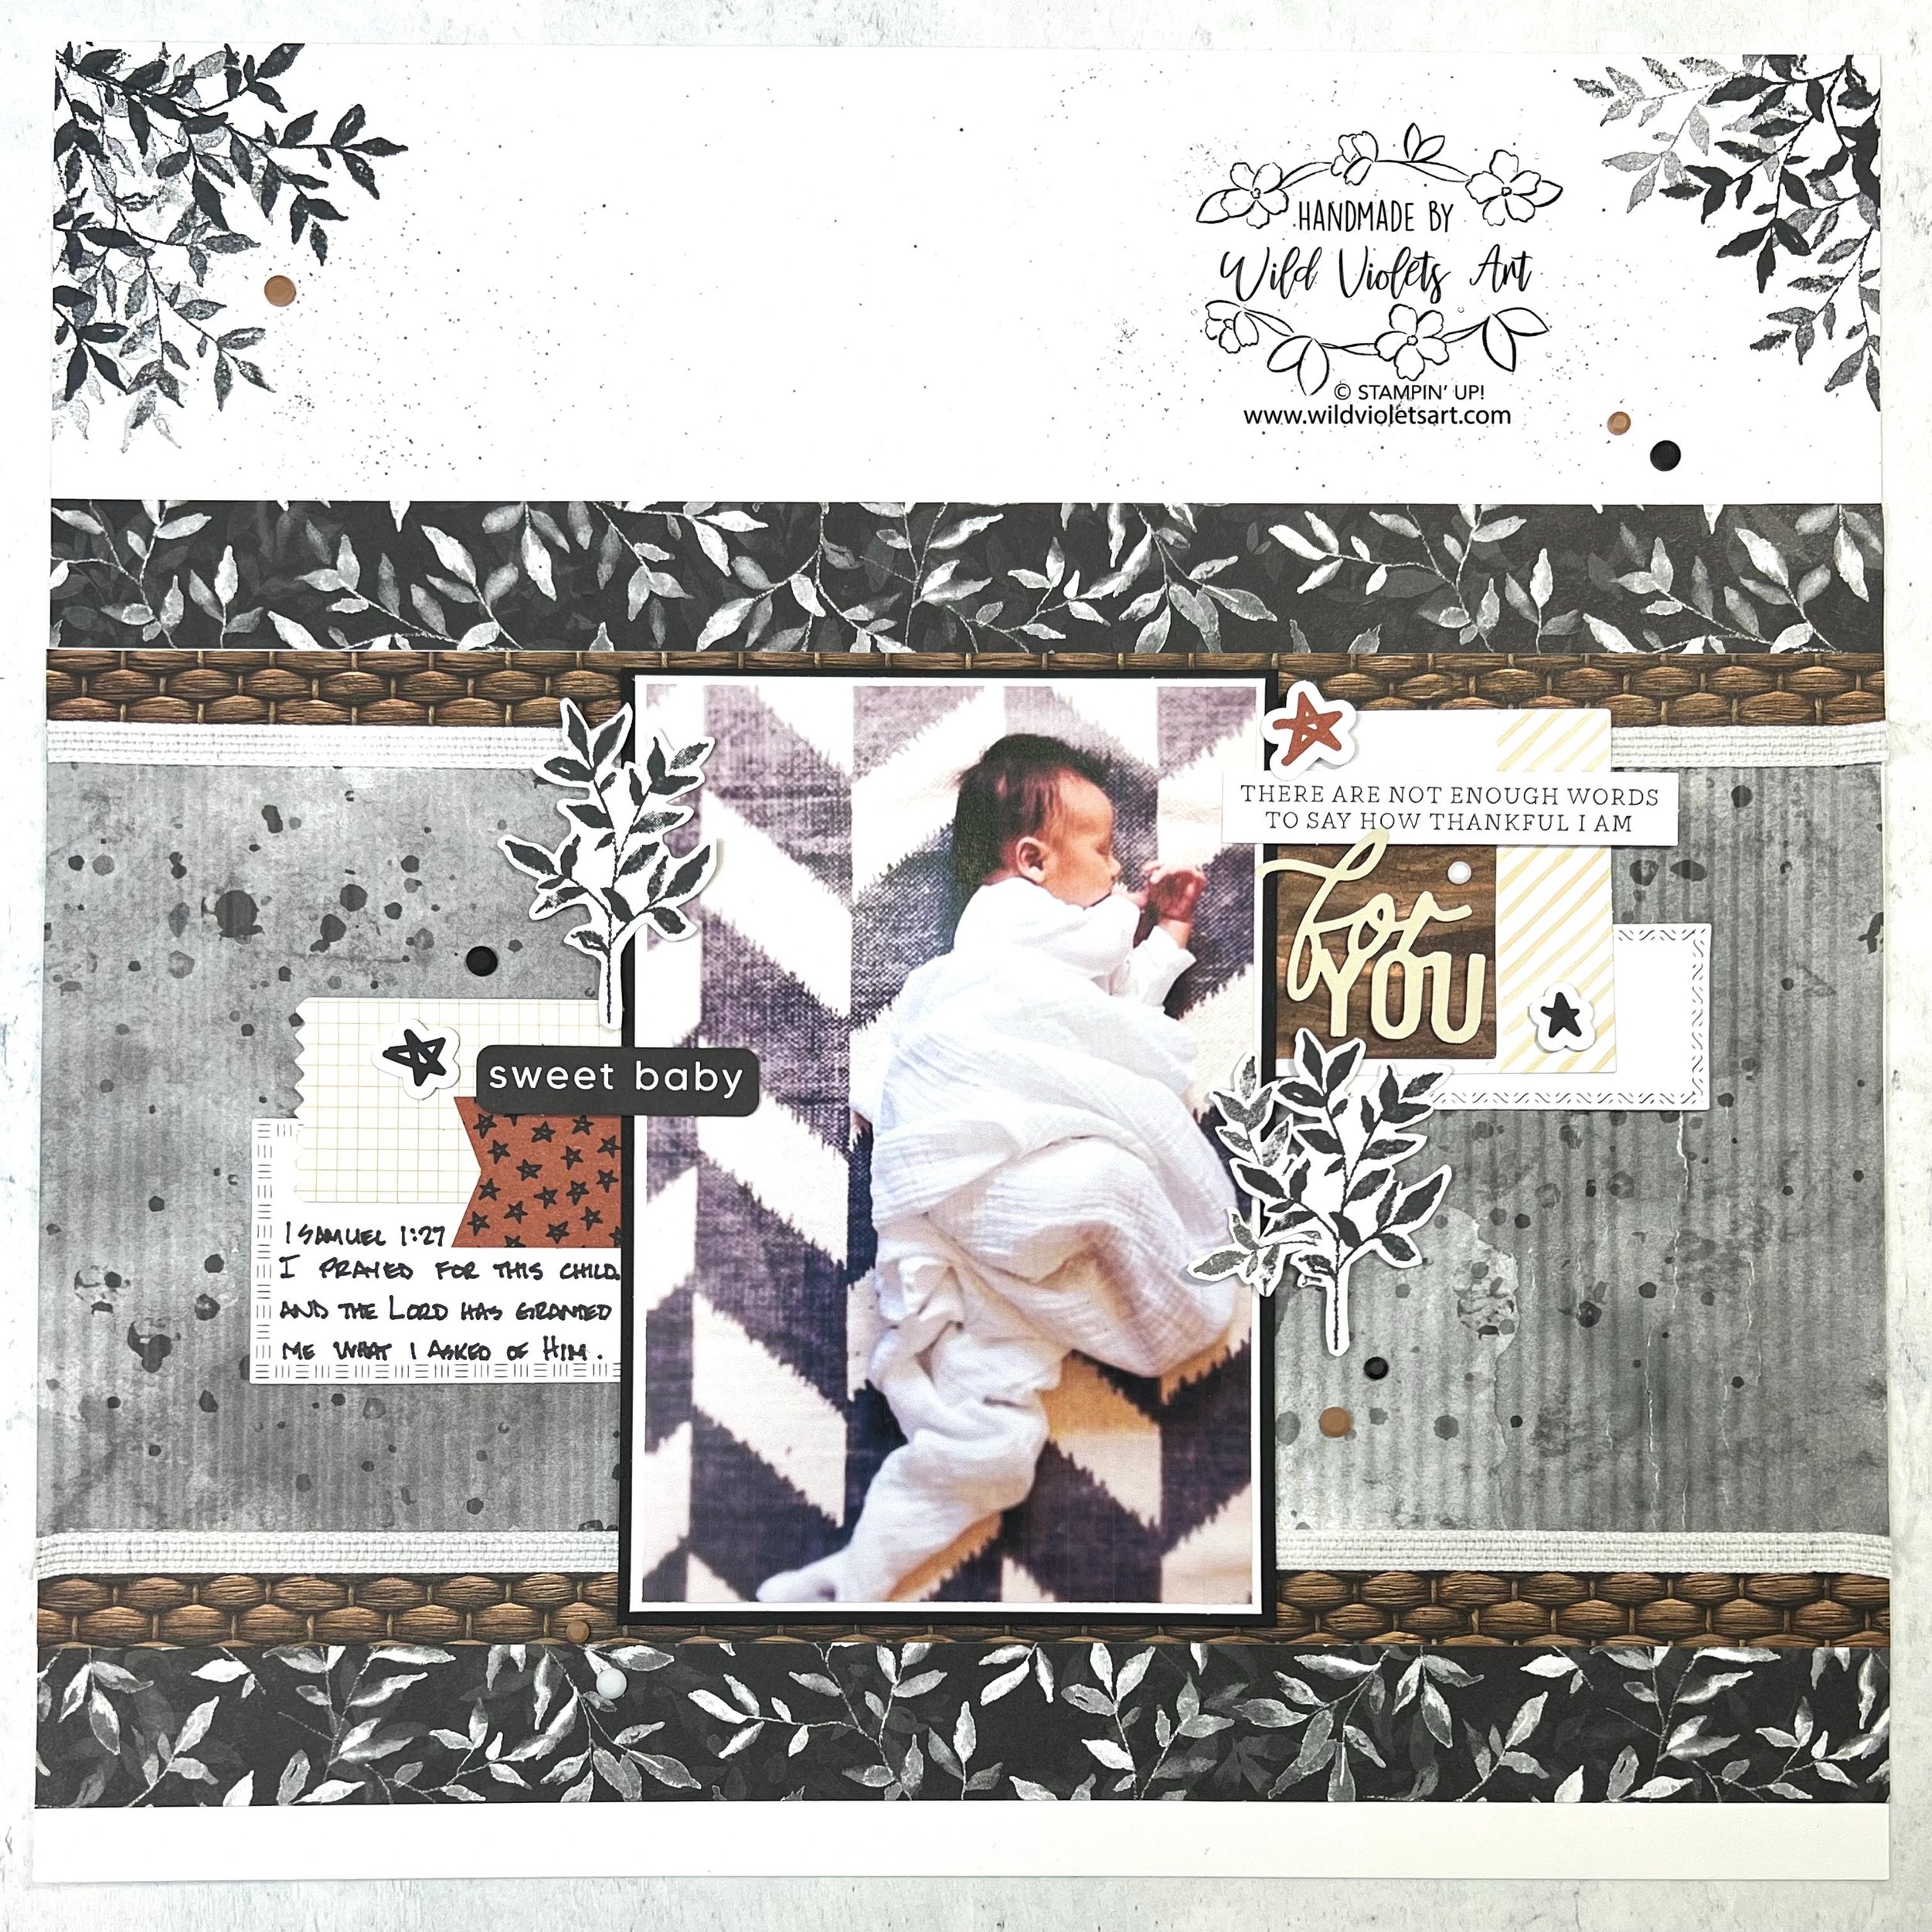
In last week’s Scrapbooking & Scripture Facebook Live event, I showed how I created this sweet layout of my grandson who, shockingly will be 11 years old this month. I used the Botanical Textures Suite Collection to create this two-page 12x12 layout. This is a special layout, not only of this adorable boy, but it showcases his mommy’s talent as a photographer. As we grieve her loss, we celebrate all she was in our lives and this process of scrapbooking sweet memories helps.

This layout starts with two White Willow cardstock, stamped with black ink using the small leaf foliage from the Textured Notes Bundle and splattering the top section as well. I then used for each 12x12 layout, one-large piece of 5-1/2”x12” of Botanical Textures DSP, embossed 6” at a time with the Mini Corrugated 3D Embossing Folder. I also used two-strips of 1”x12” Botanical Textures DSP and two-strips of 1/2”x12” Woven Textures DSP, along with two 13” pieces of the White 1/8” Ribbon.
My 4”x6” photos are layered with 4-1/8”x6-1/8” White Willow cardstock and 4-1/4”x6-1/4” Basic Black cardstock.
I am so grateful that Stampin’ Up! now has all these amazing Ephemera Packs to choose from. Each time I scrapbook, I am going through the packs and typically find something that coordinates with my layout.
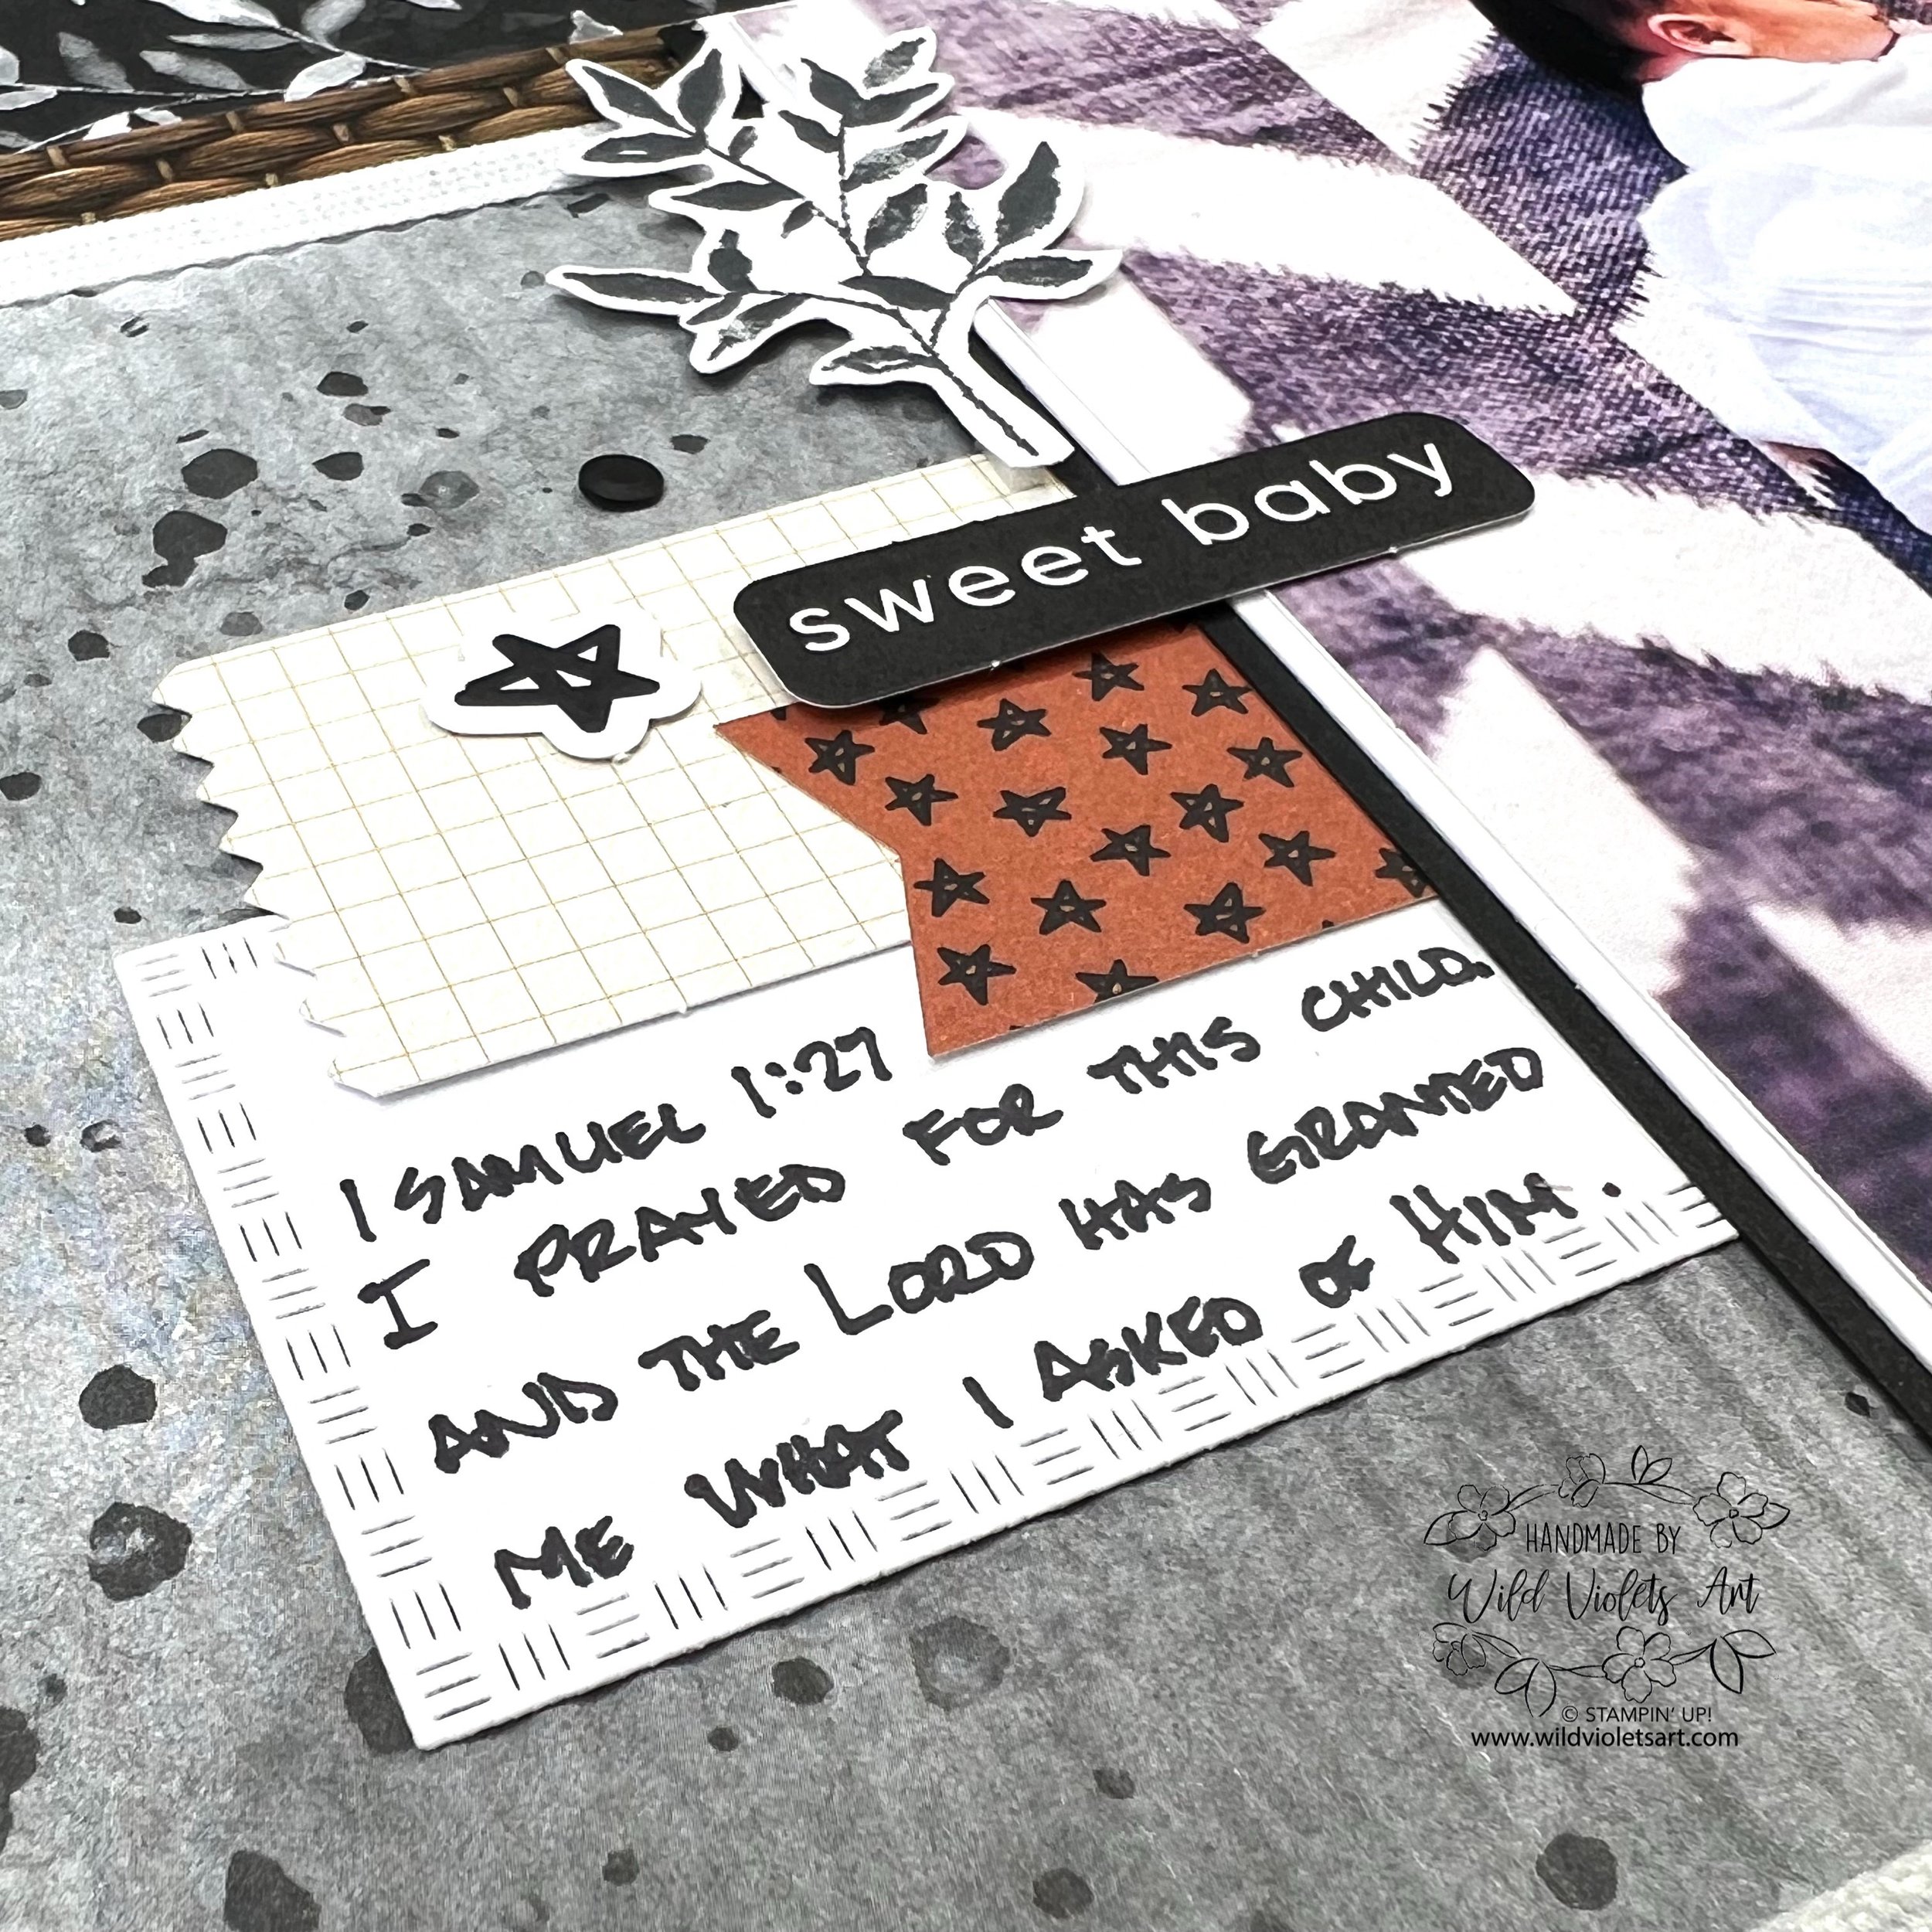
I used parts of the following Ephemera Packs: Greetings for All, Something for Everything, Labels & Layers, Saying Something, and Washes & Florals Tags. I also used the Textured Notes dies to cut out two different sized rectangles for both layouts in White Willow cardstock. After layering all these sweet parts, I loved adding a scripture to my grandson’s layout.
You may find my YouTube video helpful…