Floral Delight Suite Collection Scrapbook Layout
Yay for Fridays in spring and scrumptious scrapbook layouts! For my Scrapbooking & Scripture Facebook Live Friday, I was trying a different color combination for the Delightful Wishes Bundle, part of the Floral Delight Suite Collection. I showed watercoloring techniques and created 3D flowers instead of using solid colored cardstock. I am so excited to show you the results! Imagine your favorite photos preserved in the sweet colors of spring!
I used a portion of the Floral Delight Suite Collection. I am in love with the Tiny Bee Trinkets and the sweet gingham vellum in the Floral & Gingham Vellum 12x12 Specialty Designers Series Paper. The Delightful Wishes Bundle has these amazing dies that create sweet little 3D flowers and leaves when using Fluid 100 Watercolor Paper, our inks, and Water Painters. Reminder, this gorgeous vellum is only available as supplies last until May 5, 2025!
Love you…
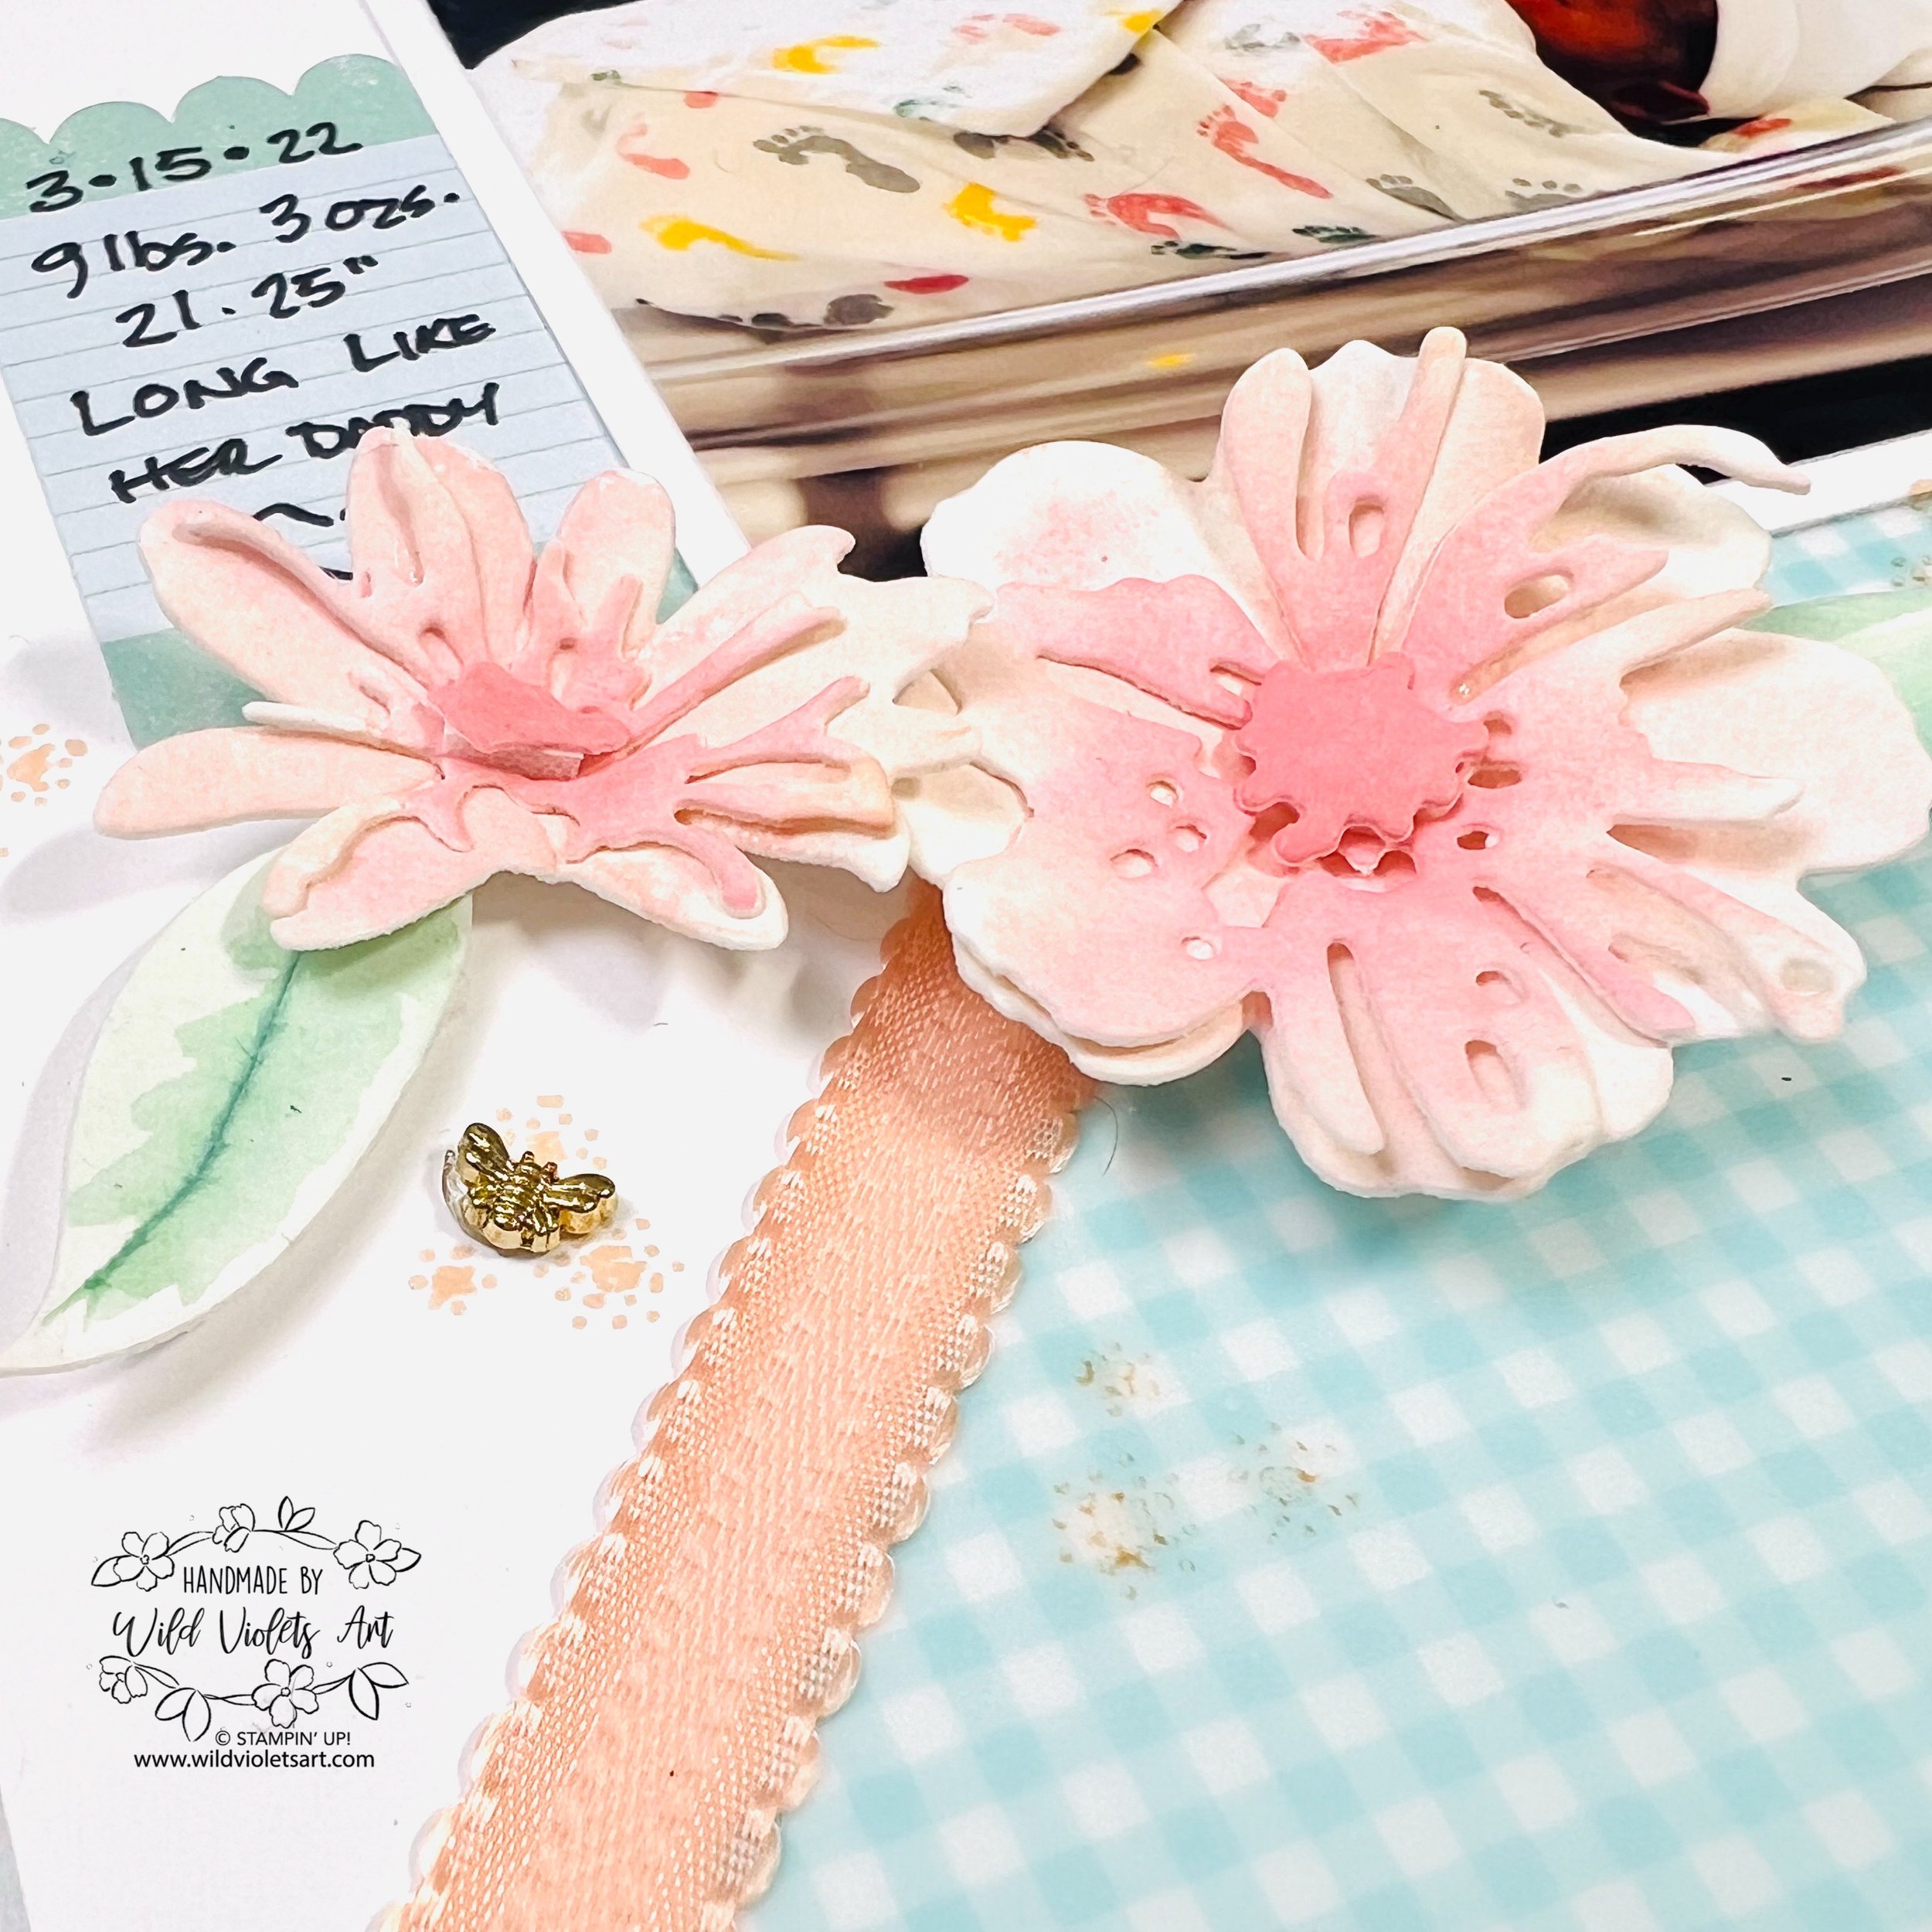
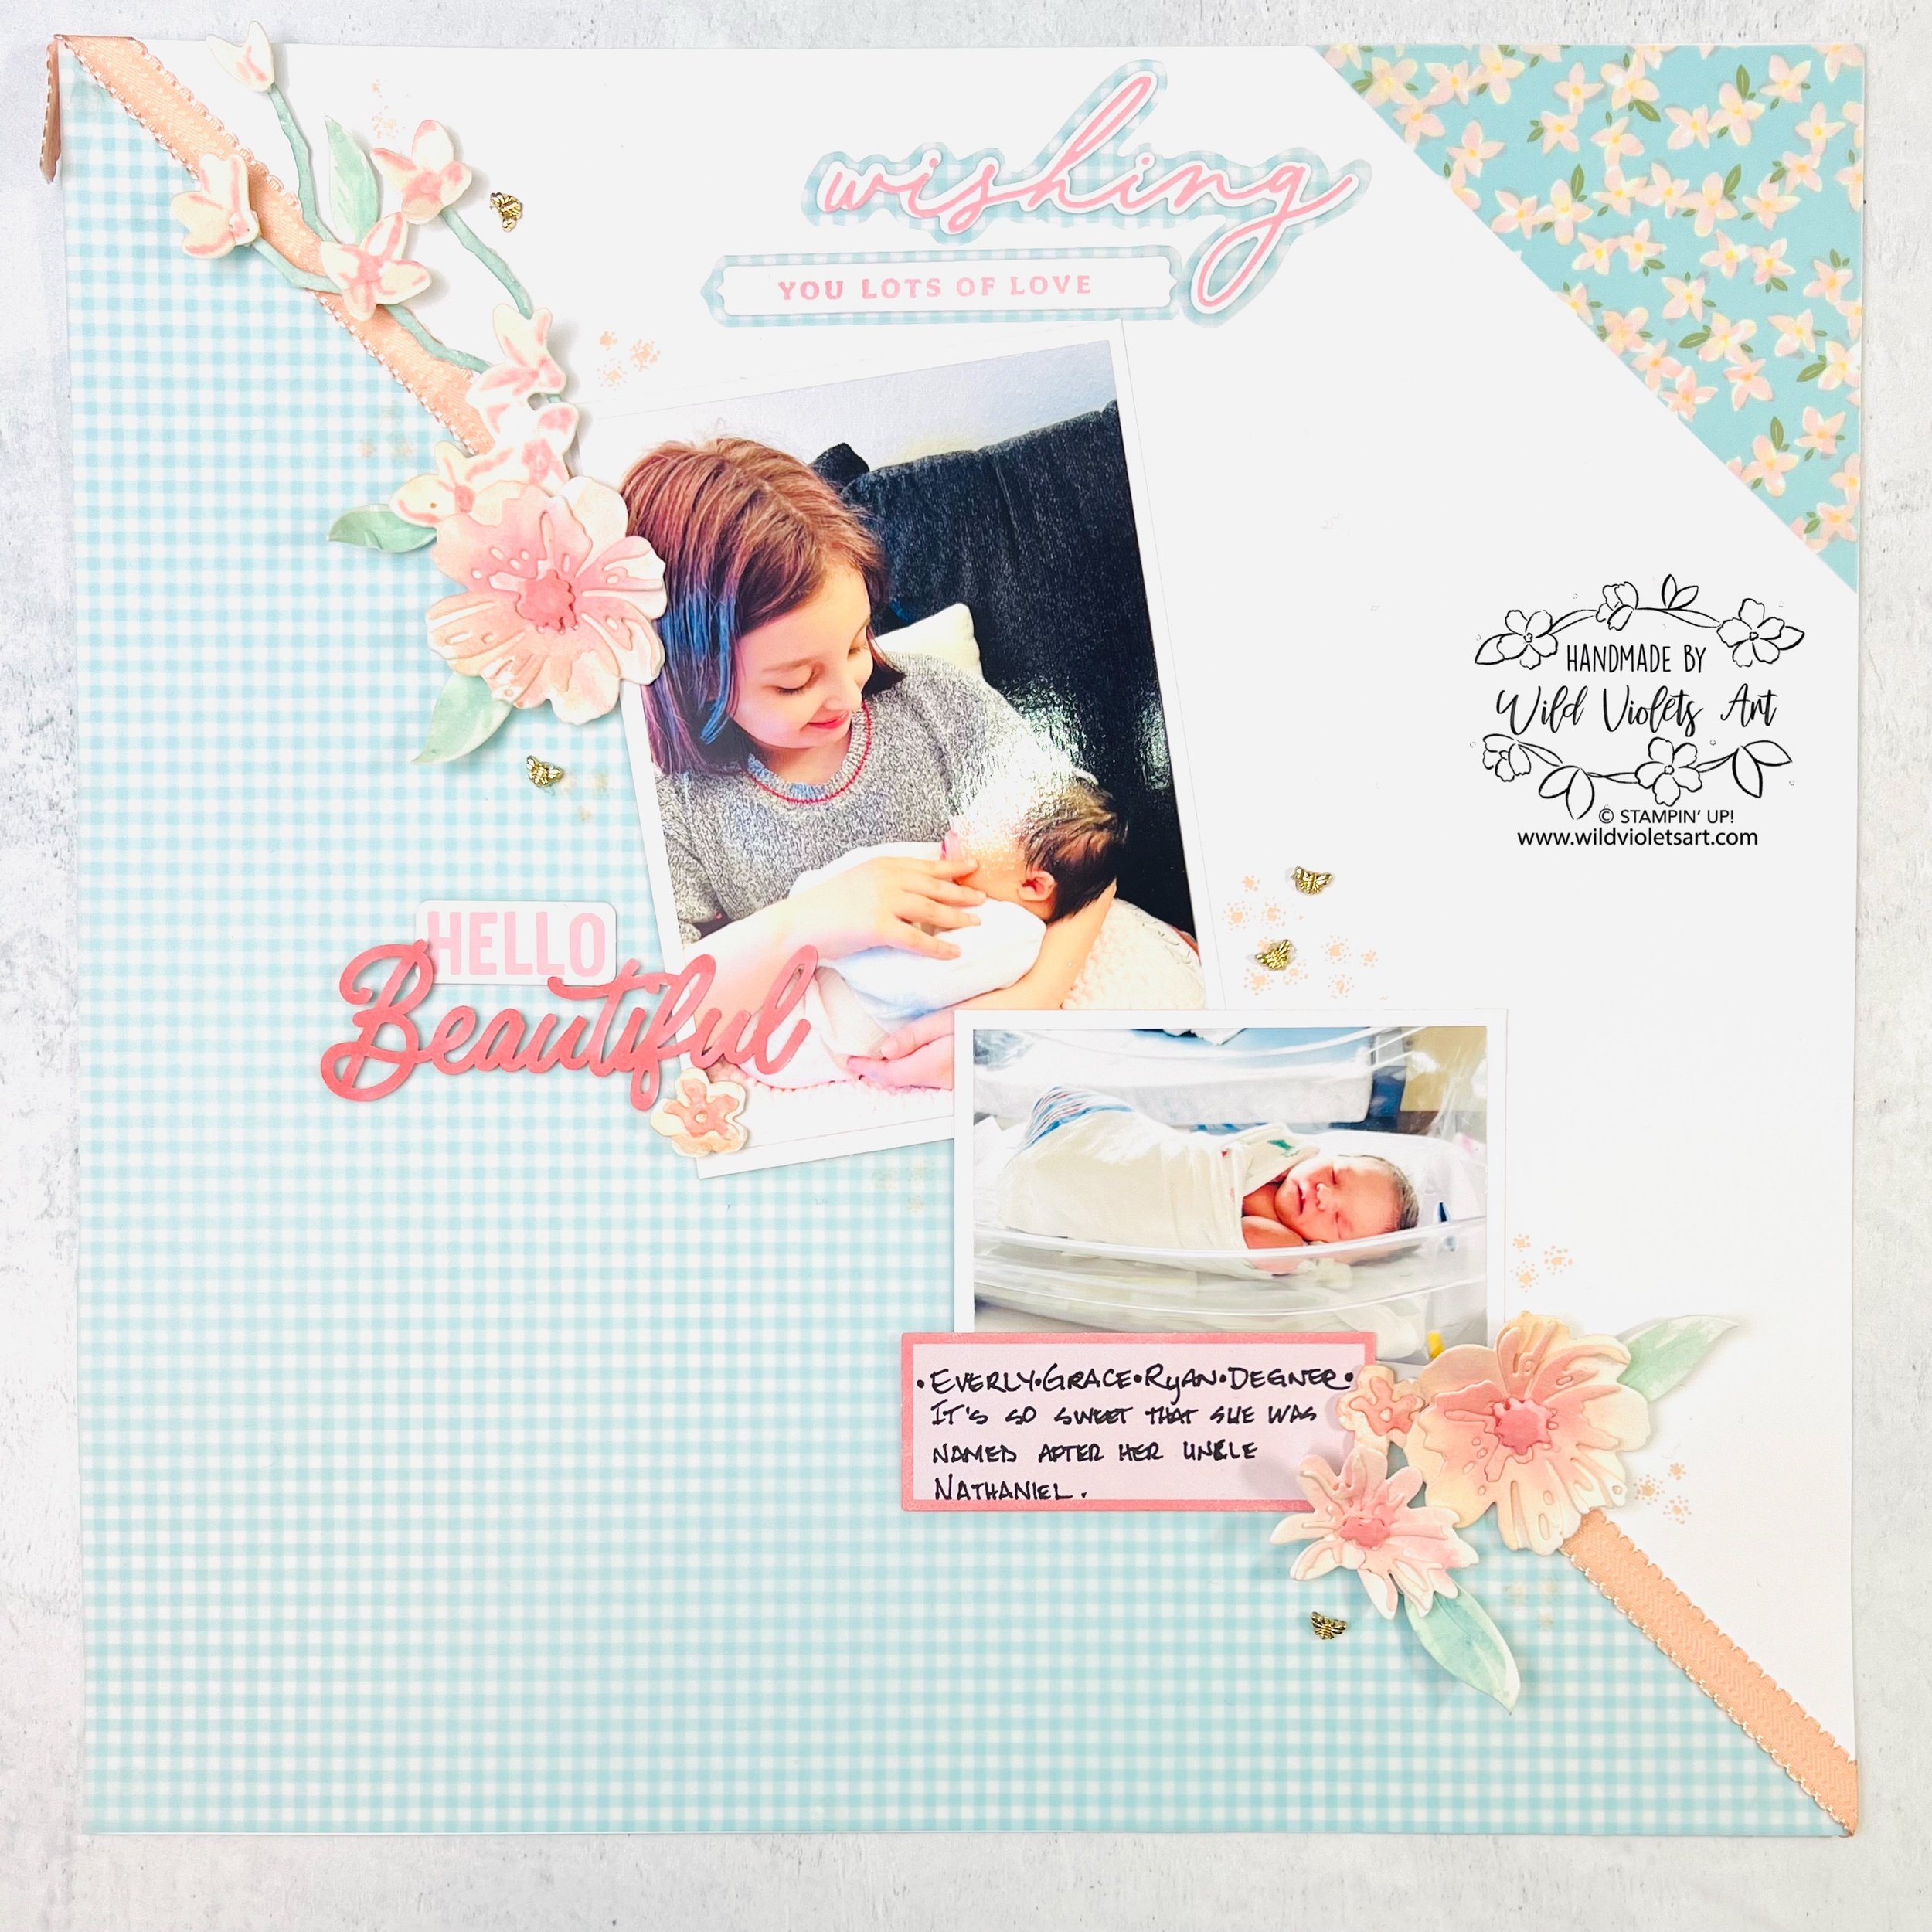
I was not able to be at the birth of one of my grandchildren, so I decided that scrapbooking it was the next best thing. As I only had one full 12x12 piece remaining of the Pool Party gingham from the Floral & Gingham Vellum 12x12 Specialty Designers Series Paper, making a diagonal design layout would fit the bill. The Delightful Wishes dies create the gorgeous Petal Pink and Pretty In Pink flowers. To cut a 12x12 layer of cardstock diagonally, you will need a long ruler, cutting surface, and blade or a very large paper cutter. I also used a 5-1/4” triangle of the Pool Party floral vellum as well, but colored the flowers in Pretty In Pink Dark Blends so the flowers were no longer yellow.
For the scrumptious flowers and leaves, I used Fluid 100 Watercolor Paper from Stampin’ Up!. I used Petal Pink Ink for the flower base, Pretty In Pink Ink for the darker areas, Pool Party Ink for the leaves, and Lost Lagoon Ink for the stem. The easiest way to learn how to watercolor is to watch my YouTube Video. I provide step-by-step instructions so you can do it too.
For the flowers, I washed the watercolor paper in Petal Pink Ink for the overall color. I then sized out where the Delightful Wishes dies would go, and then made the centers darker and painted radiating lines that would match the die. I then die cut them out and shaped them so they become 3D. The YouTube Video will help you understand.
For the smaller flowers, I again washed the watercolor paper with Petal Pink Ink for the overall color, but this time stamped the highlights from the Delightful Wishes Stamp Set. I then lined up the die, cut them out and used a ball point pen with the tip retracted and shaped them into 3D flowers by pressing in the middle of each flower.
For the leaves, I washed the watercolor paper with Pool Party ink, then added darker lines lengthwise of where I was going to die cut them out. After cutting them out, I used my Pick A Tool sharp point to create a line that followed the shape of the leaf. You can add more color after you die cut the pieces too. The YouTube Video will help you understand.
The stem was painted Lost Lagoon, and it needs to be painted after you die cut it out.
The sweet sayings and tags are from the Saying Something Ephemera Pack and Labels & Layers Ephemera Pack. The adorable little gold bees are from the Floral Delight Suite Collection, called Tiny Bee Trinkets and compliment the layout
The best way to learn this layout is to watch my YouTube Video. I provide step-by-step instructions so you can create a beautiful layout as well.


