Crafting Joy with A Little Bit Festive Specialty DSP
The holidays are here, and there is no better time to get creative with your gift-giving!
For my Marvelous Monday this week, I shared how to transform a single sheet of A Little Bit Festive 12x12 Specialty DSP from Stampin’ Up! into two charming gift bags. With only a couple of weeks until Christmas, this paper pack is a crafter’s dream, featuring double-sided patterned paper and pre-cut die elements to make every project a breeze!
More photos of the bags, diagrams, cards and the step-by-step video below…
A Little Bit Festive 12x12 Specialty DSP is a versatile set with gold foil accents, designed for holiday crafting, especially gifts and cards! And this fabulous paper is on our Last Chance List at a discount and has FREE Shipping on orders of $75 or more until 12/11/24!! WOW!!
Bag #1
For this adorable NO-CUT 4-1/4” cubed bag, I only used one piece of 12”x12” DSP from the A Little Bit Festive SDSP! For step-by-step instructions, please refer to my YouTube video. It is so easy to make and there is no snipping. The bag took me 10 minutes to make!! You will need one 12x12 sheet, Tear & Tape (or your favorite adhesive), 30” of ribbon (cut into 10” lengths), Snips, hole punch, and the die-cut pieces from the kit (the Ephemera works as well). This cute bag holds two spa-care tubs or one large candle with it’s 4-1/4”x4-1/4”x4-1/4” size!
More photos of the bags, diagrams, cards and the step-by-step video below…
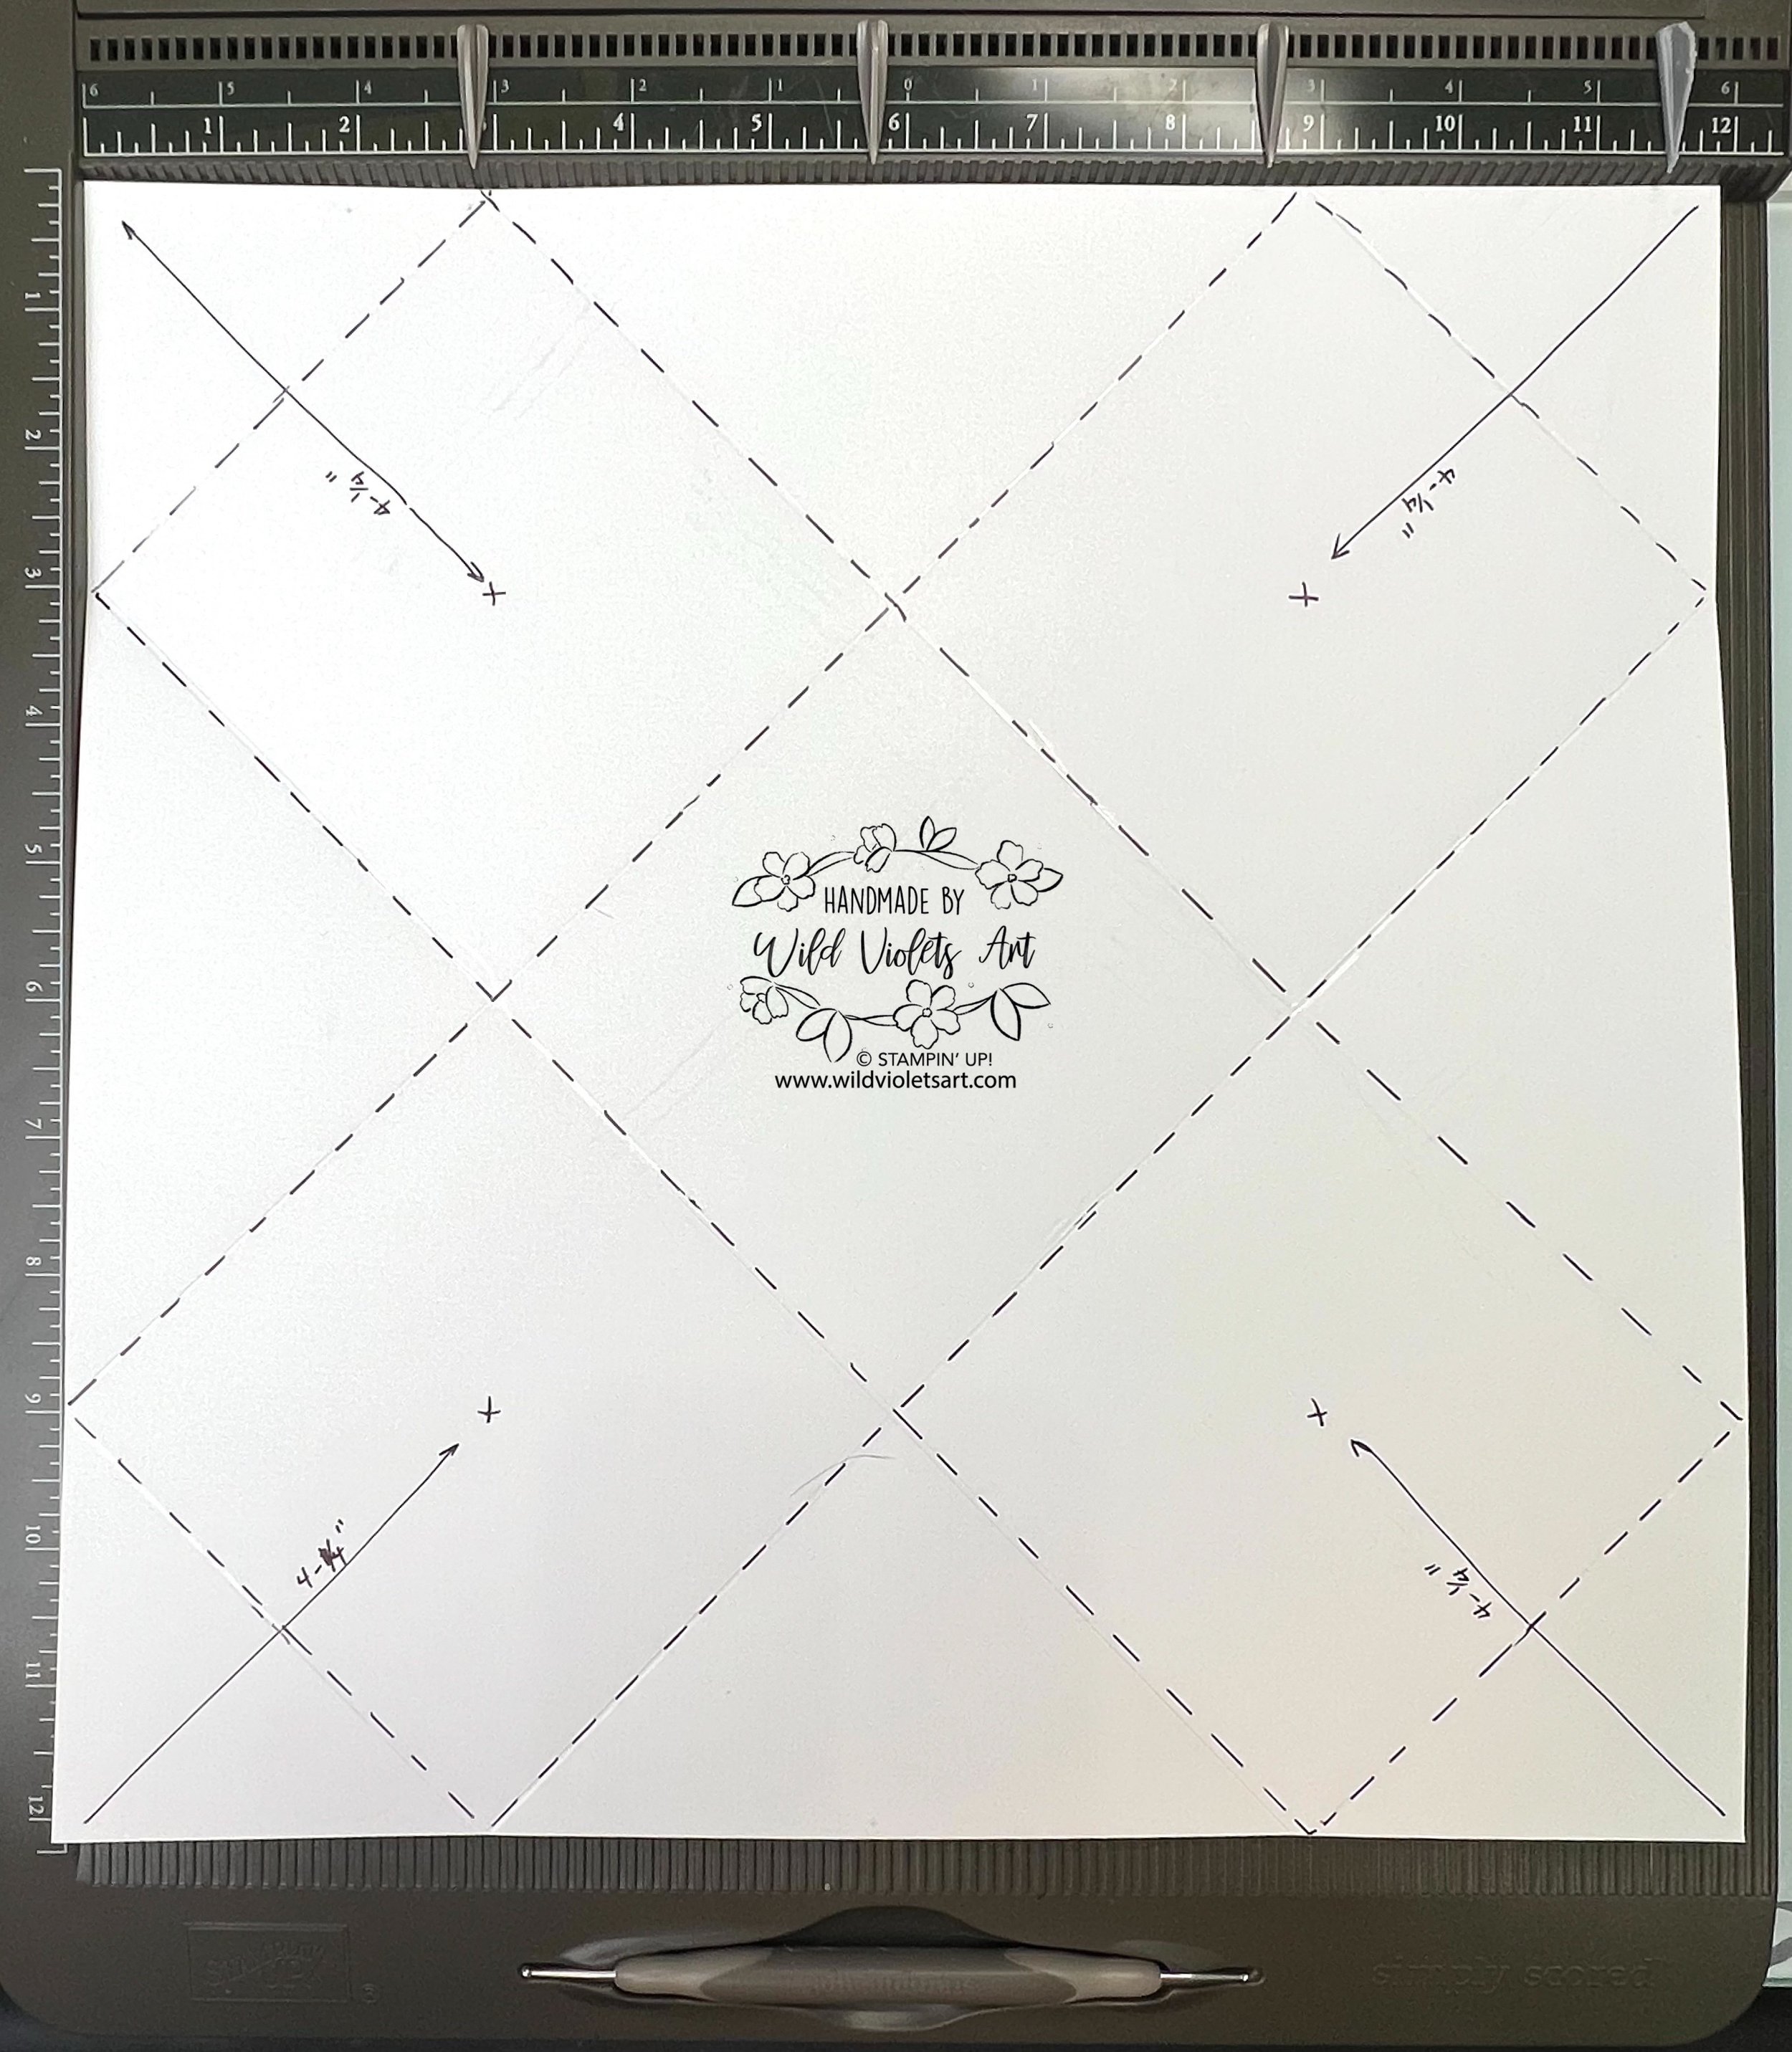
The diagram shown is only to show you where your folds will end up to make the bag.
You will need to refer to the video, so my advice is to watch it first. Using a long scale (18”), measure diagonally across the page from each corner and mark a dot at 4-1/4” from all four corners of your 12x12 sheet. Take each corner (one at a time) and touch the point of the corner to the dot at all four corners and braise folds with your bone folder. Now open up the sheet and take each of the point of the corners (one at a time) and touch the opposite dot across the page, then braise the folds. Your 12x12 sheet will look like the diagram shown.
More photos of the bags, diagrams, cards and the step-by-step video below…
Bag #2
The 2nd bag is just as easy and fun! The bag ends up 2-7/8”x2-7/8”x7-1/8” high, great for lotions or a insulated mug from Starbucks!
Again, you only need one 12x12 double sided sheet. The cute tag and bow are from the A Little Bit Festive pre-cut elements it ended up making such a cute addition to the bag! You will also need about 18” of ribbon, and 10” of bakers twine and a hole punch and snips.
More photos of the bags, diagrams, cards and the step-by-step video below…
Using your Simply Scored Scoring Tool to place your 12x12 sheet (outside of bag up and check pattern of bottom side for fold back). Score at 2-7/8”, 5-3/4”, 8-5/8” and 11-1/2” for your vertical folds. Then rotate your sheet 90 degrees clockwise and score at 2-7/8” (bottom) and 10” (top fold-down) for the horizontal folds.
I used glue to put together my gift bag, as I found that double sided tape for this type of bag may not last long. You will want to cut the bottom four flaps to the horizontal score line at the bottom, leaving one flap whole to be the last flap for the bottom/front of the bag. Snip off a small triangle for the remaining flap sides and trim off the excess at the bottom of bag side flap.
Watch the YouTube video for step-by step instructions.
BONUS: Coordinating Cards
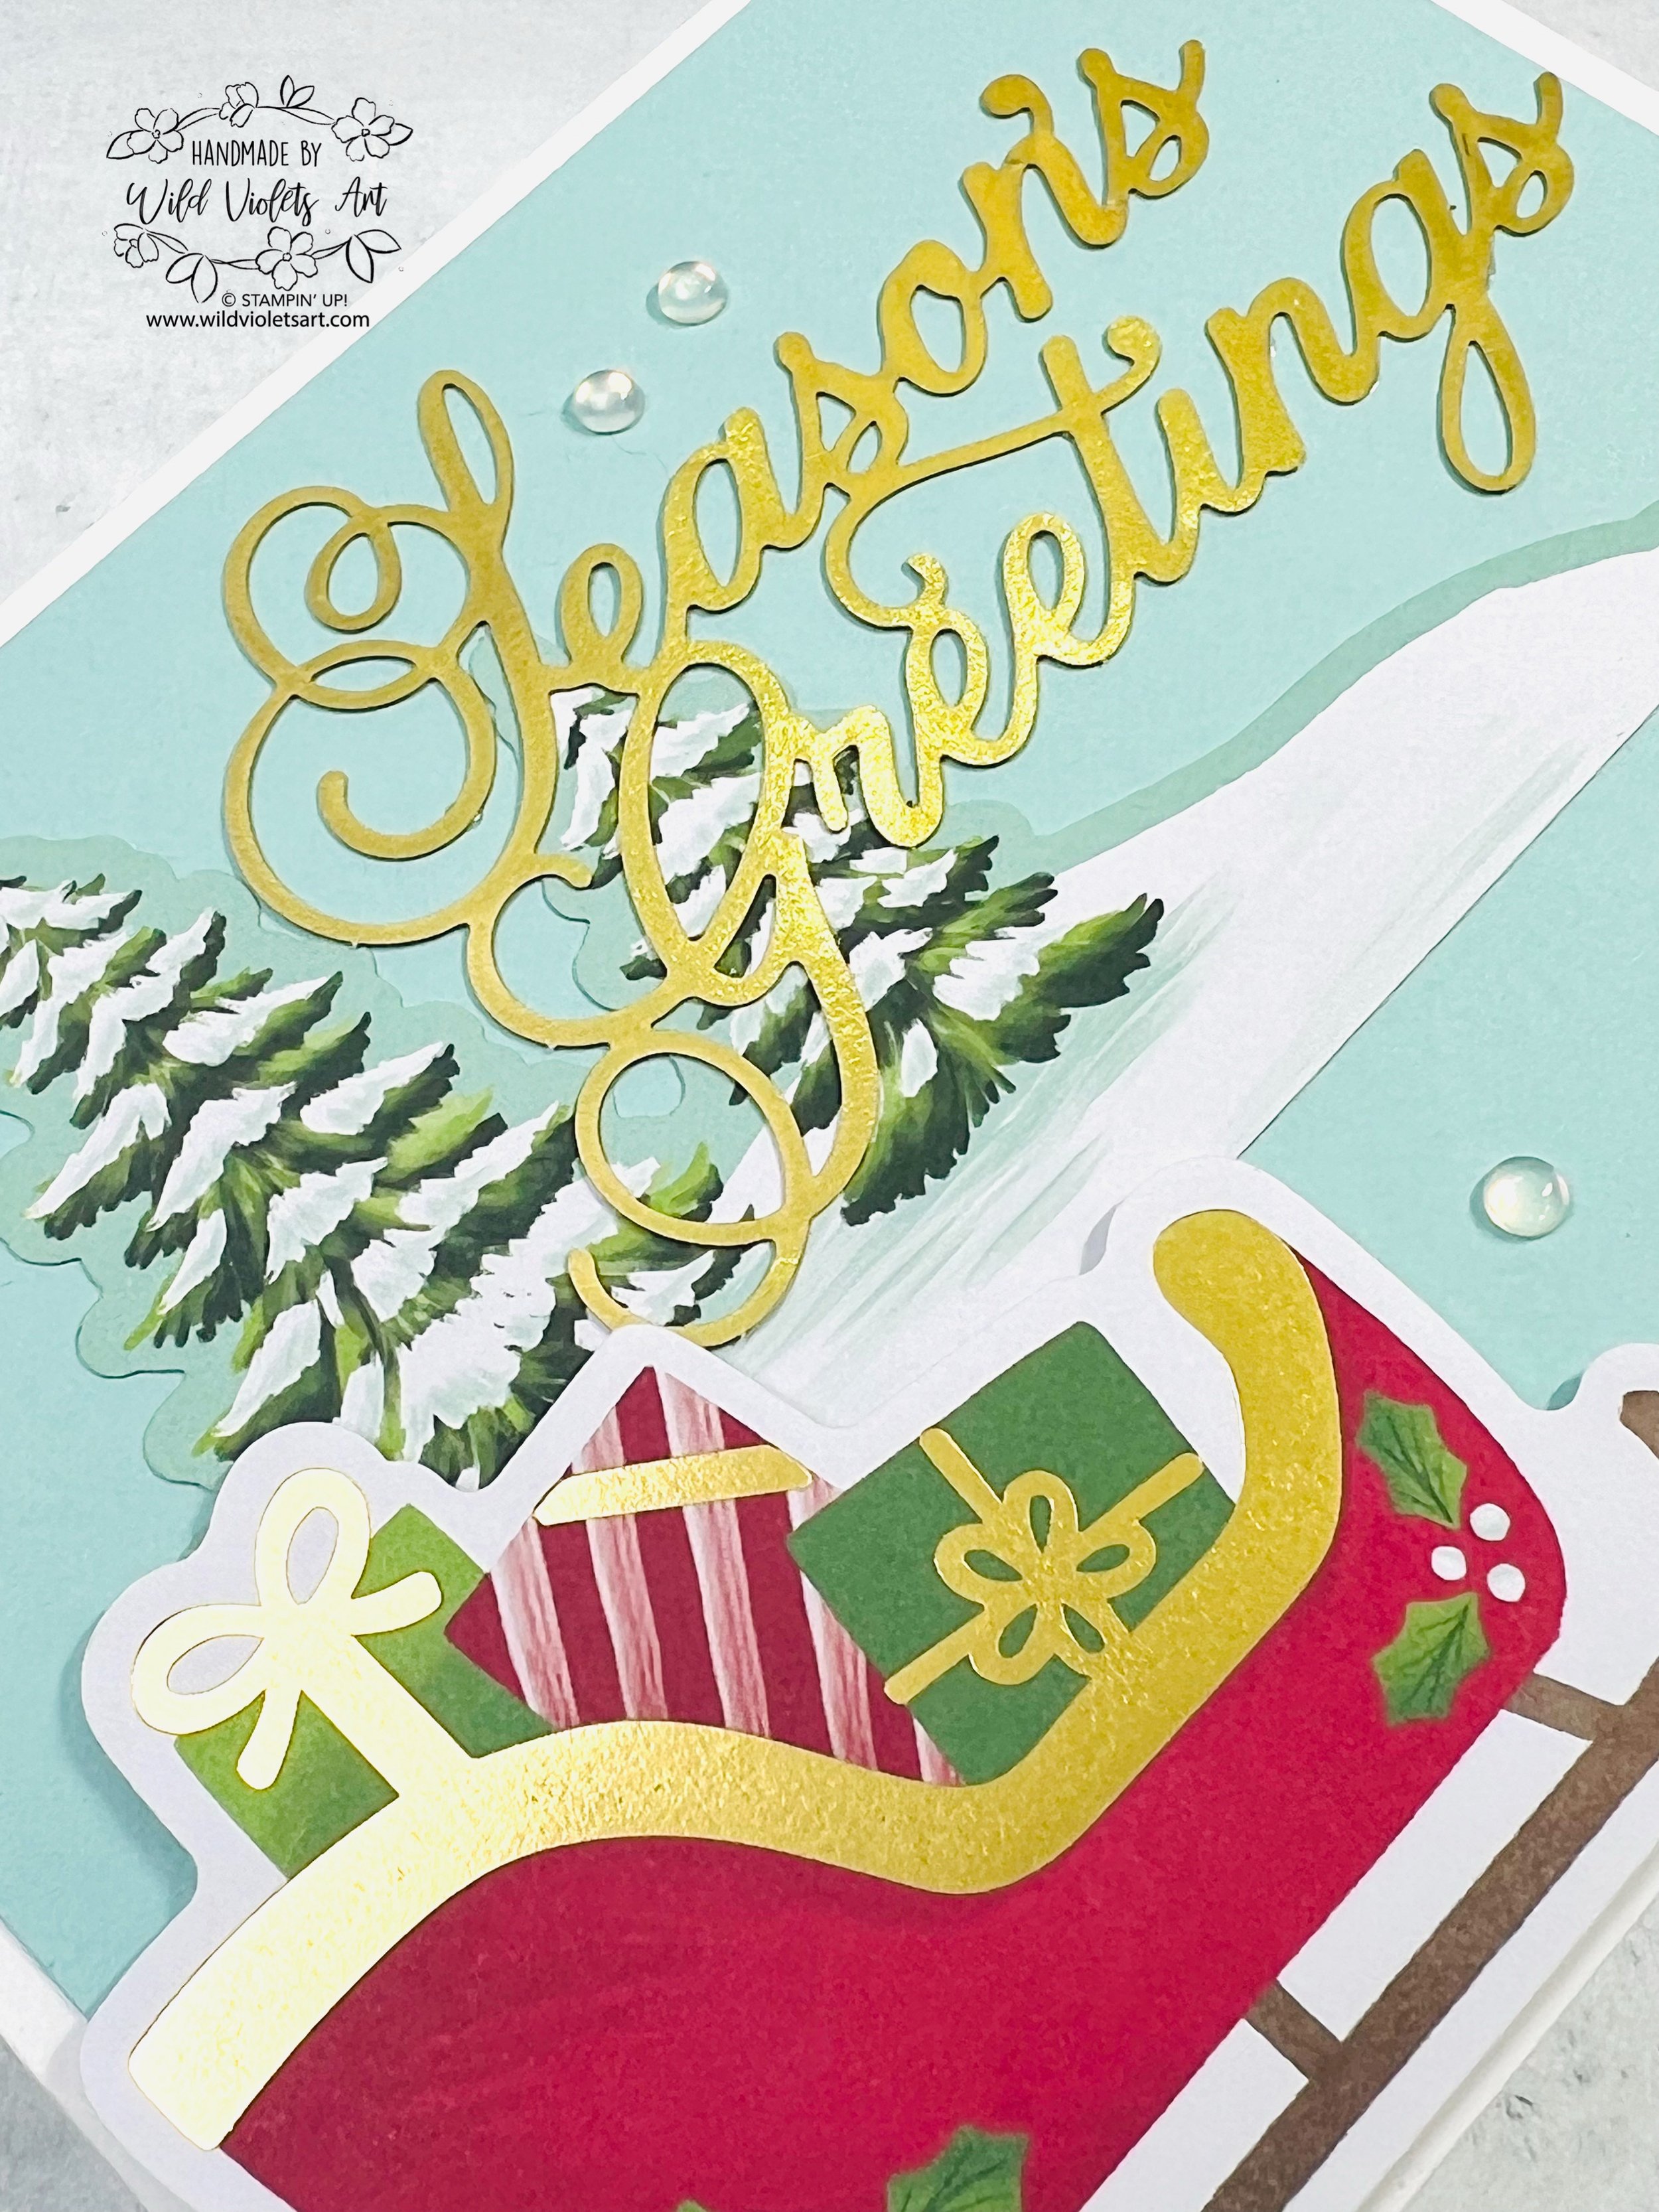
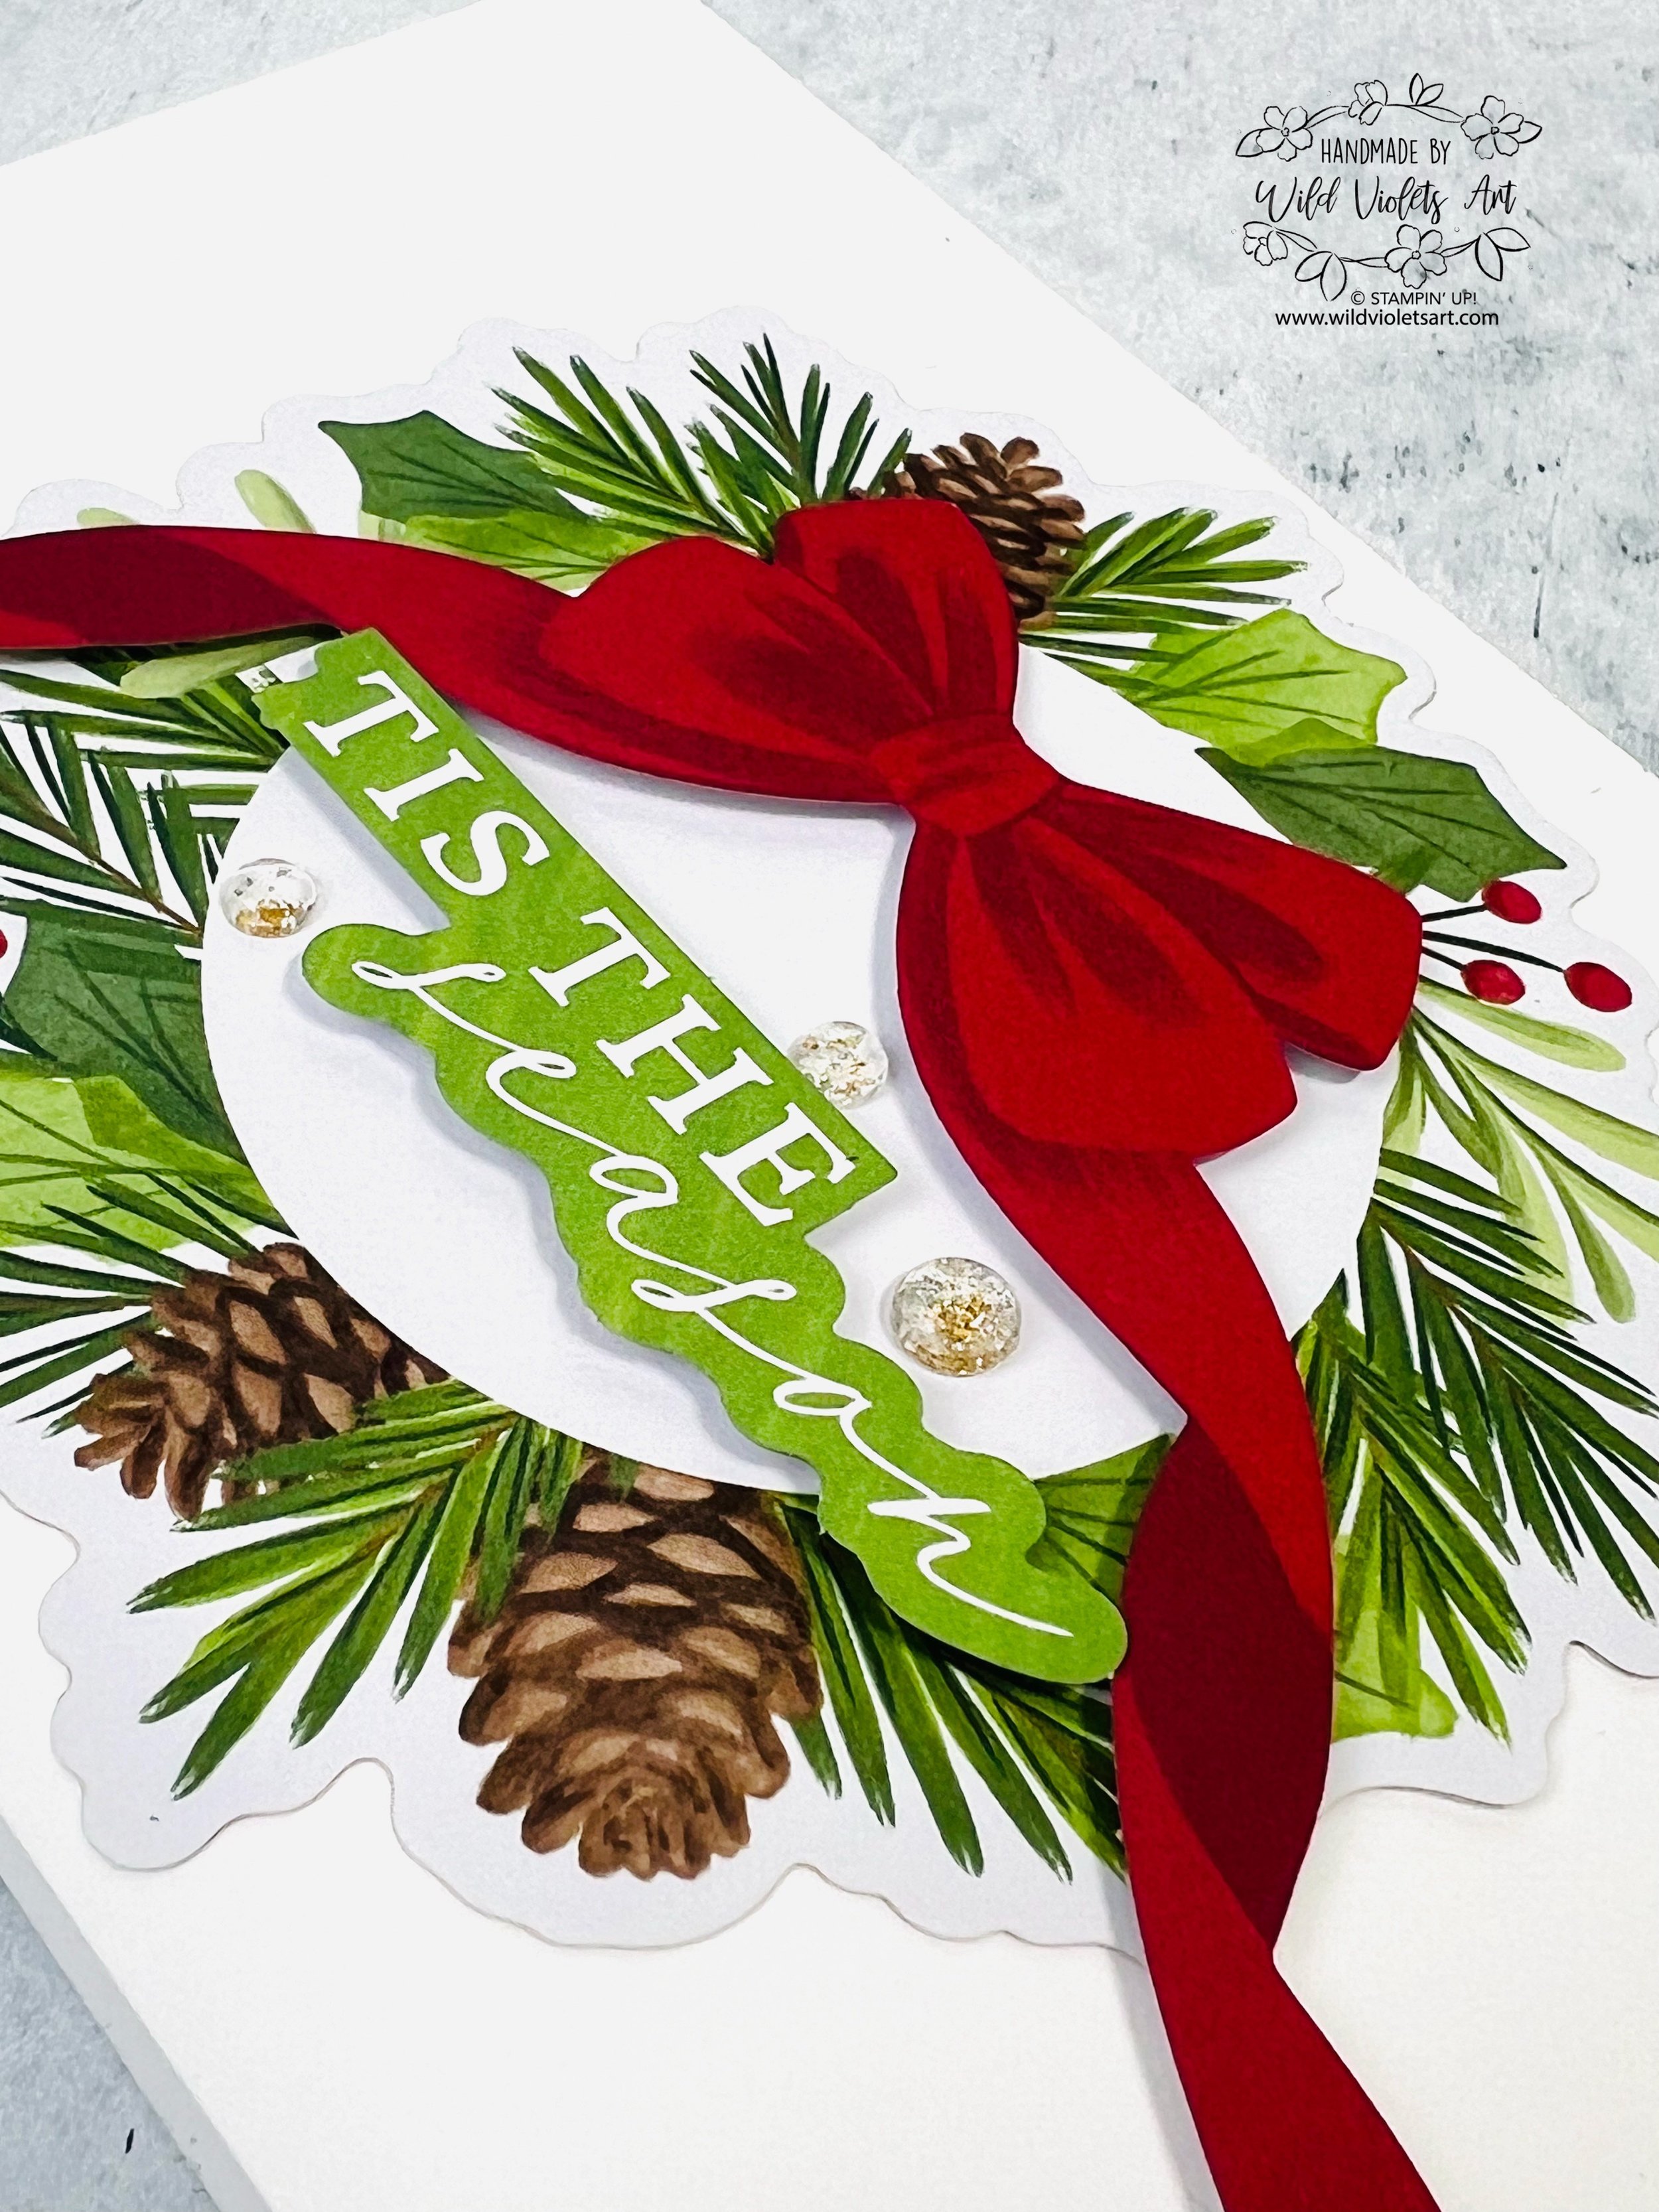
Using the leftover die-cuts, create matching holiday cards! Layer the designs with complimentary cardstock, add a festive sentiment from Joyful Sayings Ephemera Pack, and finish with your choice of adhesive gems for that extra sparkle. More pictures of cards below in gallery…
These gift bags and cards are a delightful way to make your holiday gifting extra special. For more tutorials and ideas, follow me on Facebook or explore my blog for more crafting inspiration. Let’s make this season merry and bright with handmade treasures!!


