

Forever Fern Gift Box Set
I love that I have the ability to create gifts right at my fingertips. They only take a few hours and the results are always appreciated. One of my favorites is making card gift sets. Stampin’ Up! makes it so easy to make fabulous gift boxes and cards.
This month, I had some sweet customers that had big orders or parties and wanted to give something to show my appreciation.
This beautiful fall colored boxed set was created with the Forever Greenery Suite, with the fabulous Forever Fern rubber cling stamp set and Forever Flourishing dies (see my other post about this amazing suite). One of the best thing about the dies, is there is no need for the fussy cutting to get that wonderful layered 3D look.
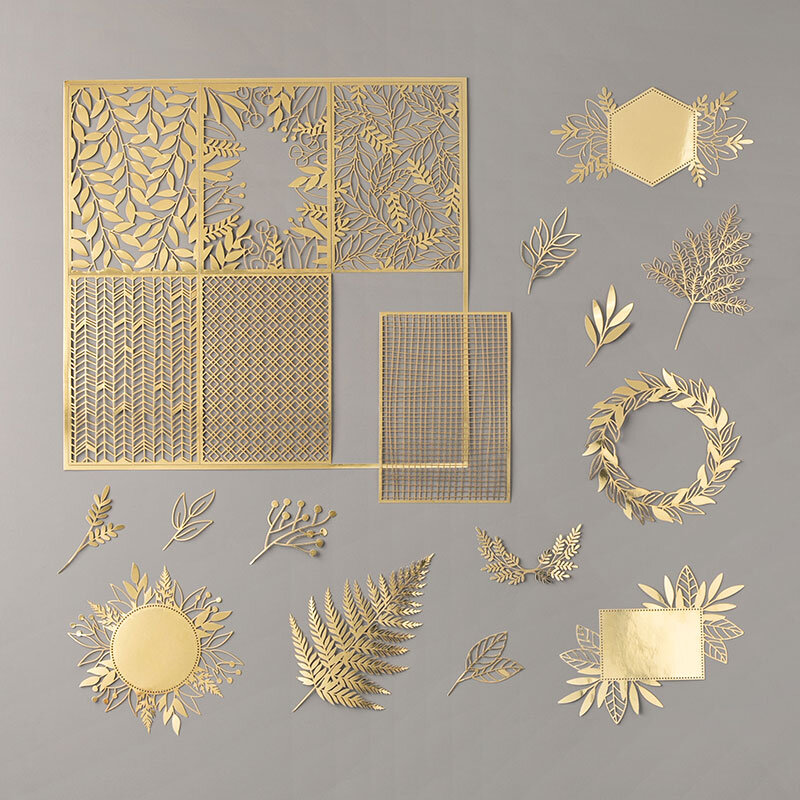
Part of this gorgeous suite is the Forever Gold Laser-Cut Specialty Paper that adds stunning foliage elements to an already beautiful set of stamps and dies! For this box set, I added the box template that I cased from another demonstrator from the UK, but added a template that gives a visual for measurements (see below). I made two each of the cards for a set of 6 cards.

I started with Sahara Sand CS for the base of all the cards and the box, along with Whisper White, Pumpkin Pie and Old Olive CS for the layers. I used Sahara Sand, Pumpkin Pie and Old Olive for the inks as well. I used the Greenery embossing folder for one of the card designs and the box front on the Whisper White for that 3D elegant look. I used my Gold Foil CS for some of the layers, and used Tasteful Labels dies for the verse layer. I just love the linen and gold ribbon in the Forever Greenery Trim Combo Pack, and used the Gold Glitter Enamel Dots for that final touch, as they really pick up the colors in the cards perfectly! And of course I stamped the envelopes as well!


For the box construction, see below for measurements. The box base is 8-1/2”x11”, and the lid that gets attached, starts at 5-7/8”x7”. As you can see, the lid is glued onto the base with the 1/2” tab. The cross-hatched areas are where you cut out after scoring on all the lines. It is best if the box base and lid are stamped before scoring and cutting to get the continuous look. For the lid, using the 1/2” edge glued down gives it a sturdy lid for closure of the gift box. I used Velcro, but think next time I am going to use magnetic closures. I used a circle punch on the inside edge to give easy access to the cards after the box was put together.
Further below is another box set I created using some of the same stamps & dies as above.


This boxed set idea was CASE’d somewhat from a gorgeous card made by Kasie Bertucci from Pinterest using items from the Forever Greenery Suite. I loved the colors so much, I decided I wanted to make a set of cards using some of the same colors while adding Forever Greenery Laser-Cut Specialty Paper backgrounds that come in the Forever Greenery Suite. I switched up the backgrounds by turning them over and using the white side on half of the cards. One sheet of the laser-cut backgrounds provides for 6 cards or more depending on how you use it.
The cardstock of this box set of cards starts with Whisper White, Gray Granite, Night of Navy, So Saffron, Vellum CS and the Forever Gold Laser-Cut Specialty Paper. For the layer behind the white laser-cut layer, I used the gray concrete sheet In Good Taste DSP, and it really makes it look elegant! The inks are Night of Navy, Gray Granite, and So Saffron. I again used Tasteful Label dies for the sentiments, the gold cord from the Forever Greenery Trim Combo Pack, and used the Gold Faceted Gems for the final bling. The box ribbon is retired SU! (hate when that happens… lol).
Be sure to let me know if you need any additional information or enjoy making the above card box sets! Happy Stamping!