Nests of Christmas Paper Pumpkin Kit Scrapbook Spread Tutorial
Merry Christmas
As the weather turns colder, there’s nothing like curling up with a warm drink and crafting something cozy! The “Nests of Christmas” November 2024 Paper Pumpkin kit has quickly become my go-to for winter scrapbooking and card-making. With beautiful, deep greens, snow-dusted accents, and festive designs, each creation has a way of bringing that peaceful wintery feel indoors.
As the weather turns colder, there’s nothing like curling up with a warm drink and crafting something cozy! The “Nests of Christmas” November 2024 Paper Pumpkin kit has quickly become my go-to for winter scrapbooking and card-making
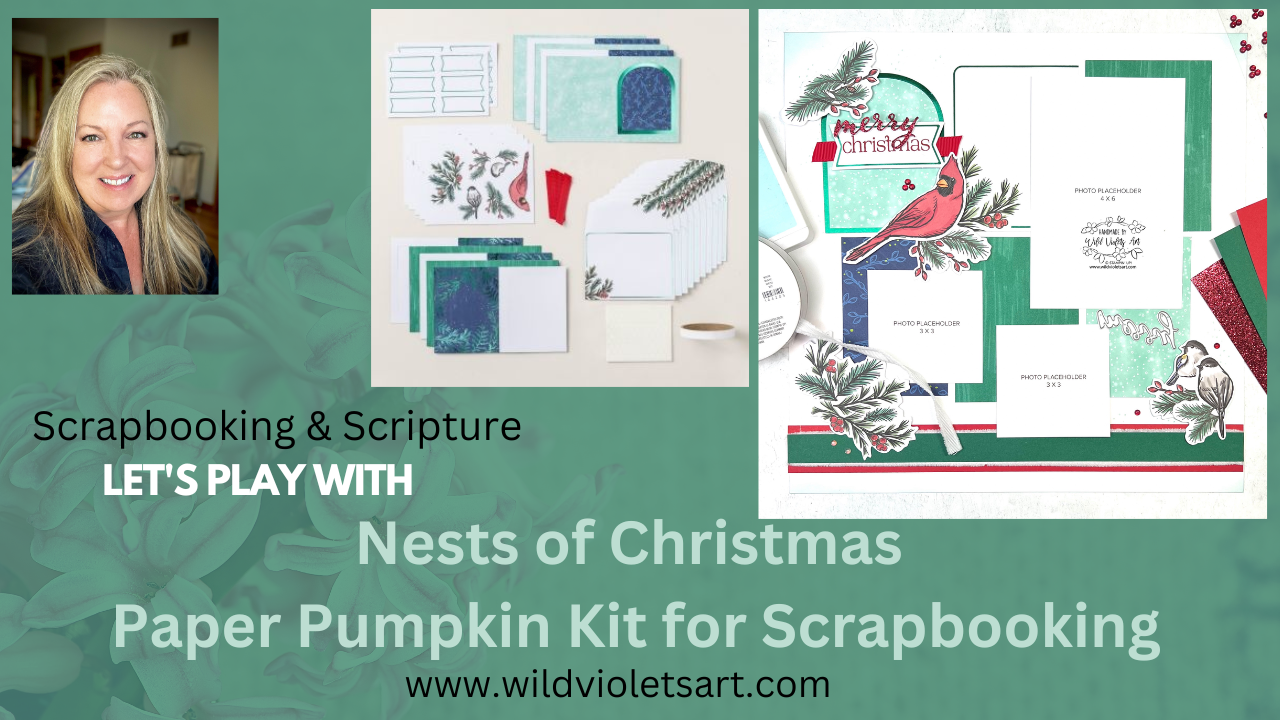
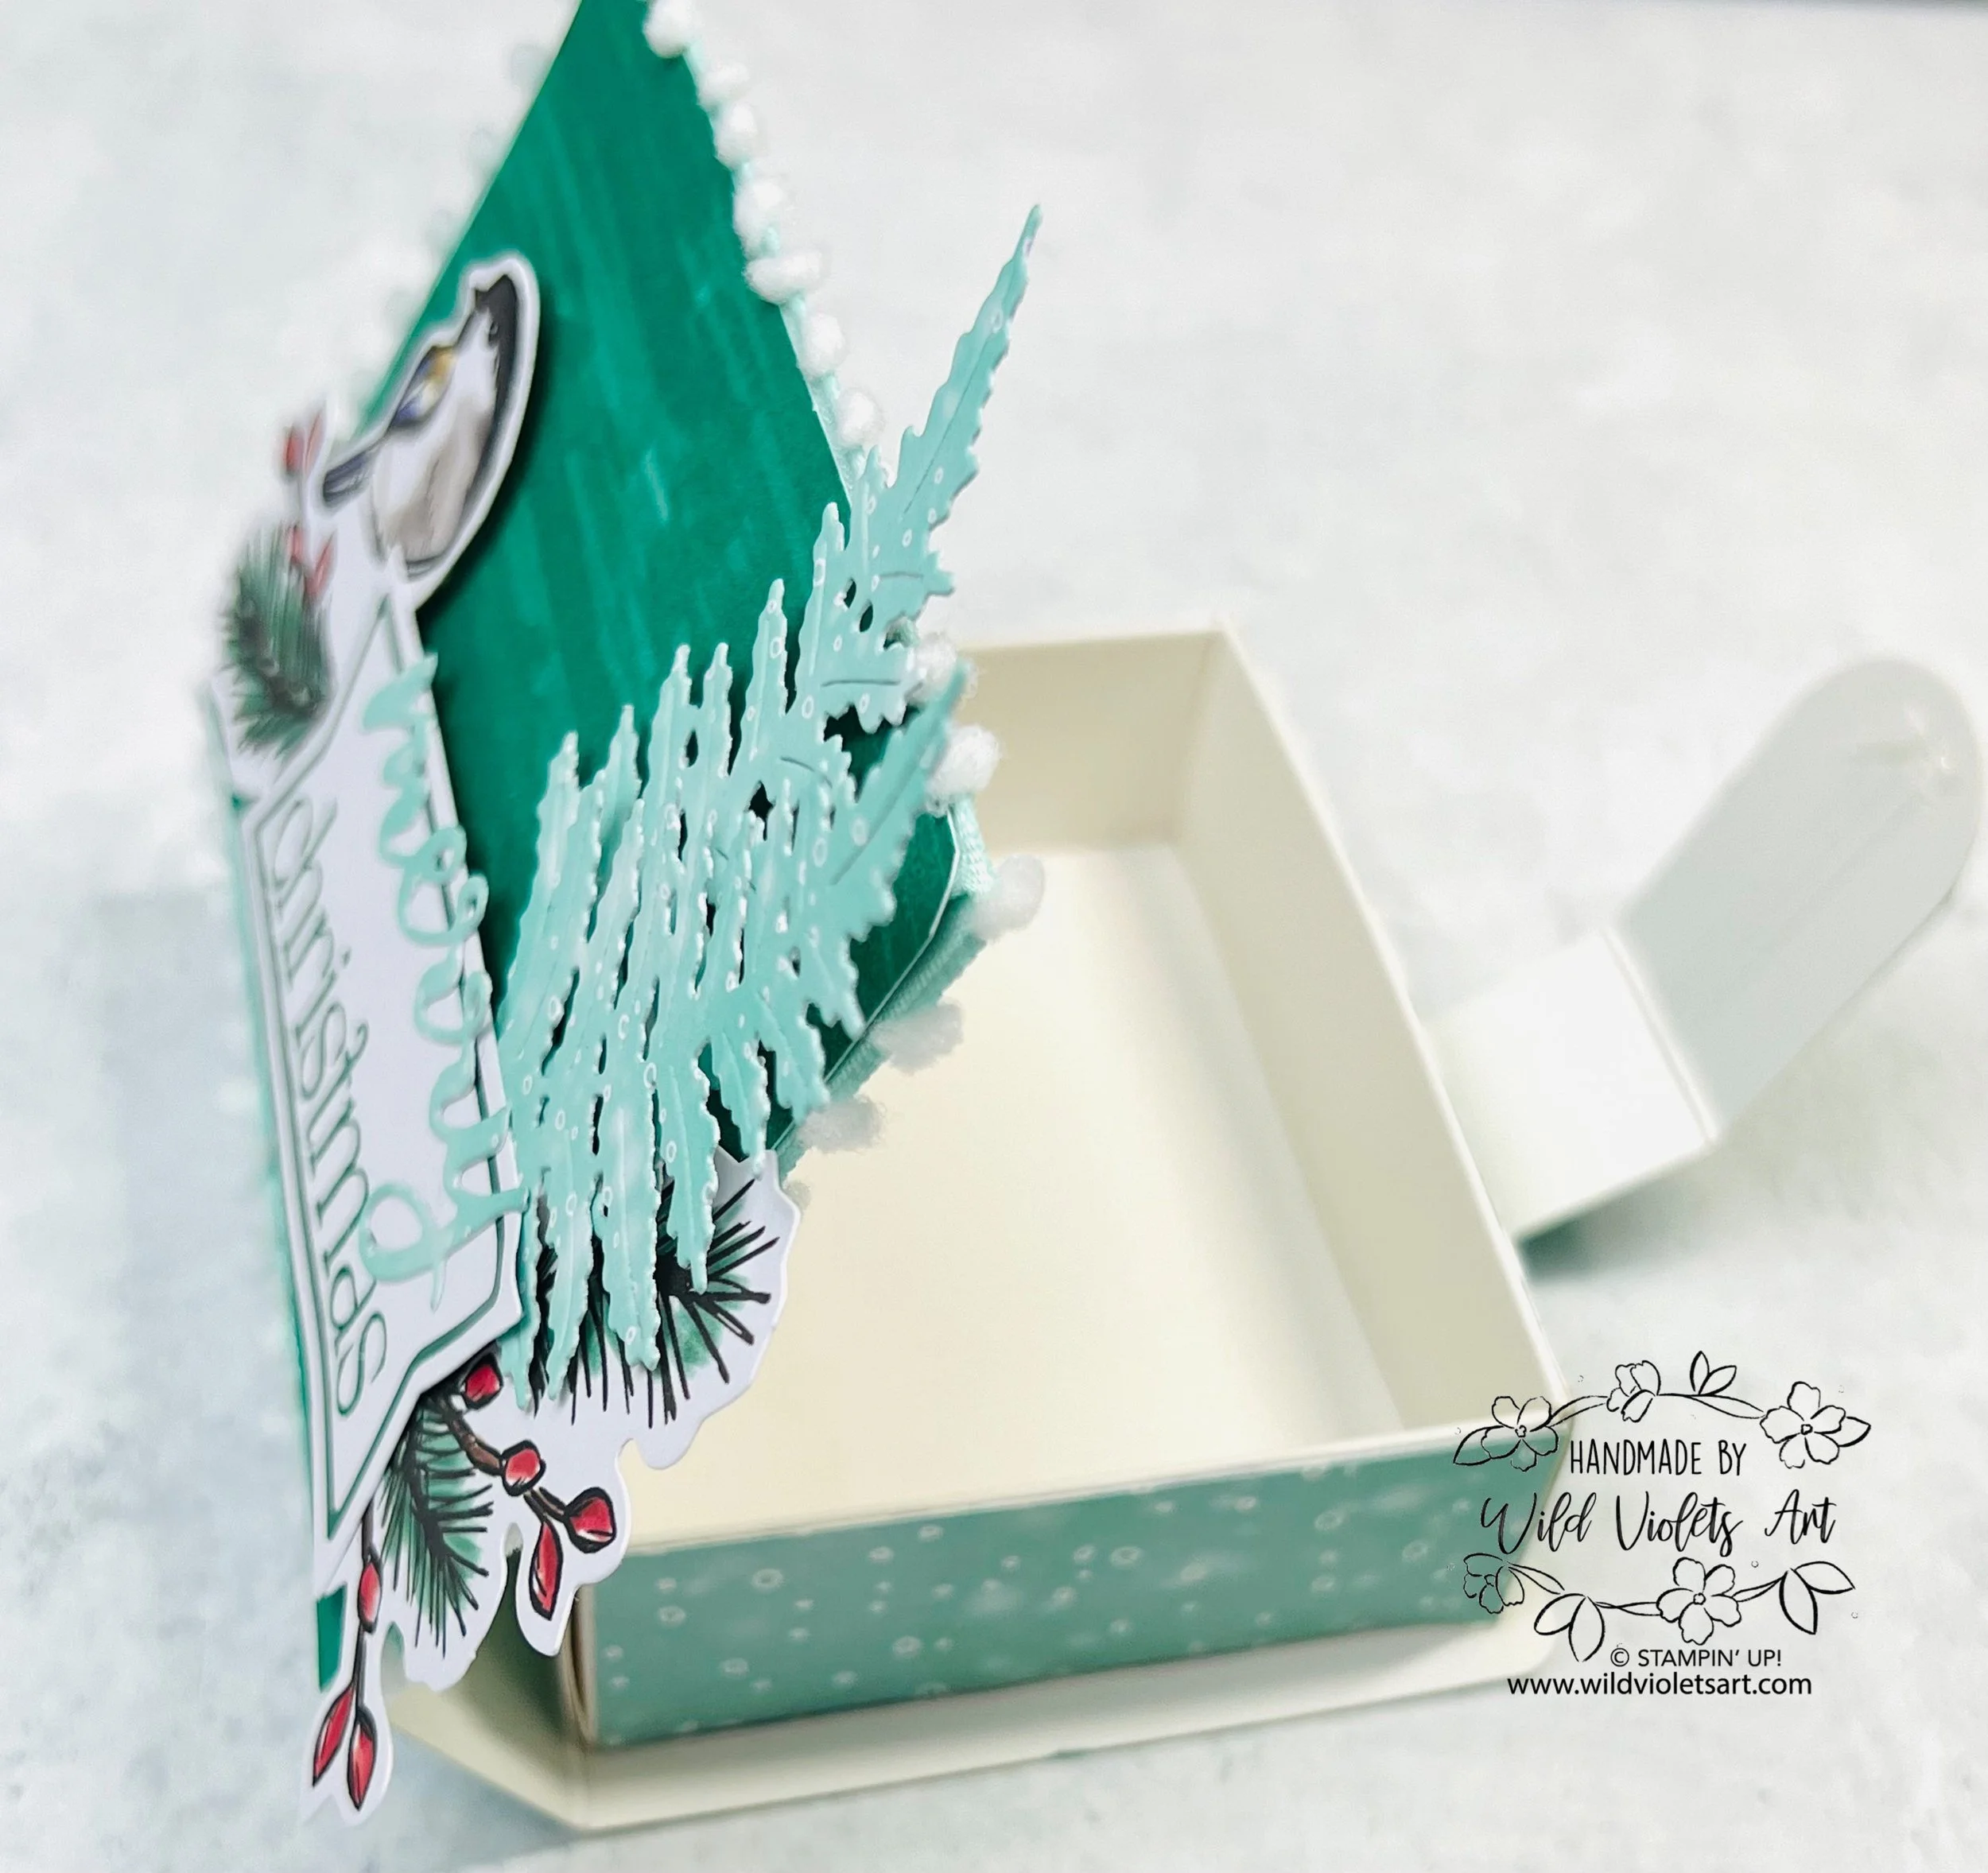
See video tutorial & more alternate card photos below…
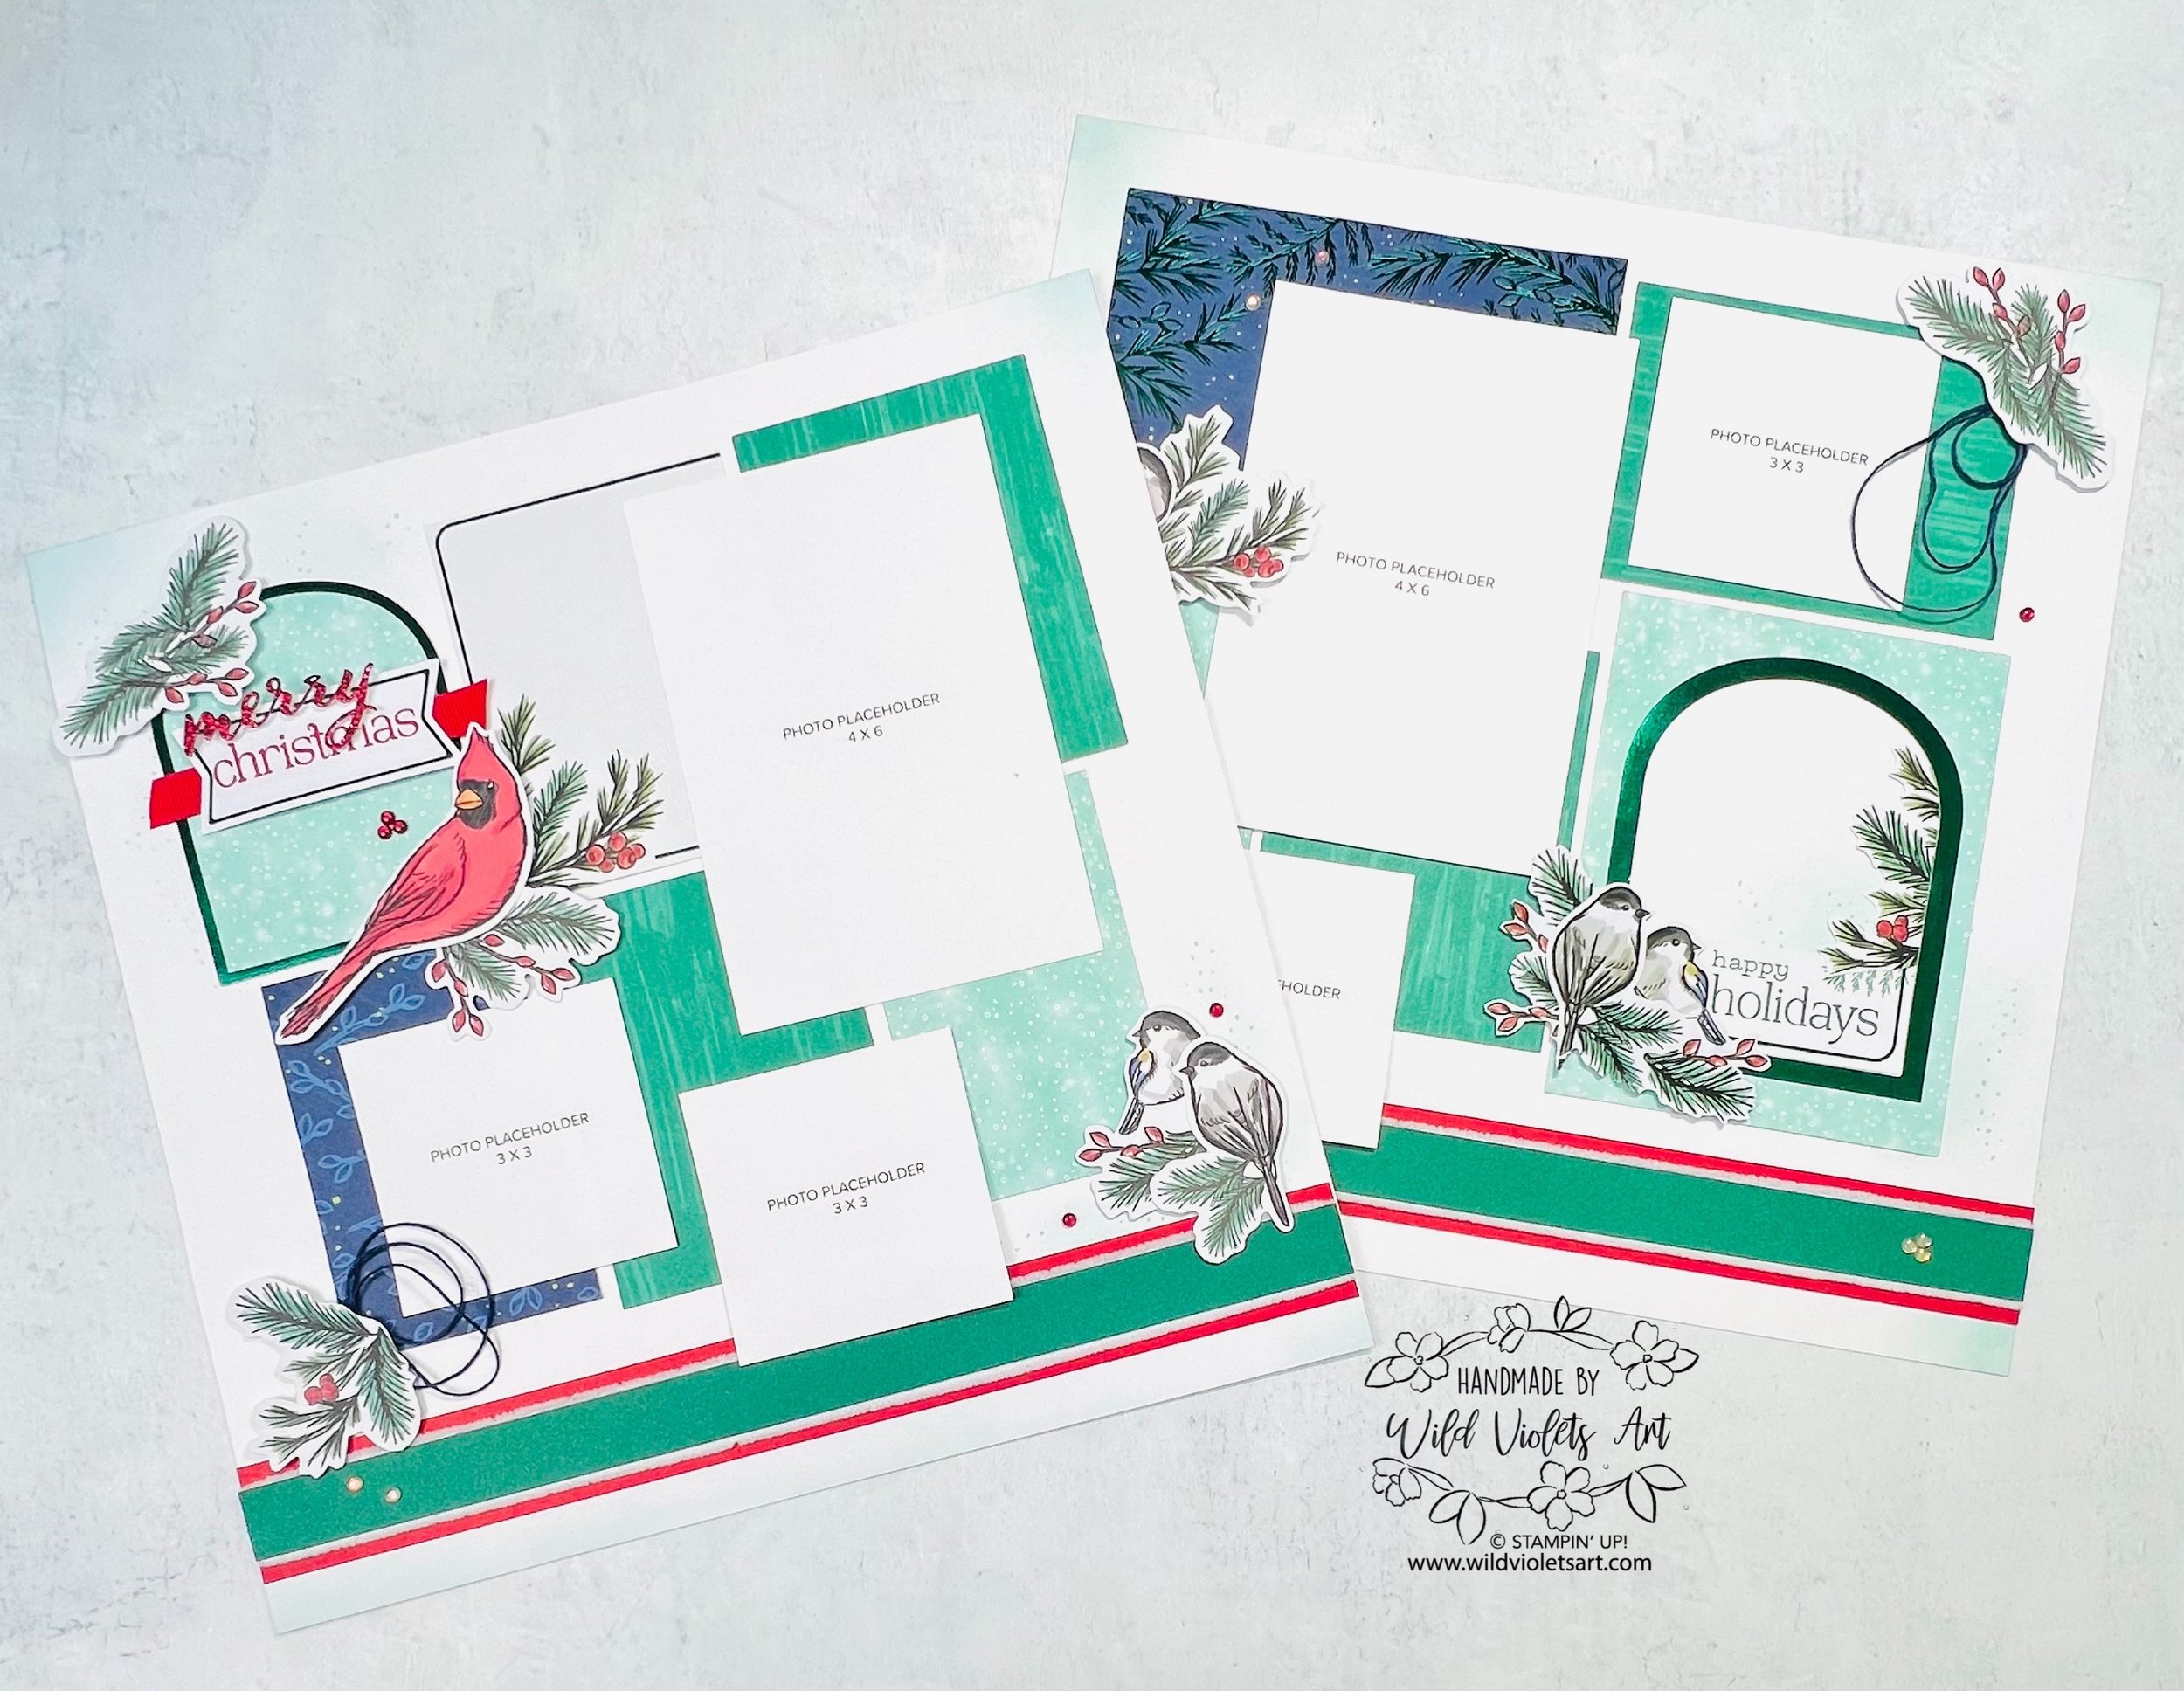
Celebrate the holidays with this heartwarming scrapbook layout created using elements from the "Nests of Christmas" Kit. This spread combines cozy winter imagery of cardinals and chickadees, delicate pine sprigs, and a festive color palette to give your holiday memories a beautiful home.
Supplies You'll Need
Kit: "Nests of Christmas" November 2024 Paper Pumpkin Kit.
Dies: Merry Tags & More Dies Add-On
Base Cardstock: 12x12 Willow White Cardstock
Accent Papers: 12x12 Festive Glimmer Paper, Shaded Spruce Cardstock, & Real Red Cardstock
Embellishments from the Kit: Cardinal, chickadee, pine sprigs, and berry clusters from kit
Photo Mats: Two 4x6 and three 3x3 placeholders
Adhesives: Double-sided tape or glue
Embellishment: Cherry Cobbler & Pearl Adhesive-Backed Berries, White 3/8” Frayed Grosgrain Ribbon & Navy Natural Tones Linen Thread
Sentiment Stamps: "Merry Christmas" and "Happy Holidays" from Kit
Ink: Pool Party, Real Red & Shaded Spruce
See video tutorial & more alternate card photos below…
Step 1: Prepare Your Background
Set up your base with two 12x12 sheets of white cardstock placed side by side to form a cohesive spread.
Lightly apply a wash of Pool Party ink with Blending Brush in corners and sections where the photo mats will go, giving the page a soft winter glow.
Stamp snow sprinkles in Pool Party ink over color wash as desired.
Step 2: Background Mats
Prepare card bases and card peek-a-boo insets. I cut in the cards into 1/3 pieces or less.
Layer cut kit cards & envelopes for extra depth and contrast.
Position the 4x6 photo placeholders slightly off-center and scatter the 3x3 photo placeholders to balance the spread visually.
Create band by using a 1-1/4”x12” Real Red cardstock, 3/4”x12” Shaded Spruce cardstock with the white frayed ribbon cut in half and adhered to the back of the green strip.
Step 3: Add Sentiments
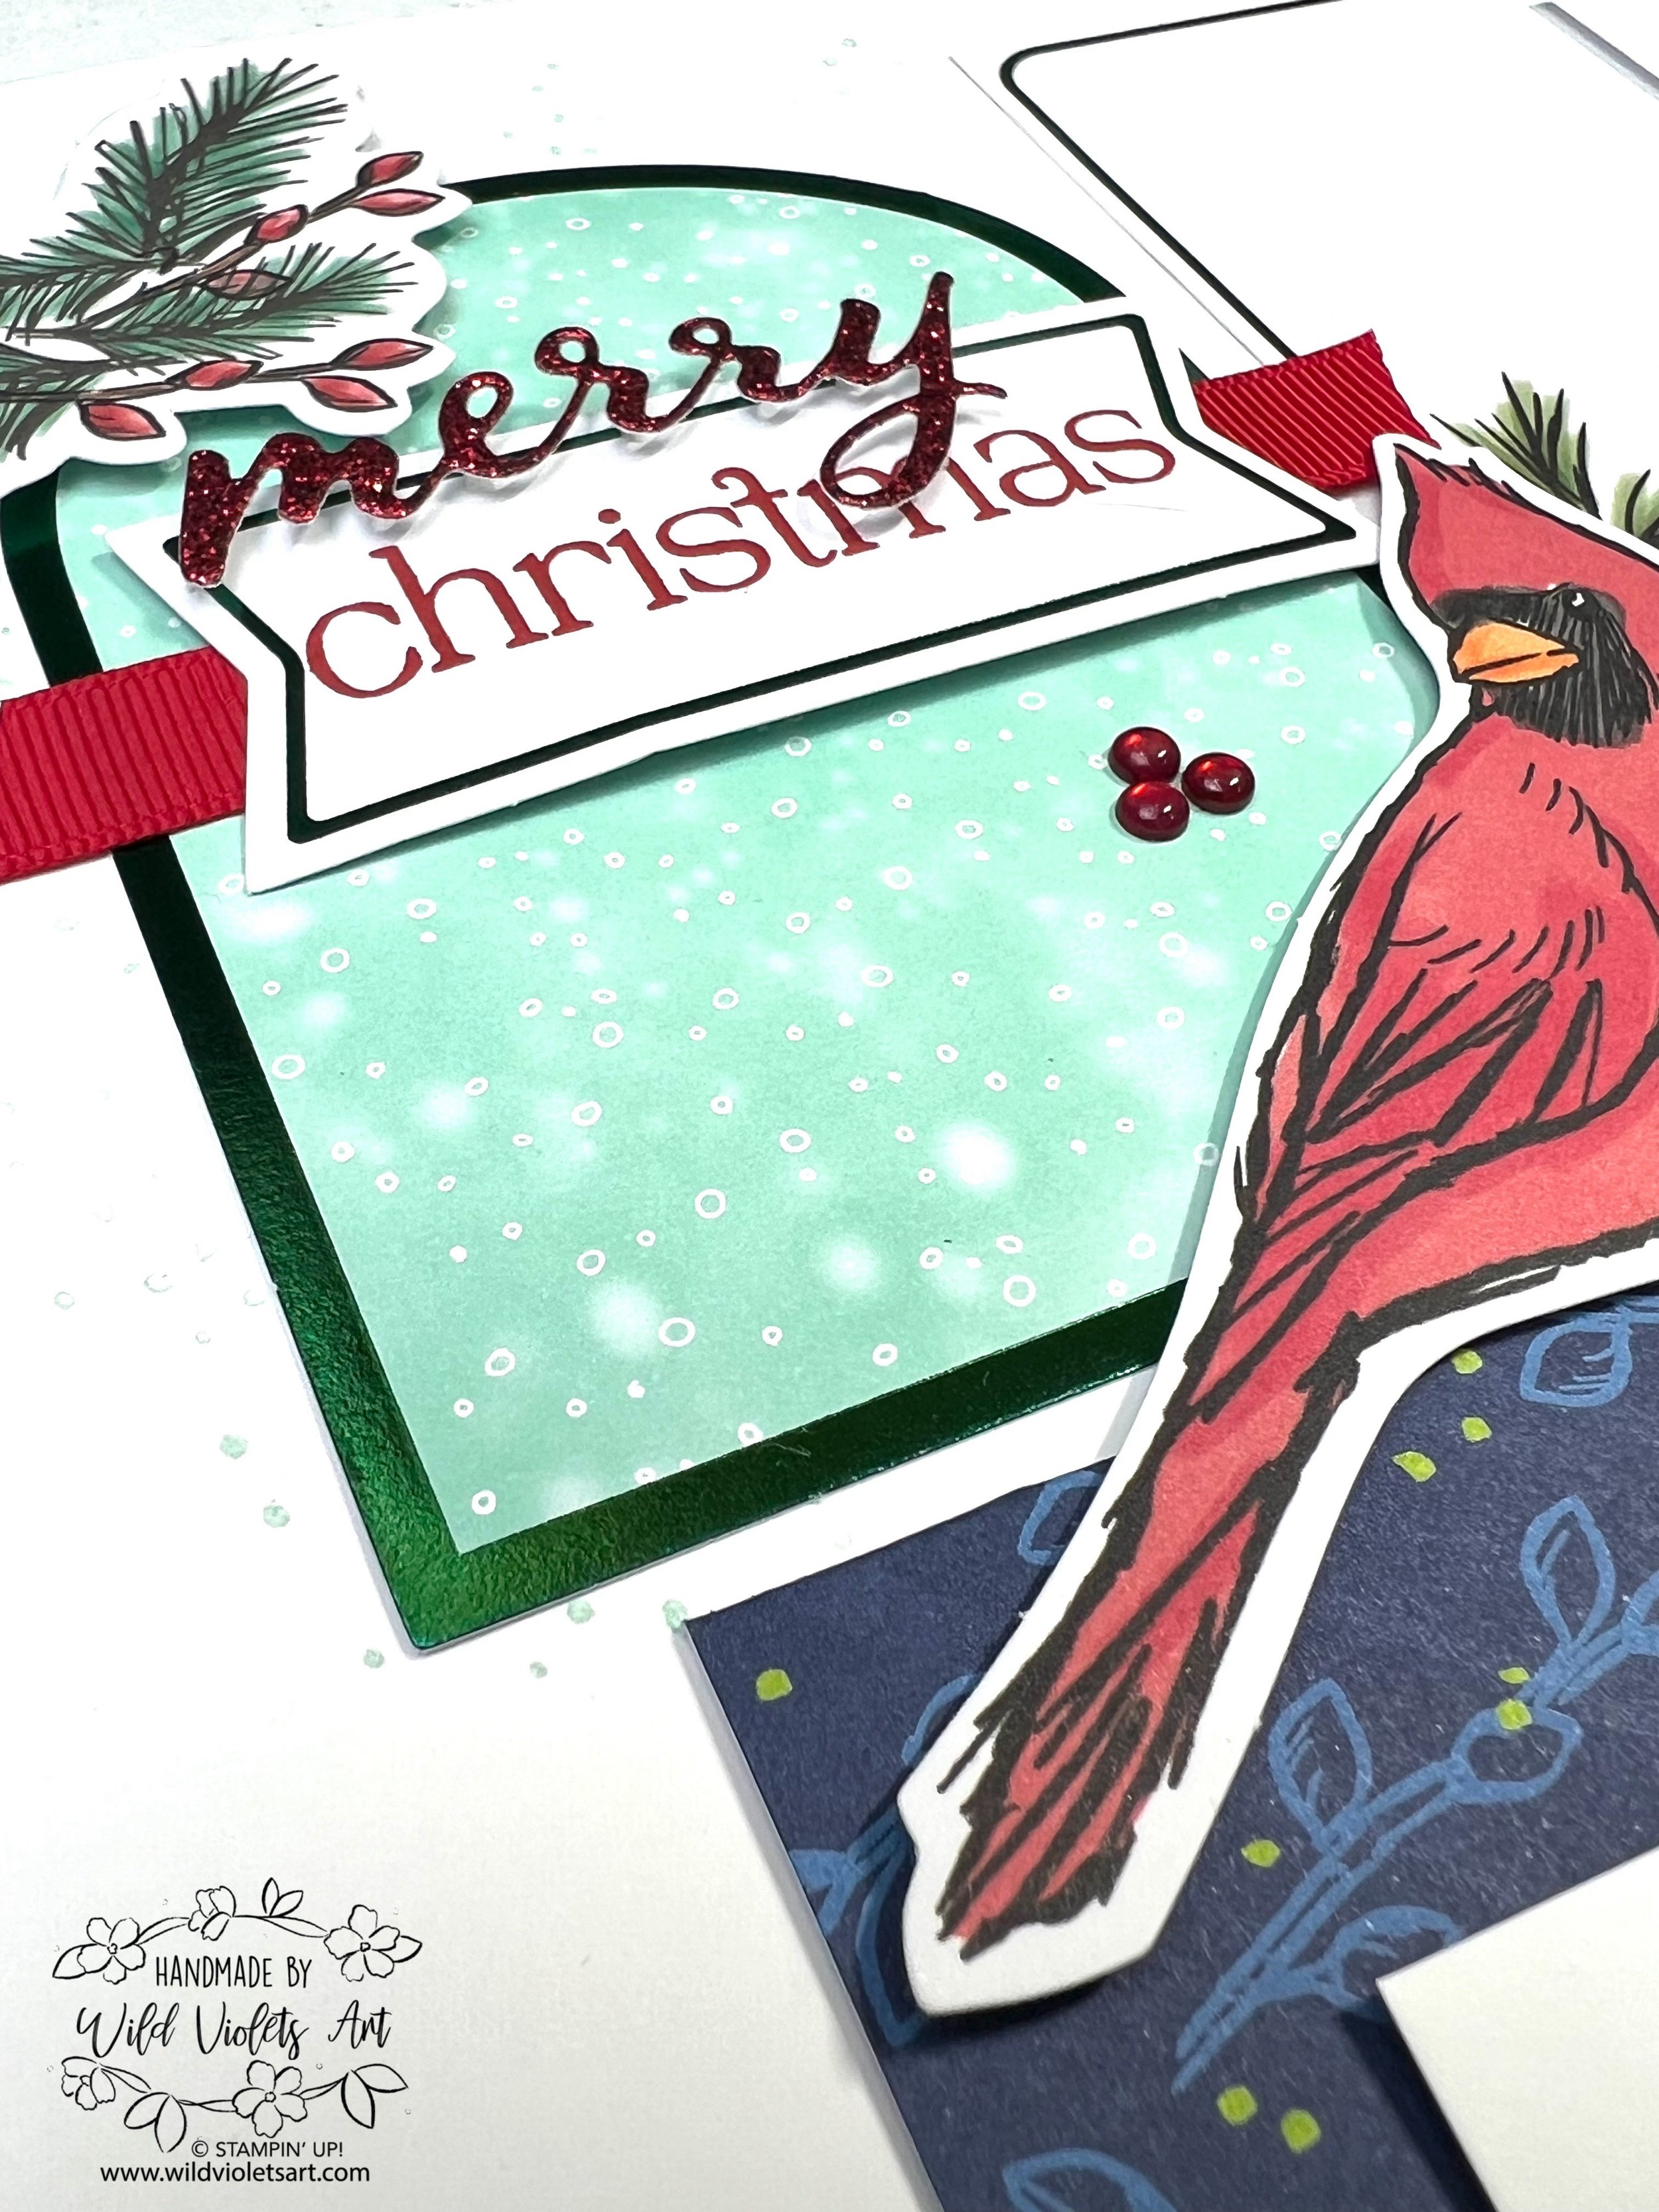
Die cut “Merry” from red glimmer paper using the Merry Tags & More Dies. Use a "Merry Christmas" sentiment from the kit above the cardinal on the left page to create a focal point.
Stamp “happy holidays” on corner of envelope front.
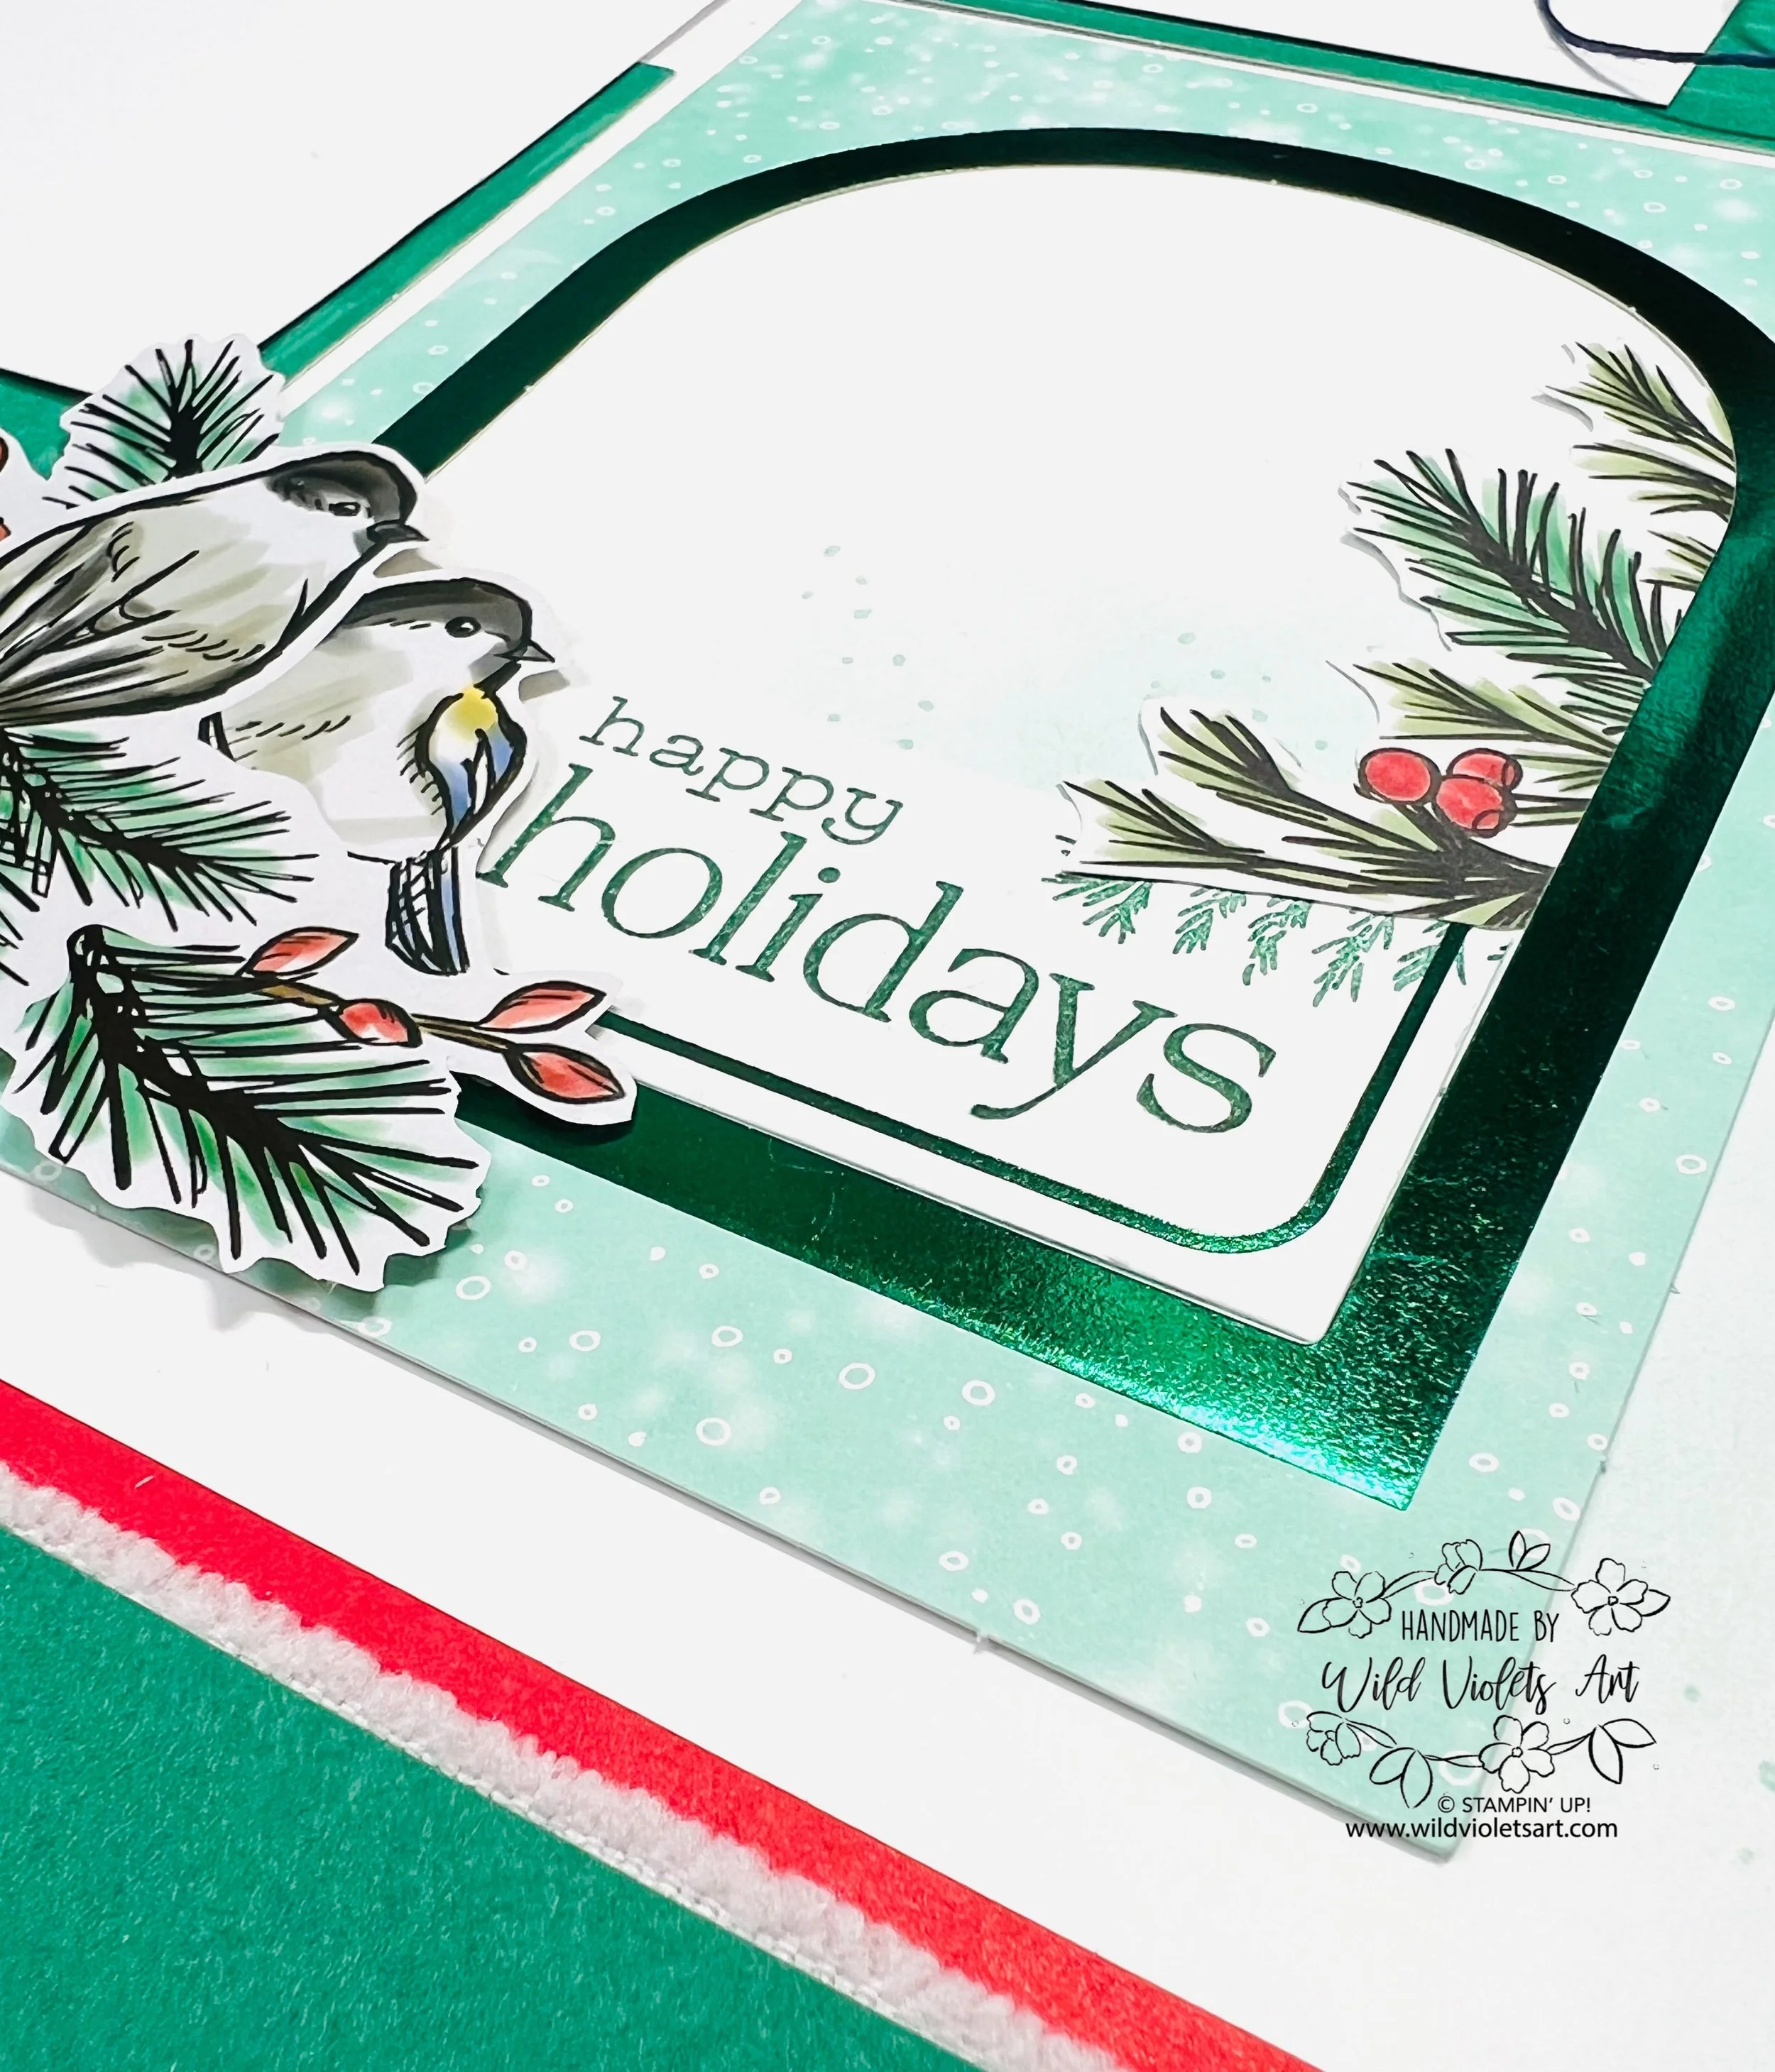
Add a "Happy Holidays" sentiment near the chickadees on the right page. Position it inside the arched frame to give it a cozy, inviting feel.
Step 4: Add Decorative Elements
Place the cardinal and chickadee embellishments from the "Nests of Christmas" kit: Feature the cardinal near the "Merry Christmas" sentiment on the left page, and arrange the chickadees around the “Happy Holidays” sentiment on the right page.
Add pine sprigs and berry clusters around each mat to frame the photos and create a cohesive, festive look.
I actually pulled the two chickadees from the kit box and added them to the right page, on the lower right corner.
Step 5: Add Finishing Touches
Add small red and pearl dots around the layout for a little extra sparkle and texture.
For added dimension, tuck loops of navy linen thread behind some embellishments to make the layout feel layered and dynamic.
This cozy and festive layout from the "Nests of Christmas" Paper Pumpkin Kit is perfect for capturing the magic of your holiday season. For more creative inspiration, visit Wild Violets Art. Enjoy crafting and happy holidays!


