FREE Sale-a-bration Awesome Otters and FREE DSP

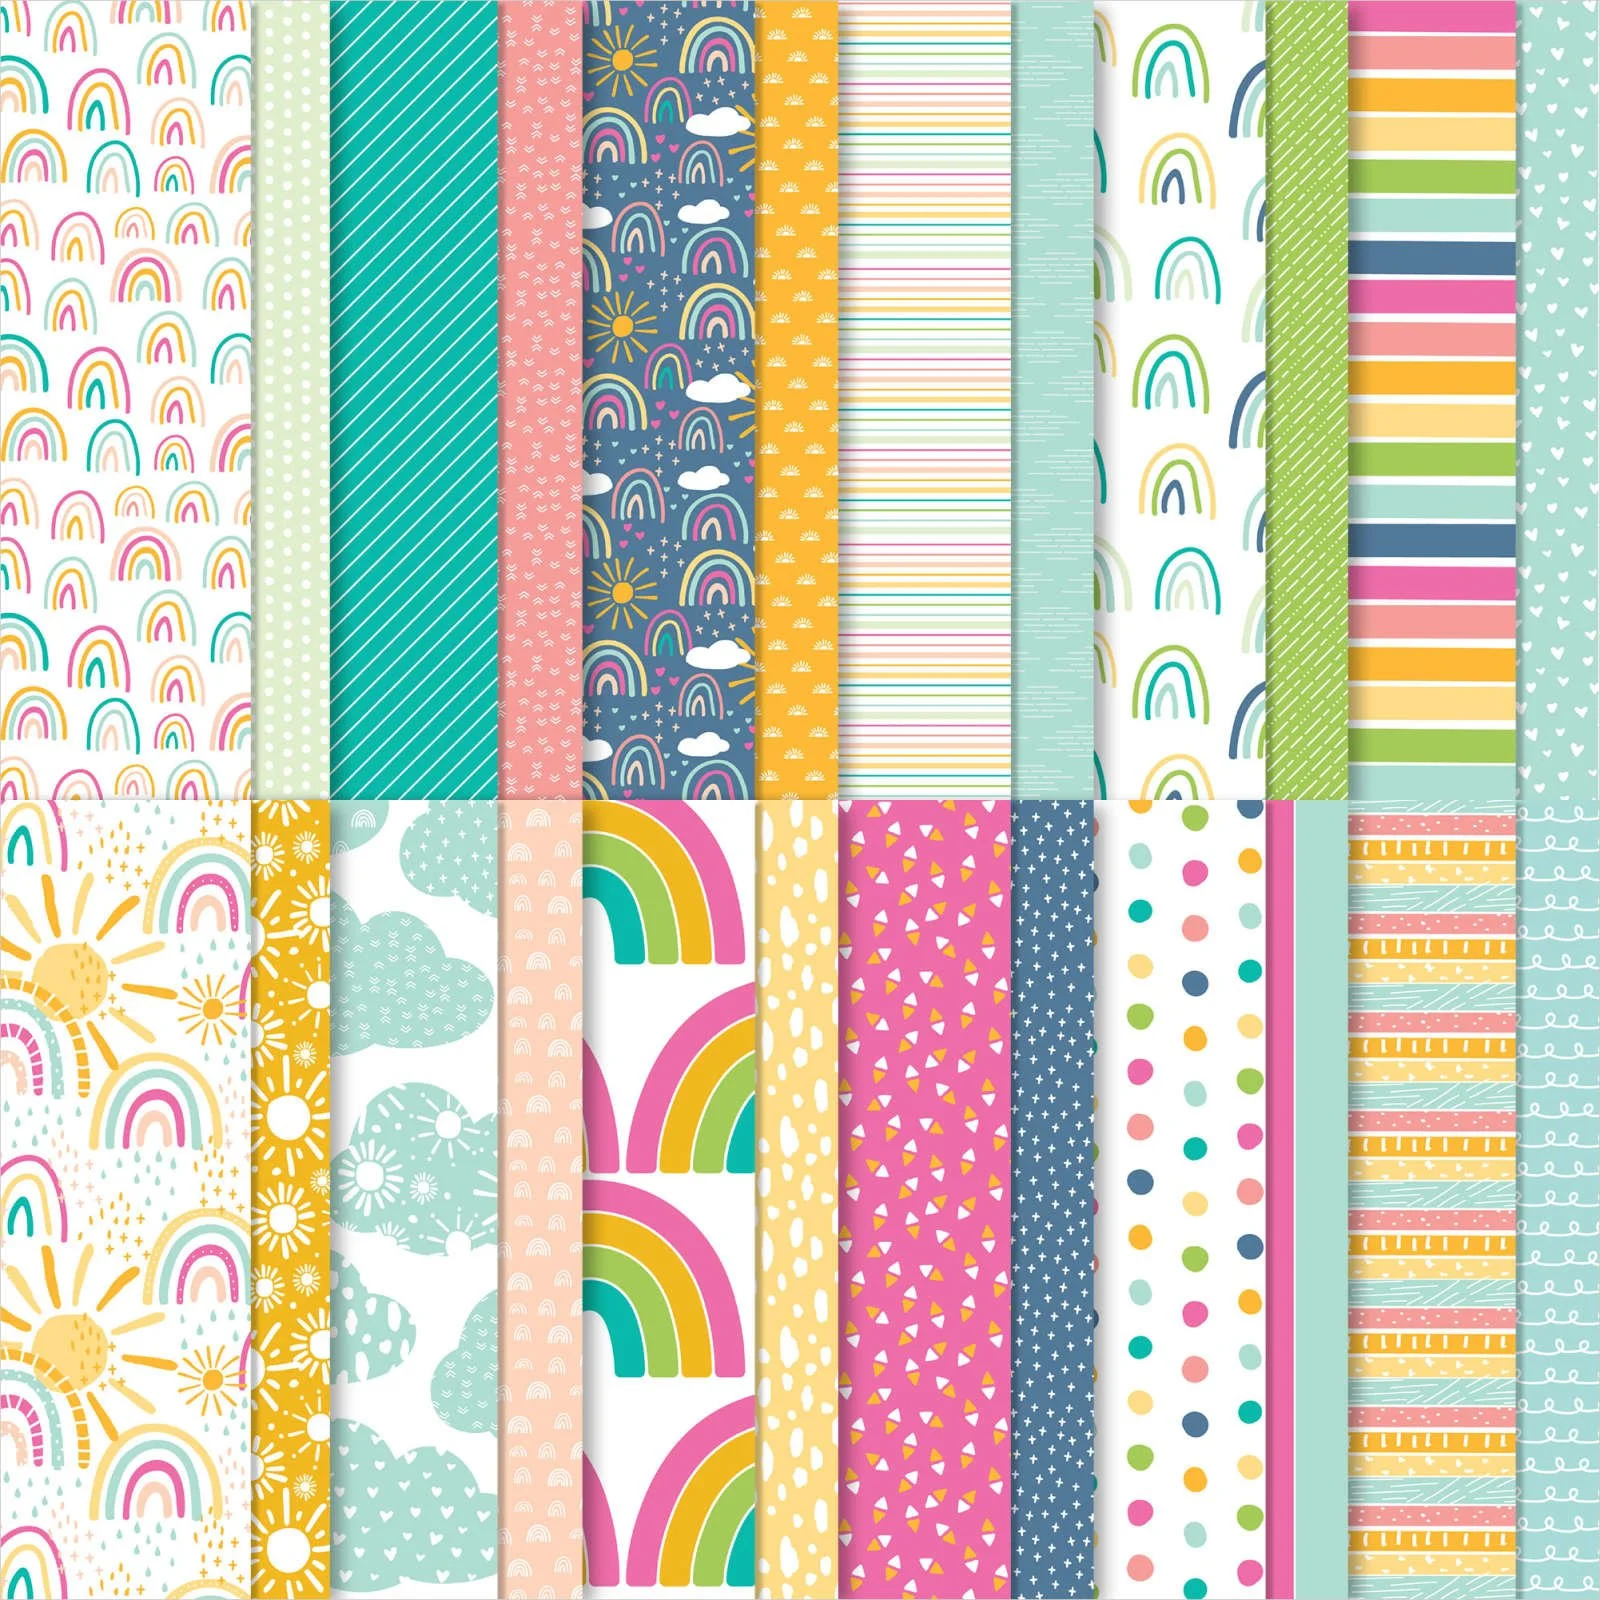
FREE Awesome Otters cling stamp set (with a $50 order) and FREE DSP (Simply Marbleous 6”x6” DSP and Sunshine & Rainbows 6”x6” DSP, both with $50 order), make for another surprise! These sweet little otters are a fun way to get out your blends or Watercolor Pencils for some otterly awesome results!
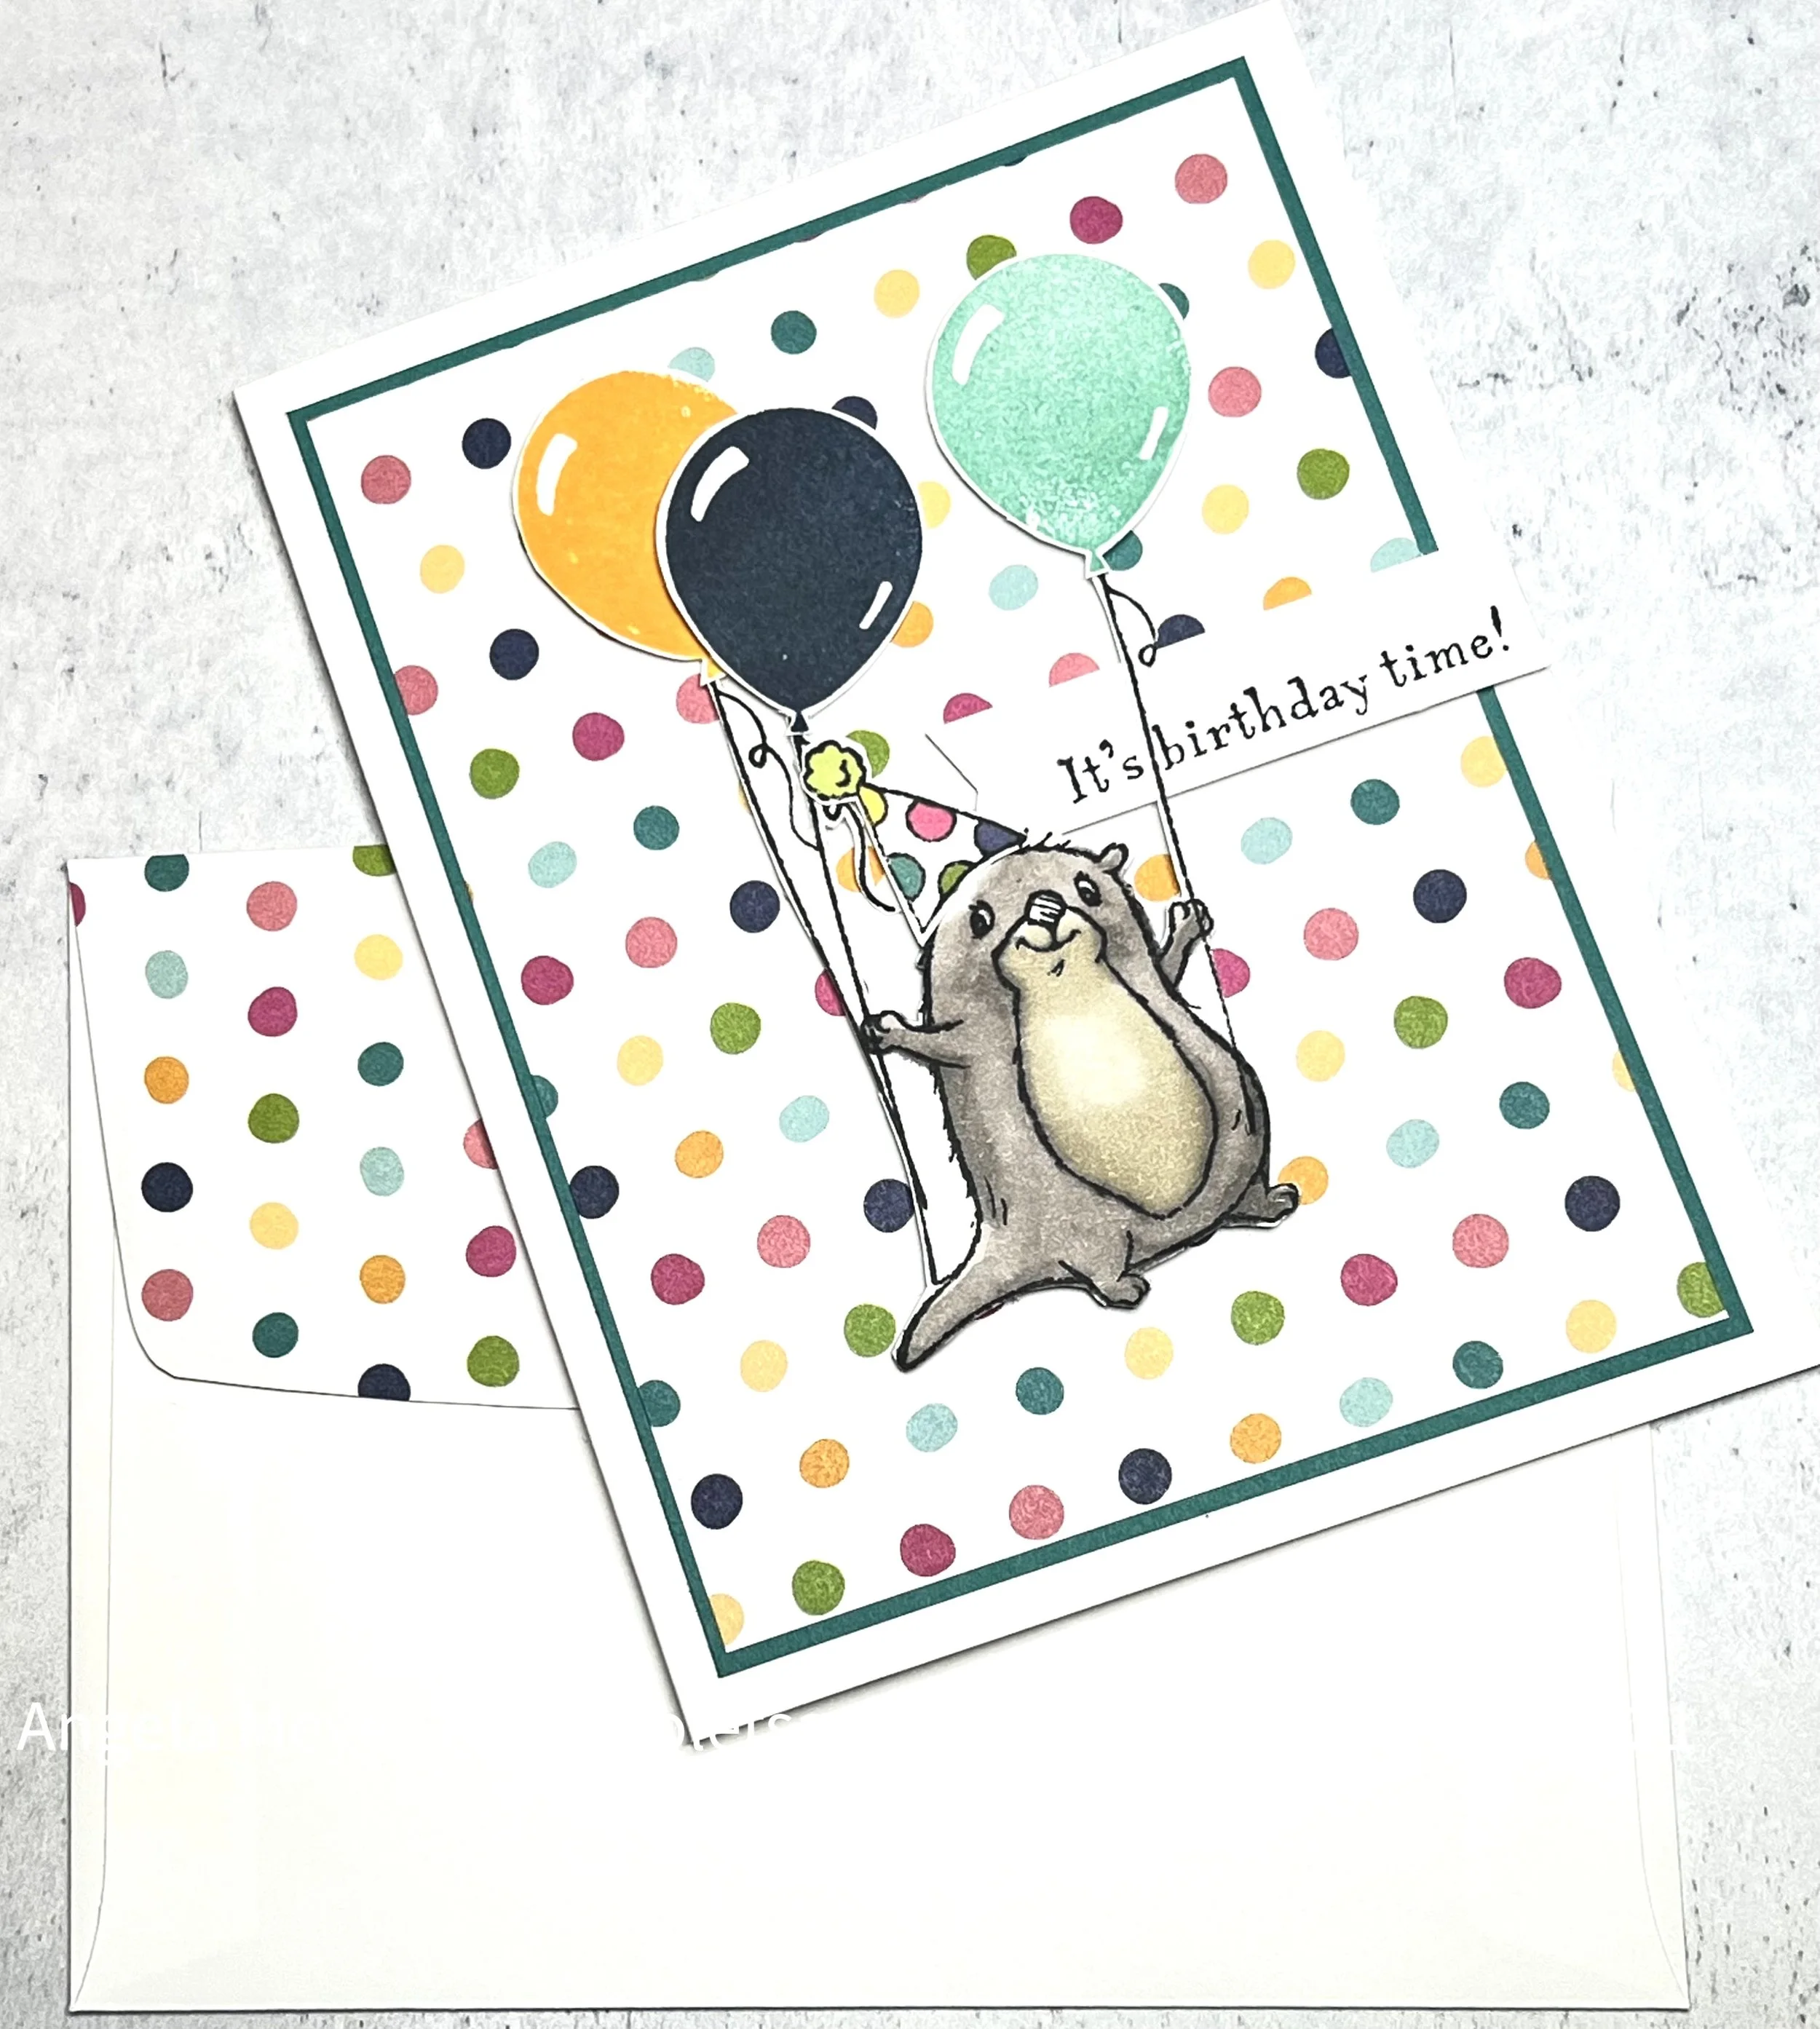
It’s birthday Time!
What a handsome little otter! I had fun playing with the FREE Awesome Otters stamp set with the balloons and strings from Penguin Place (from the retired 2022 J-D Mini Catalog, but will be available again in the 2023 J-D Mini Catalog).
I combined this cutie pie with the FREE Sale-a-bration Sunshine & Rainbows 6”x6” DSP for a birthday inspired card, using a 3-7/8”x5-1/8” piece of DSP glued over a 4”x5-1/4” piece of Bermuda Bay CS glued to a Basic White Thick CS base (5-1/2”x8-1/2”, scored at 4-1/4”).

I took inspiration from the DSP for the balloons, and stamped them using Mango Melody, Misty Moonlight, and Coastal Cabana inks on Basic White CS, then fussy cut around the balloons. The strings and otter were stamped together, inked with Memento Tuxedo Black ink so I could color the otter with Stampin’ Blends and fussy cut around both. I colored the otter using Gray Granite Blends for the main body and Crumb Cake Blends for the tummy. When coloring, I will start with the lightest blend, then darken with the dark blend around the edges, then come back with the lighter blend to smooth the edges and to give the otter a 3D look.
For the birthday hat, I stamped it with Memento ink and took inspiration from the DSP again, coloring it with Granny Apple Green Blends, Magenta Madness Blends, Mango Melody Blends, Bermuda Bay Blends, and Misty Moonlight Blend. The sentiment was stamped using Memento ink again on Basic White CS on a 2-1/2”x1/2” scrap, then flagged with the Banners Pick A Punch. All of the fussing cut items and sentiment were popped up on the card using Stampin Dimensionals. Adorable little otter!

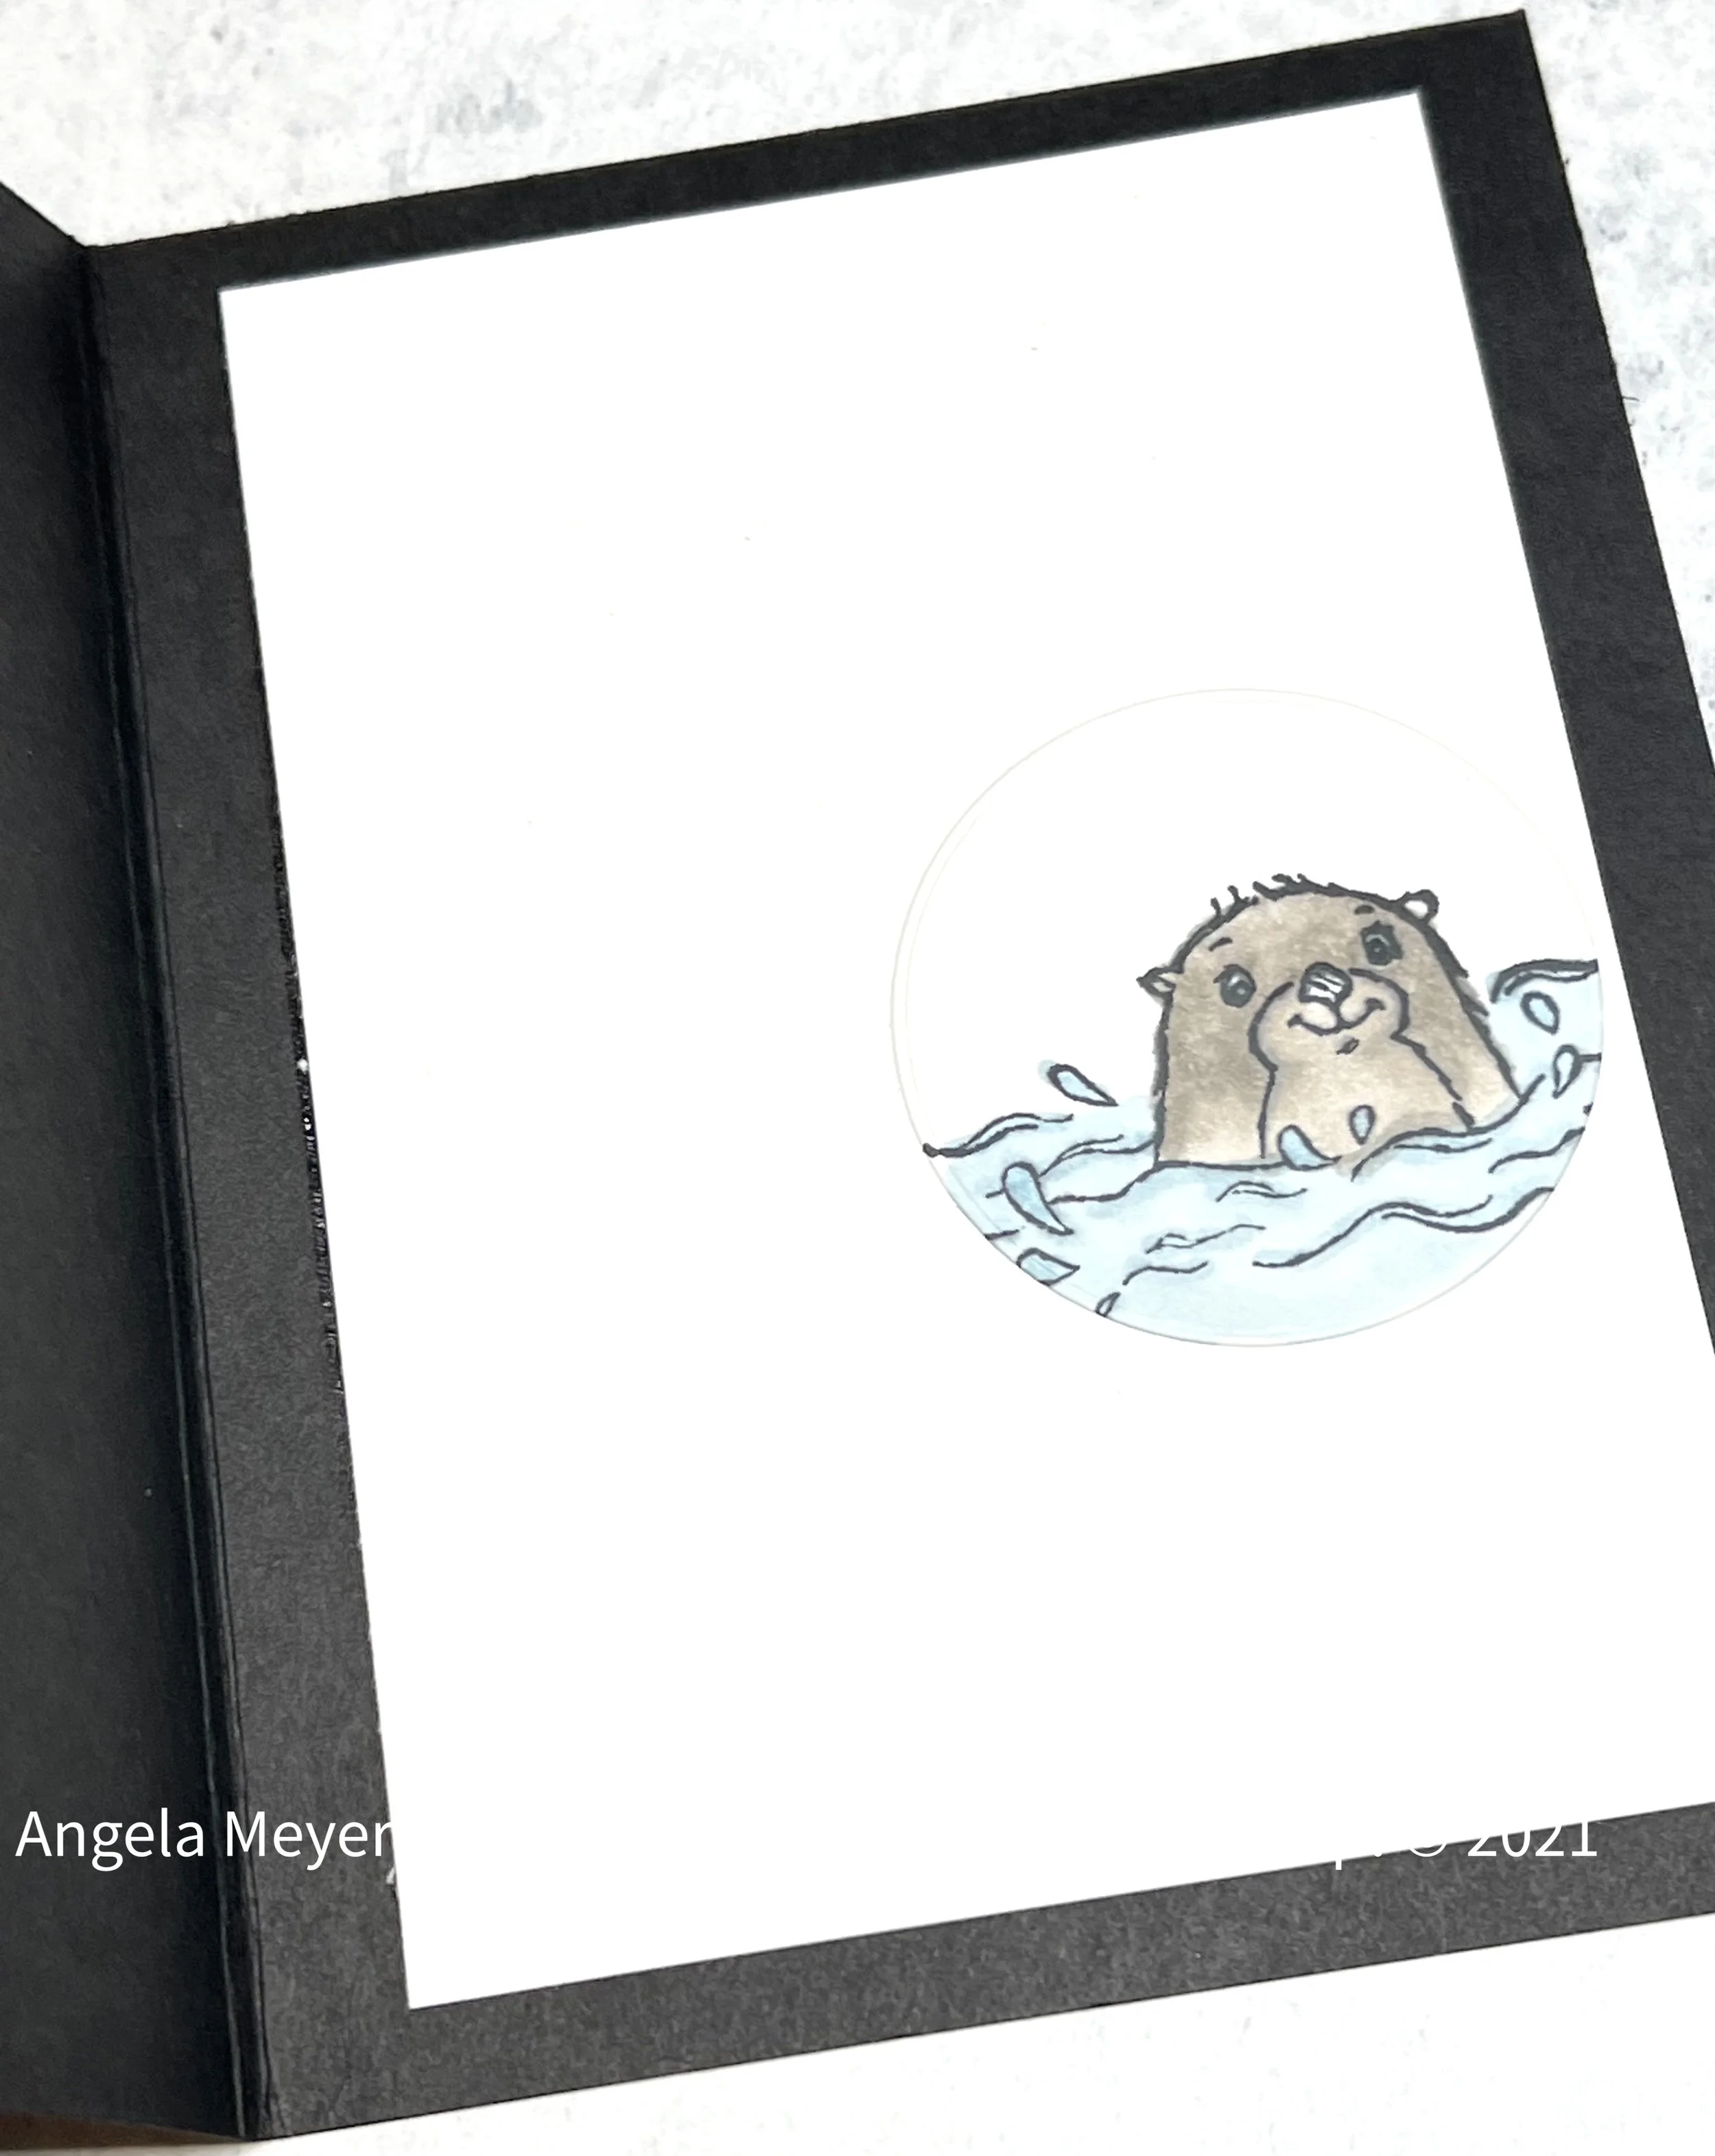
You are Otterly Awesome!
I enjoy making shaker cards, as they are always a big hit with my grandkids. This sweet little otter peeks out of a shaker window, with the sequins adding to the splashing water. I paired the otter with the FREE Sale-a-bration Simply Marbleous DSP, showing the silky satin side. The DSP (per image below) has two sides, one satin and the other marble. I used a Basic Black CS base (5-1/2”x8-1/2”, scored at 4-1/4”), with a piece of DSP (4”x5-1/4”) glued down over it.
For the shaker portion, I used the Layering Circle Dies and the Sparkle & Shine Sequins Assortment.

I first cut 4 layers of Basic White CS using the 1-7/8” and 2-1/8” circle dies, taped together using washi tape, to create rings in the depth needed by gluing each layer together with the Fine-Tip Glue Pen, stacking them up. This glue works best when you do not want the sticky residue that attaches to your sequins in your shaker. I then cut two 2-1/8” disks from Window Sheets. I glued one window to the bottom of the rings. Once dry, I added the Sparkle & Shine Sequins I wanted, then glued another window on top to hold the sequins in. This creates the shaker portion. It creates a see-through window to look into your card.
I cut a 1-7/8” hole in my DSP layer and card base layer together, for the shaker to adhere to the inside edge. Glue your shaker to the inside layer of your card front. For the outside frame, I added a Basic Black CS band over the shaker front using a 2-1/2” scalloped die with a 1-7/8” die to cut out the middle. It works best to tape your two Layering Circle dies together using washi tape, so you get a uniform depth for your frame. Glue this frame to the outside layer of your card front.

For my cute little otter on the inside, I stamped it on Basic White CS with Memento Tuxedo ink, colored using the Gray Granite Blends for the otter and Balmy Blue Blends for the water. I cut this out using the 2-1/8” die. To make sure it lined up with my shaker, I used a small bit of Glue Dot to my inside shaker face, letting my image adhere to it, added glue to the back side of the image, then closed the card. The otter was right were I wanted it!
For the sentiment, I used the Memento ink again, and cut it out using the larger circle die from Tasteful Label Dies.
My final touch was using the little half domes that come in the Sparkle & Shine Sequins Assortment, and gluing them to the front of the card. They look like little water droplets. I can just hear the splashing!!