Time For Cake – August 2024 Paper Pumpkin Kit and Scrapbook Layout

Time For Cake
Needing birthday cards? Then Time For Cake August 2024 Paper Pumpkin Kit will fit the bill! Paper Pumpkin has been so amazing each month and these cards are wonderful. With a fun accordion fold, rose gold foil, the extra set of stamps called Year After Year and coordinating with the “Horray” in the add-on Every Celebration Dies (164991), the future possibilities are endless.
I used this adorable kit for my Fri-Yay Kit-Together Facebook Live this morning. I typically like to put a set of kit cards together, then I use one set of cards to create a scrapbook layout. I will exceed that by one or two ephemera pieces or labels once in a while, especially if there are extras. Why not utilize all the scraps and make a scrapbook layout that much better!
While the Paper Pumpkin Kit subscription order time is over, the refill kit is available and includes everything except the stamp sets and Stampin’ Spot. The refill makes 9 birthday themed cards in Moody Mauve, Night of Navy, Pecan Pie, Petal Pink, Pretty in Pink, rose gold, and Wild Wheat. I have seen lots of alternate cards as well and love the versatility of this kit, especially for a scrapbook layout.


60th Birthday Celebration
I made this scrapbook layout for my surprise 60th birthday celebration, from this past December. I am omitting the pictures and using the Basic White CS photo frames to give you a better idea of what the layout looks like and to avoid having to cover my grandchildren’s faces.
I used two different colors for my scrapbook page bases to help coordinate with the color of the card bases. For the Petal Pink 12”x12” CS page, I used the card with the accordion fold card pieces. The first thing I did was add the accordion to the page, 3/4” from the bottom of the page. The Night of Navy accordion is 13-1/2” wide and 3-3/4” tall, so cut off 1-1/2” from the left side and set it aside for the 2nd page.

I followed the card instructions, stamping the card white area with the “lost count…” and candles and will use that area to journal on. I then added the tag with a bow in the rose gold metallic cord. I used the Night of Navy printed card back for the middle photo frame, and added a 3-3/4”x5” Basic White CS to frame a 3-1/2”x4-3/4” photo (a 3-1/2”x5” photo would need 1/4” cut off). I then added two more 3-3/4”x5” photo frames to each side, centering them on the page about 1/2” from the accordion piece below.
If you count out what is required for the cards, I noticed I had 3 extra mini candles, and so added the extra candles to enhance one of the frames. I then used the inside of the 3 envelopes to cut 3/16” pieces and made extra candles for the top right of my page title.
See below additional photos and the YouTube video for my how-to on this page…

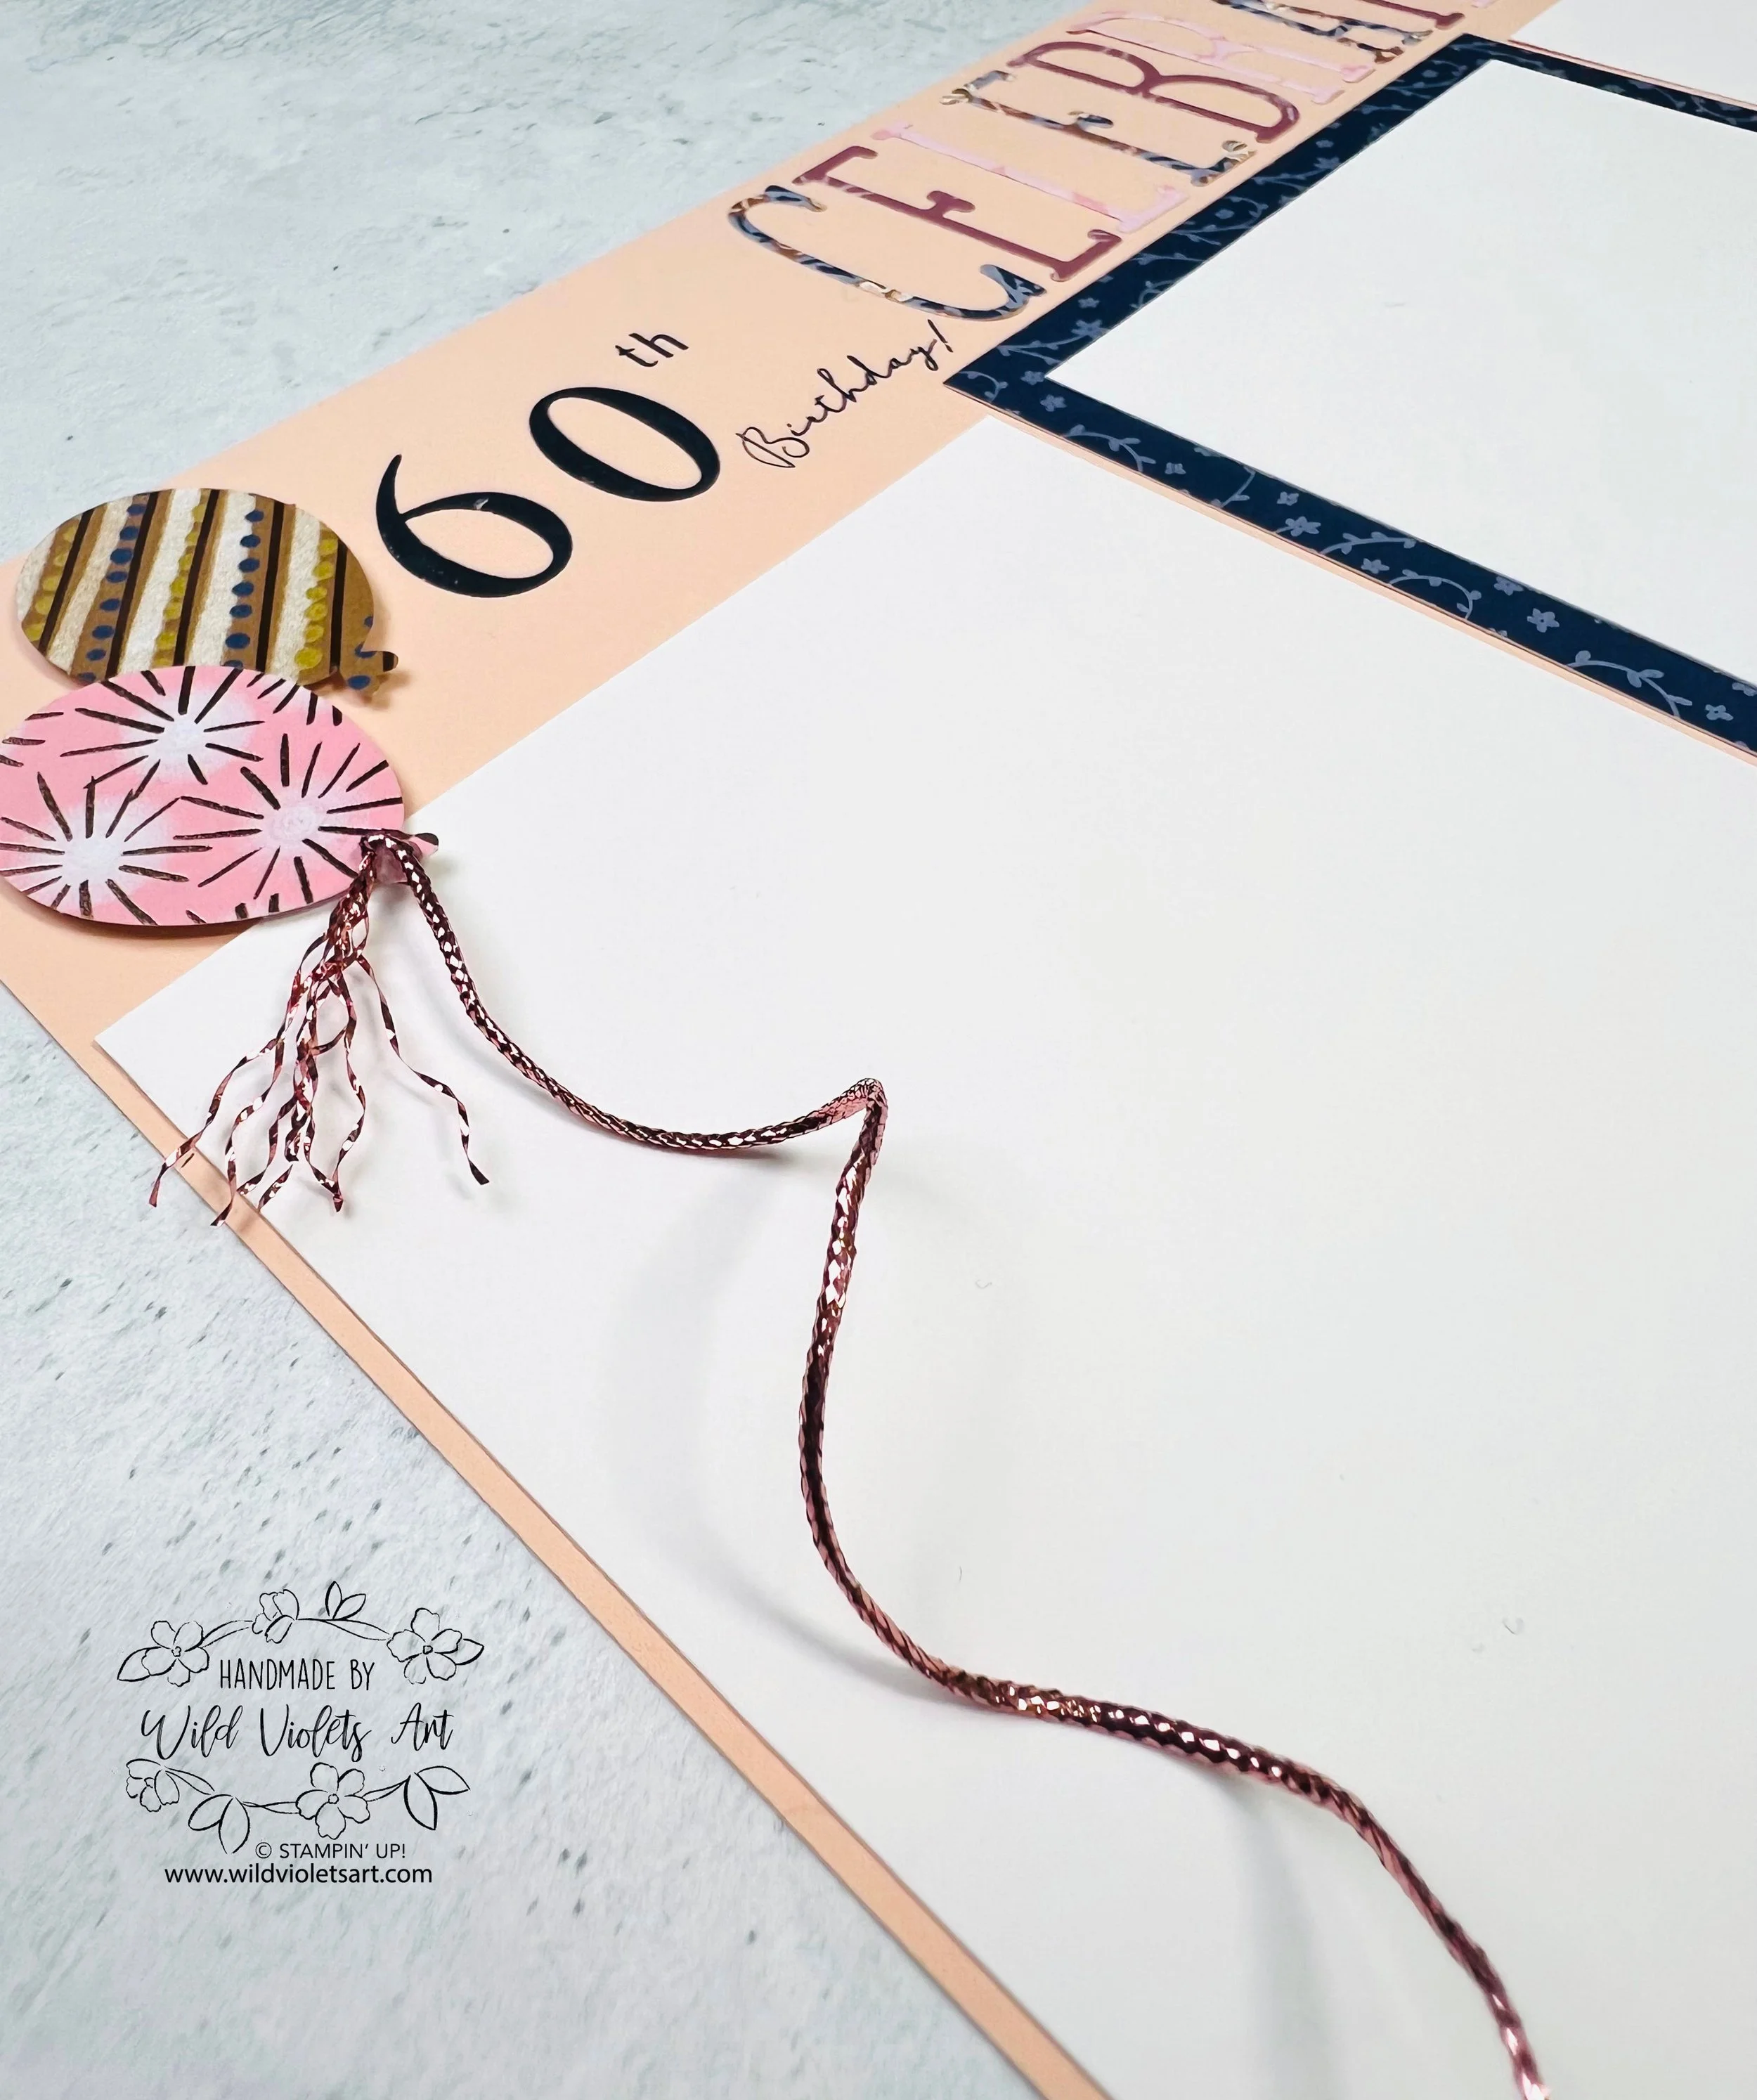
I love it when Paper Pumpkin includes an extra set of stamps and this month was a set of numbers, (Year After Year) that make a great addition to the cards or a scrapbook page. As this was for my surprise 60th birthday party, I loved that I could add the big 6-0 in Night of Navy ink along with the little birthday from the stamped “Happy Birthday!”. I then again used the inside of the envelope print, some Adhesive Sheets, and the Alphabet A La Mode dies for my title.
I then added two of the smaller foiled balloons and the rose gold metallic cord as well. Watch my video on how I removed the center cord so I could make the balloon tassel. I love how this page turned out and trust me, it looks amazing with the photos of our kids and grandkids as well!
See below additional photos and the YouTube video for my how-to on this page…

For my 2nd page, I used Misty Moonlight 12”x12” CS for the page base. I then used the leftover scrap of accordion card to line up exactly with the Petal Pink page. I then added both remaining card bases (8-1/2”x5-1/2”) and staggered them so they had the same boarder in the upper left and lower right to give the page balance.
I had two landscape 4”x6” photos, so used 4-1/4”x6-1/4” Basic White photo frames (the bottom photo frame lining up with the bottom of the accordion card scrap). Once again, I made the “Hooray” card just as it was shown in the instructions with the exception of overlapping the “It’s time for cake!” label with the photo (making sure it did not cover something).

The “Happy Birthday” card balloons on white piece did not fit with my page layout, so I fussy cut out all the balloons and had them frame the large foiled balloon. I added a bow in the rose gold metallic cord on the bottom of the balloon as well.
I added more of the extra mini candles and mini balloons to embellish the photos, placing them so that I can add the photos later without them interfering where they need to be placed. By staggering the card bases, card decor and the photo frames, I love how balanced the scrapbook layout is and wonderful it turned out.
See below additional photos and the YouTube video for my how-to on this page…