Everyday Happiness DSP


Welcome to Wild Violets Art! Today, I’m excited to share a step-by-step guide to creating these gorgeous handmade cards using the ONLINE EXCLUSIVE Everyday Happiness Designer Series Paper (DSP) that I made on my last two Marvelous Mondays Facebook Lives. I love this paper so much and am so glad Stampin’ Up! made it available as a stand-alone item. I also used the ONLINE EXCLUSIVE Everyday You & Me bundle and Grow With Love bundle from Stampin’ Up!. Whether you’re crafting for a birthday, a thoughtful note, or just because, this gorgeous DSP will add so much to your cards, and your efforts will add a personal touch that your loved ones will cherish.


Shop by clicking on the above images.

Birthday Wishes
This super EASY card was so much fun to create using the Everyday You & Me Bundle. Using an A2 card base in Basic White Thick CS, I added a 4-1/8”x5-3/8” layer of Pretty Peacock CS, then a 4”x5-1/4” layer of the Everyday Happiness DSP in the watercolor wash. I cut a piece of torn DSP (about 1-3/4” wide) and glued it on the wash layer. The final layer was 1/2”x1-1/2” strips of torn Two-Toned CS in Pretty Peacock, Lost Lagoon, Crumb Cake & Gray Granite. I had made a scrapbook layout using this torn layering last week (see video). I then stamped the sentiment from the retired Everyday Greetings stamp set in Pretty Peacock ink. Simple yet beautiful!
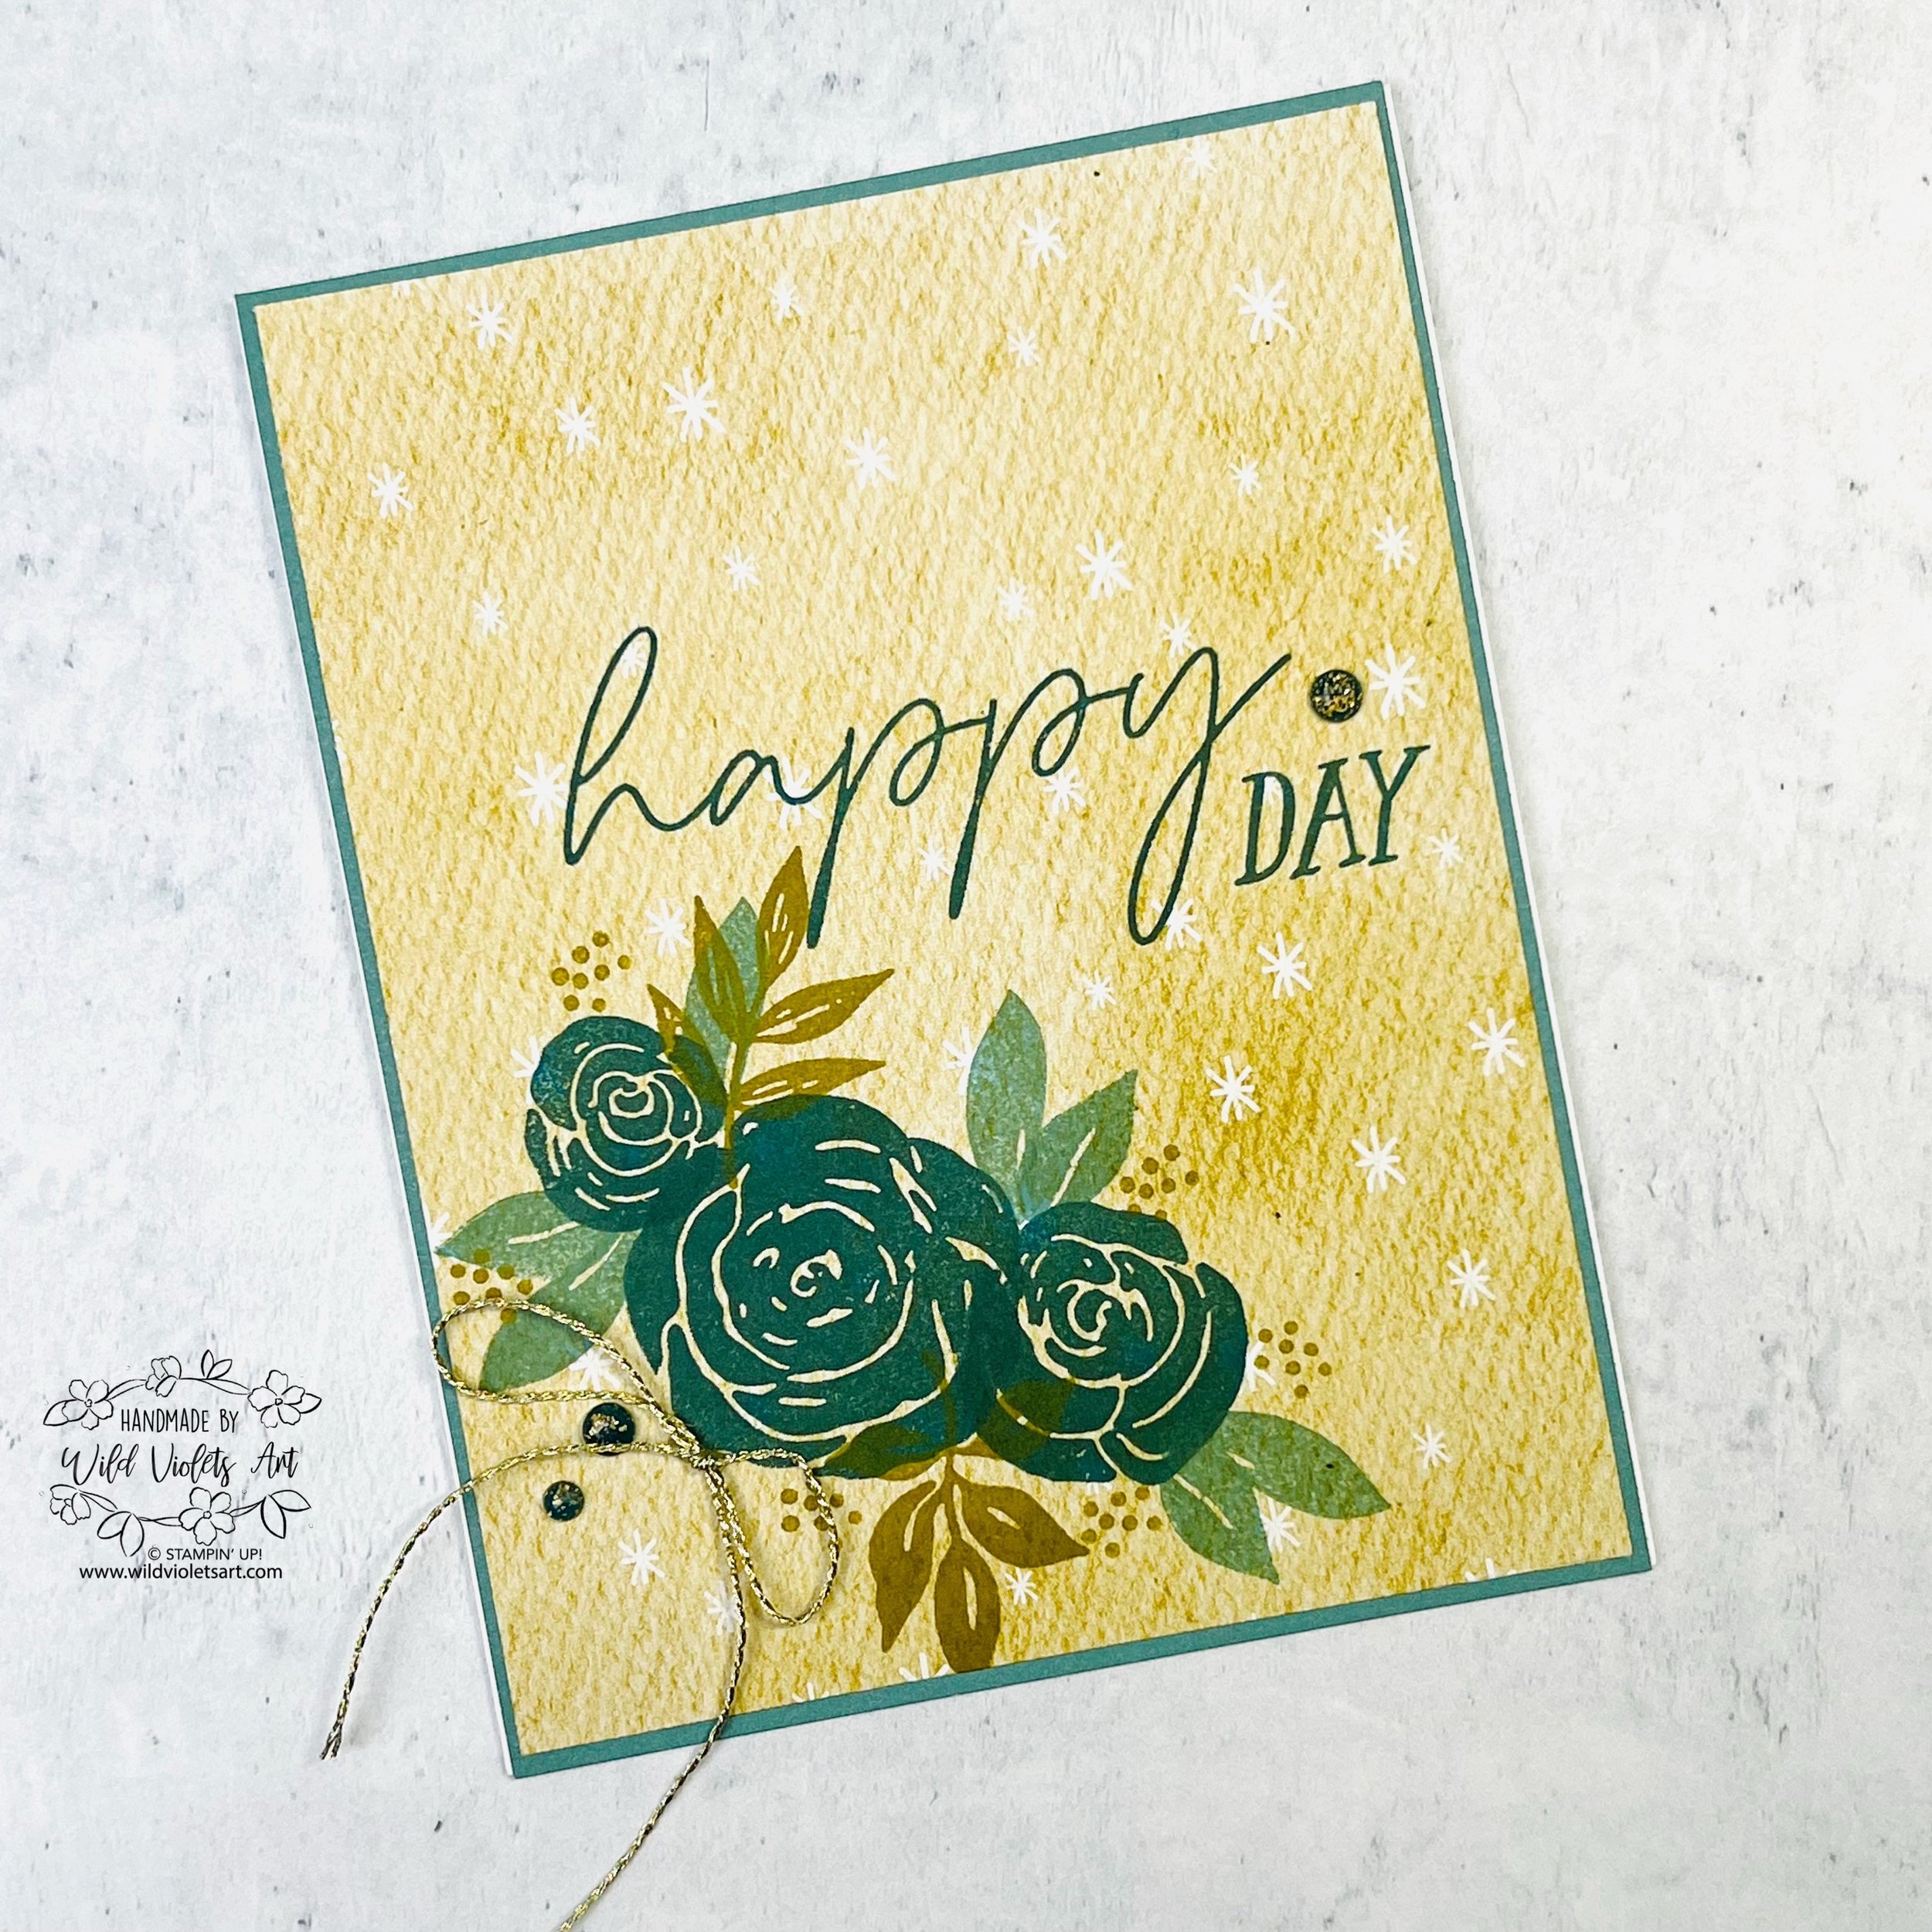
Happy Day
This lovely card was another EASY one! I started with an A2 card base in Basic White Thick CS, then added a 4-1/4”x5-1/2” layer of Lost Lagoon CS and then the Wild Wheat DSP from Everyday Happiness DSP. I stamped directly onto the DSP in Pretty Peacock ink for the roses and sentiment, Lost Lagoon ink in for the leaves, and Winter Wheat ink for the sprigs and speckles. The “DAY” sentiment is from Birthday Celebration stamp set. Just by adding a little Gold Twisted Thread and the Pretty Peacock Foiled Gems, I was able to take the lovely card to the next level!
Watch my YouTube video below or view more photos below…


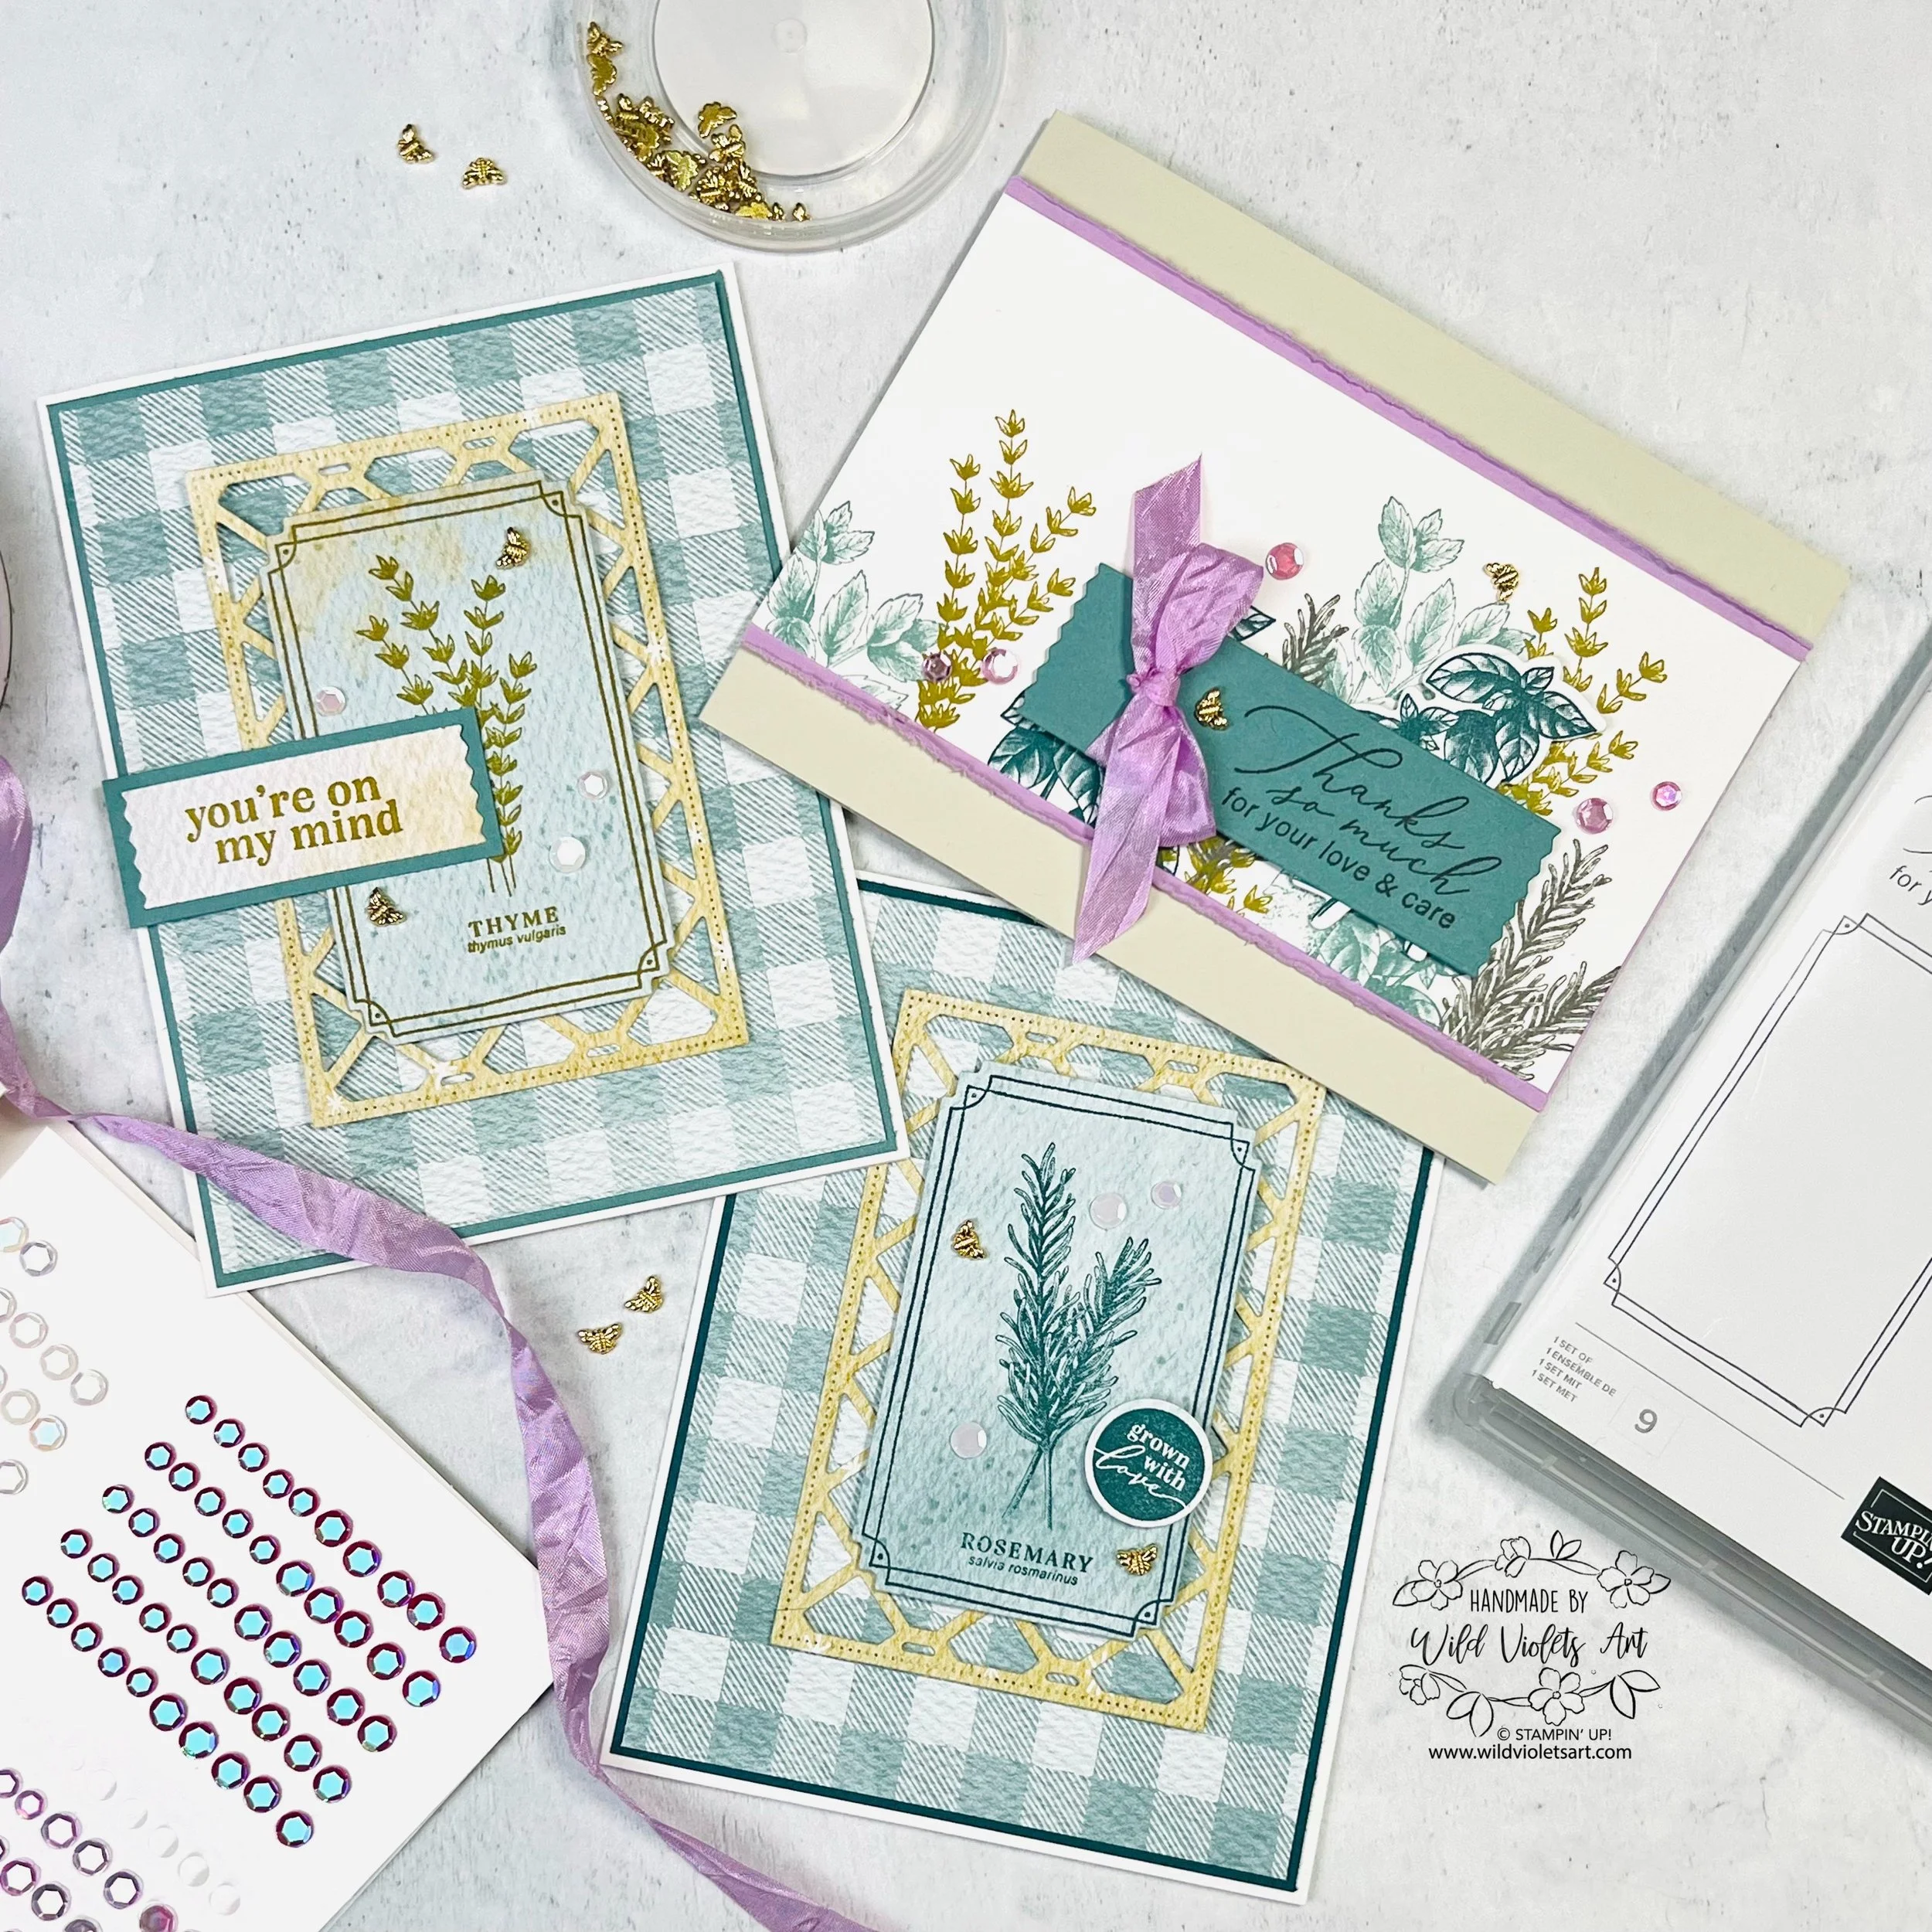
Grown With Love
For these lovely botanical themed cards, I used the Grow With Love Bundle. I am so excited that these lovely cards coordinate with this month’s Paper Pumpkin, HELLO SPRING Kit! It makes both the bundle and kit that much better and versatile! For these cards, I use an A2 card base in Basic White Thick CS, then added a 4-1/8”x5-3/8” layer of Lost Lagoon CS or Pretty Peacock CS under the 4”x 5-1/4” checked Everyday Happiness DSP. I die cut out the pretty trellis from the DSP from the Linked Together Dies, as it added a botanical feel to the card.
Using the lovely water color wash DSP, I stamped the thyme, sentiment and frame in Winter Wheat Ink and the Rosemary, sentiment and frame in Pretty Peacock ink. I then die cut out each panels using the Grow With Love Dies. I popped up the panel to adhere the trellis below. I layered “you’re on my mind” sentiment with Lost Lagoon CS and popped it up with Stampin’ Dimensionals. I used a 3/4” punch to cut out the “grown with love” sentiment and popped it up, but you can use the die instead if you do not have a punch. I added a mix of the FREE Sale-a-bration Purple Adhesive-Backed Sequins in white and the Tiny Bee Trinkets for my final touch. Don’t forget to use the DSP on your envelope!
Watch my YouTube video below or view more photos below…

Thanks so much
I just love this card. I CASE’d it (with a few edits) from the online store website where it shows alternate projects when shopping for the Grow With Love Bundle. I can think of a dozen dear ones that I could send this card to as the sentiment is just so wonderful! I used an A2 card in Basic Beige CS, then added a 3-1/4”x5-1/2” layer of Fresh Freesia CS. Before gluing it on, I distressed the edges with my snips. I used a 3”x5-1/2” piece of Basic White CS, and then stamped the different herbs in Lost Lagoon, Pebbled Path, Pretty Peacock and Winter Wheat ink. I overlapped the inked images of the herbs and it looks really good.
I stamped an extra basil with Pretty Peacock ink and die cut it out, adding it behind the sentiment. The sentiment was stamped in Pebbled Path ink on Lost Lagoon CS, then die cut in the bundle’s largest sentiment die and popped up on the card after tying the bow. I loved adding the FREE Sale-a-bration Purple Adhesive-Backed Sequins in Fresh Freesia, the FREE Sale-a-bration Fresh Freesia Seam Binding Ribbon, and the Tiny Bee Trinkets. Just a little extra, but so pretty!
Watch my YouTube video below or view more photos below…
I hope you found that these cards are perfect for any occasion, and using the Everyday Happiness DSP and Stampin’ Up! bundles make crafting easy and fun. I’d love to see your take on these designs! If you try this tutorial, share your creations in the comments or tag me on social media.